Hello community,
I have ideas for items and skills but no experience in modding. After a few days of frustration and banging my head on the keyboard, I finally had a break through. With that, I decided to write up this little tutorial to assist others if they wish to mod but are having trouble starting the process.
This is my first tutorial, so bare with me please. And why item editing? Once we learn our tools and how to modify existing content, we’ll be better equipped to implement our own.
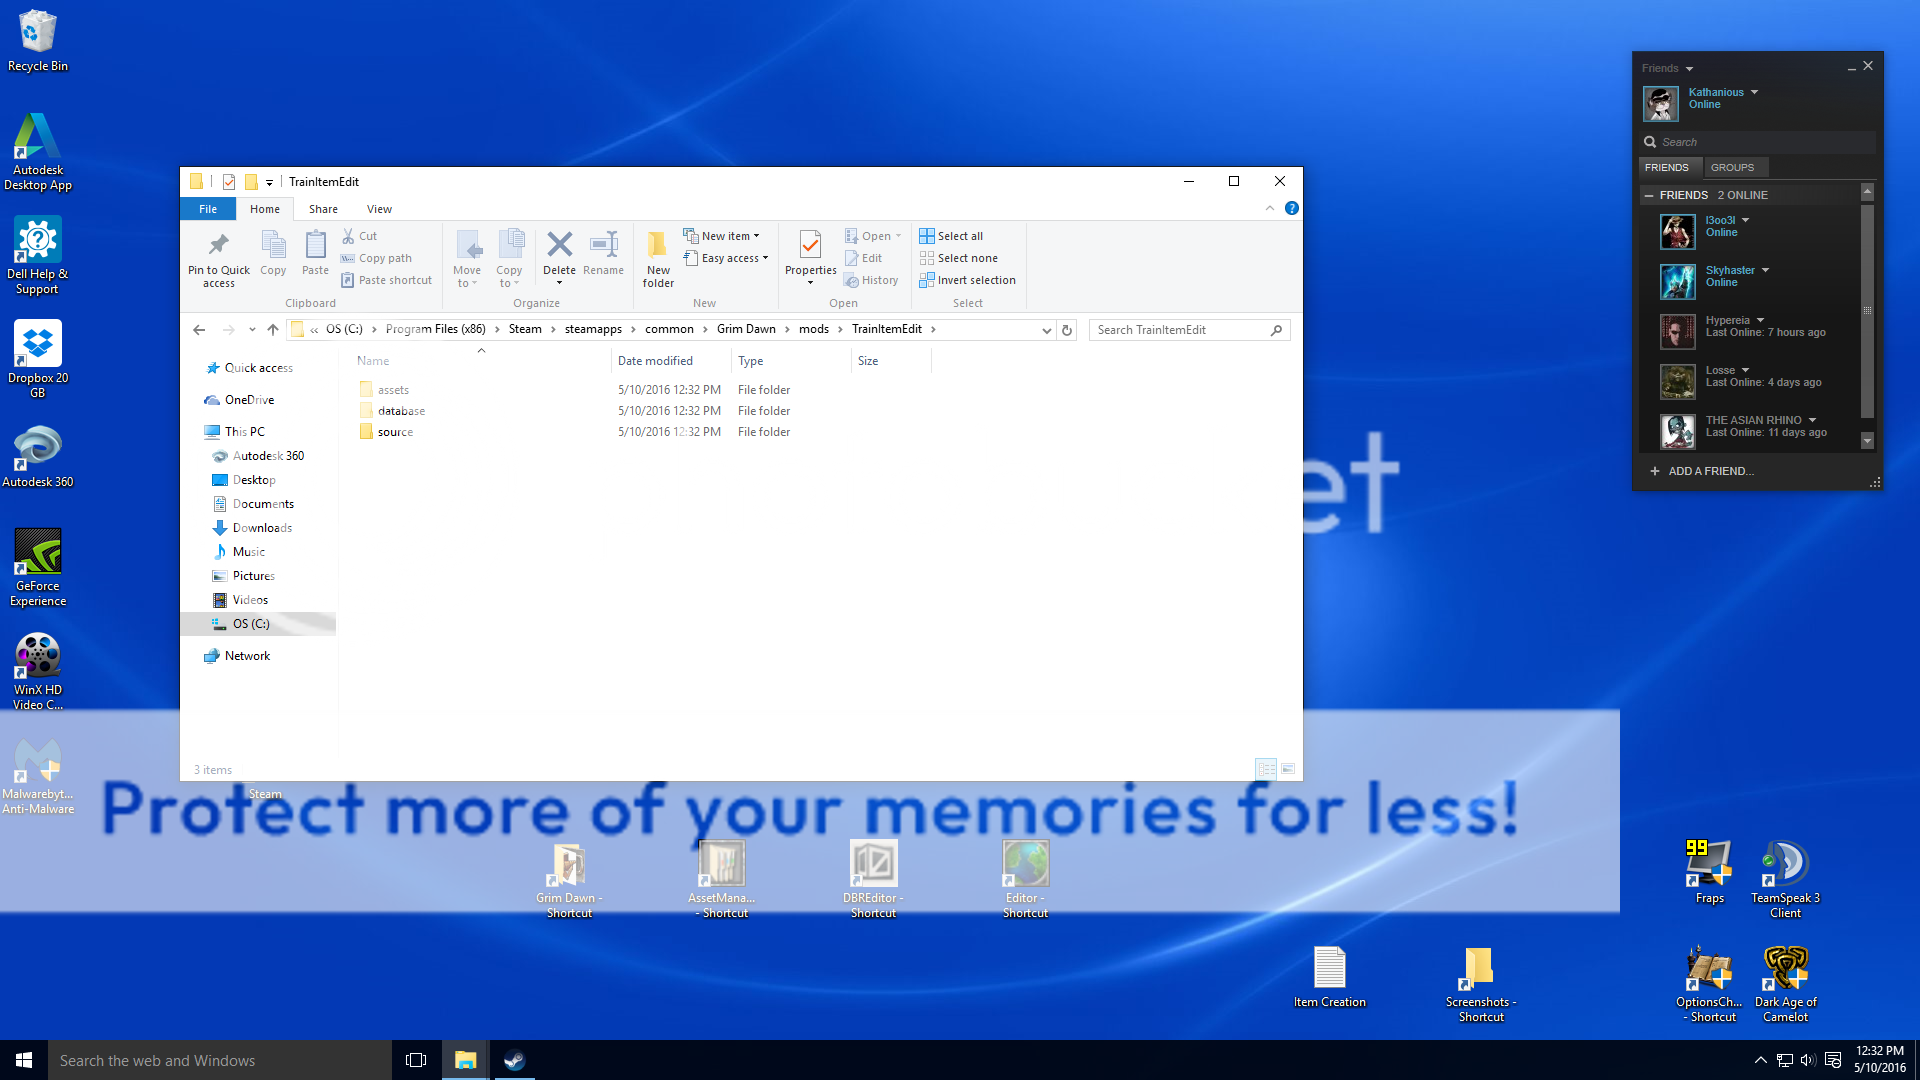
Step 1: Preparing to Mod.
On my desktop I created a shortcut to the Grim Dawn folder, the AssetManager, and DBREditor.
Next, launch the asset manager and click Tools > Extract Game Files…
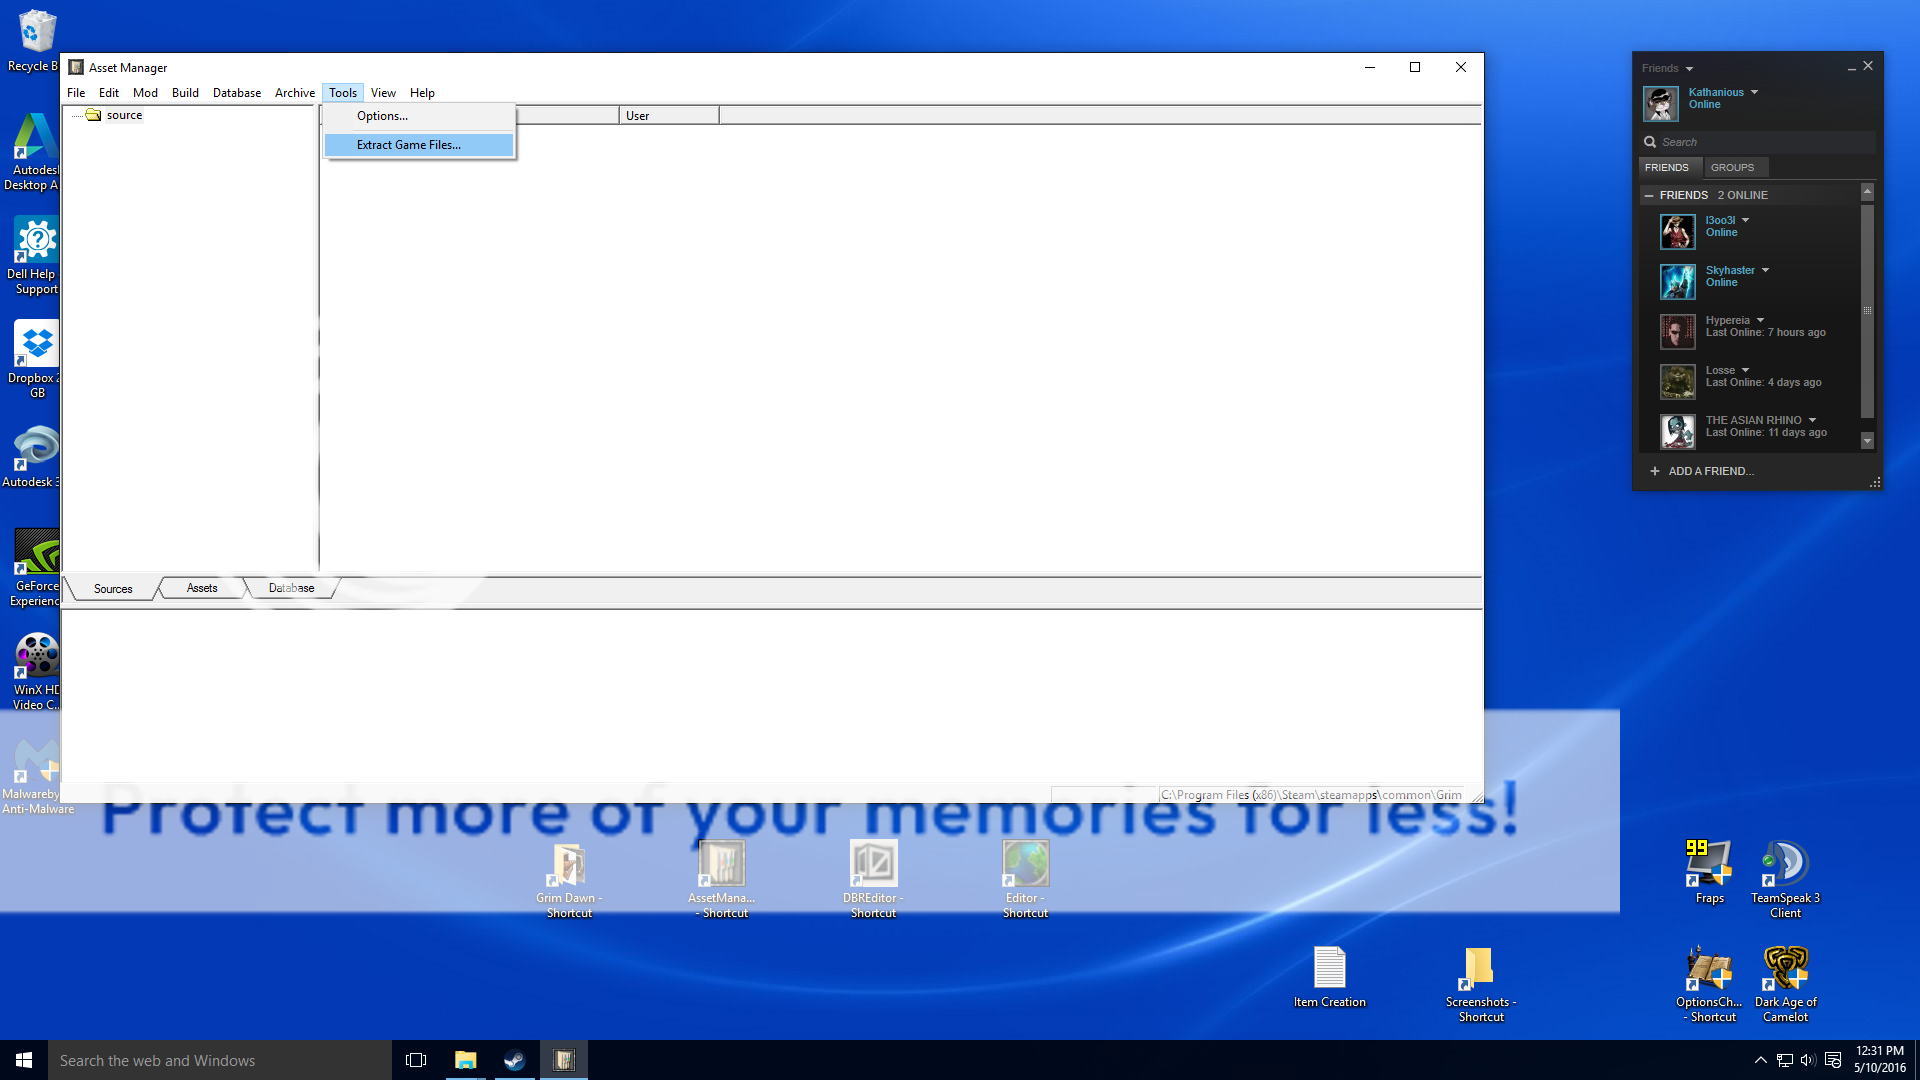
This process will run for a few minutes as the necessary files are unpacked.
Afterwards, click Mod > New > Name your mod (in this case I used TrainItemEdit) > OK . Close the asset manager.
The asset manager will have created a folder for this mod along with three sub folders.
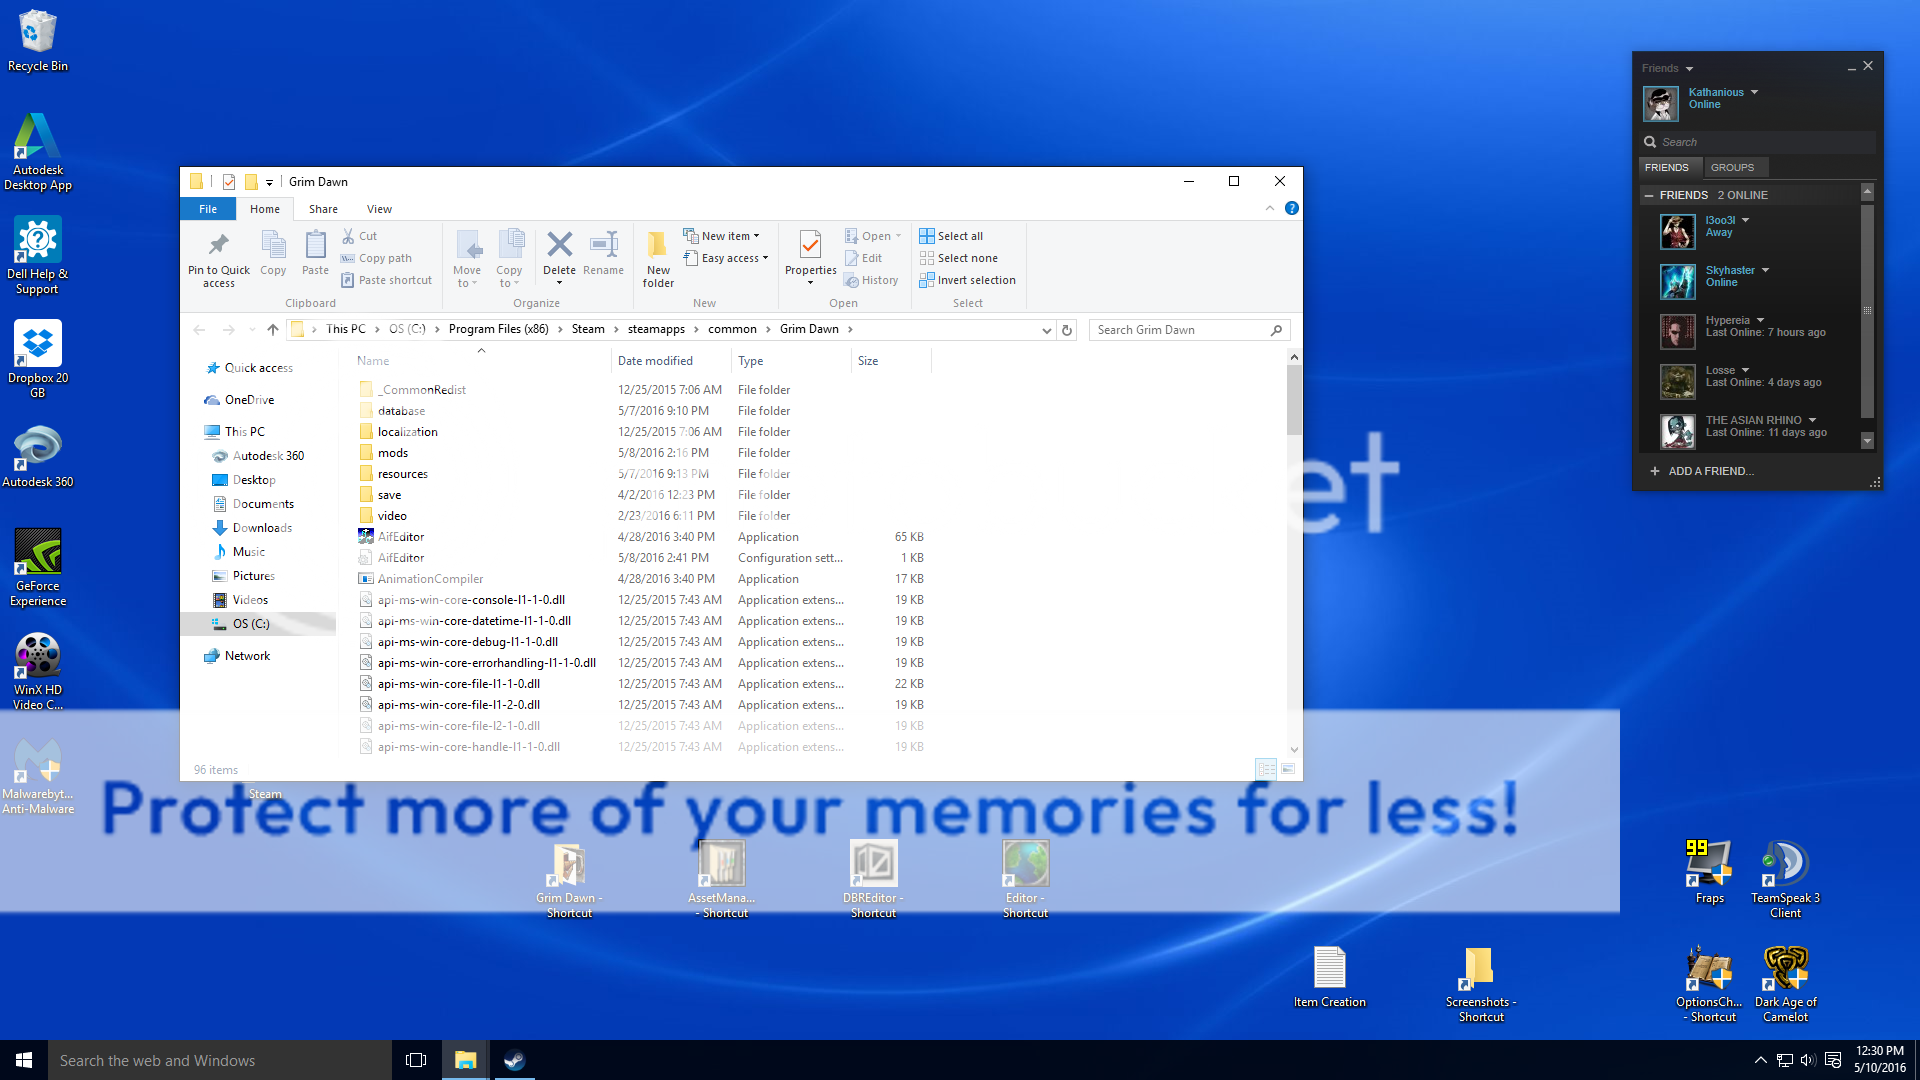
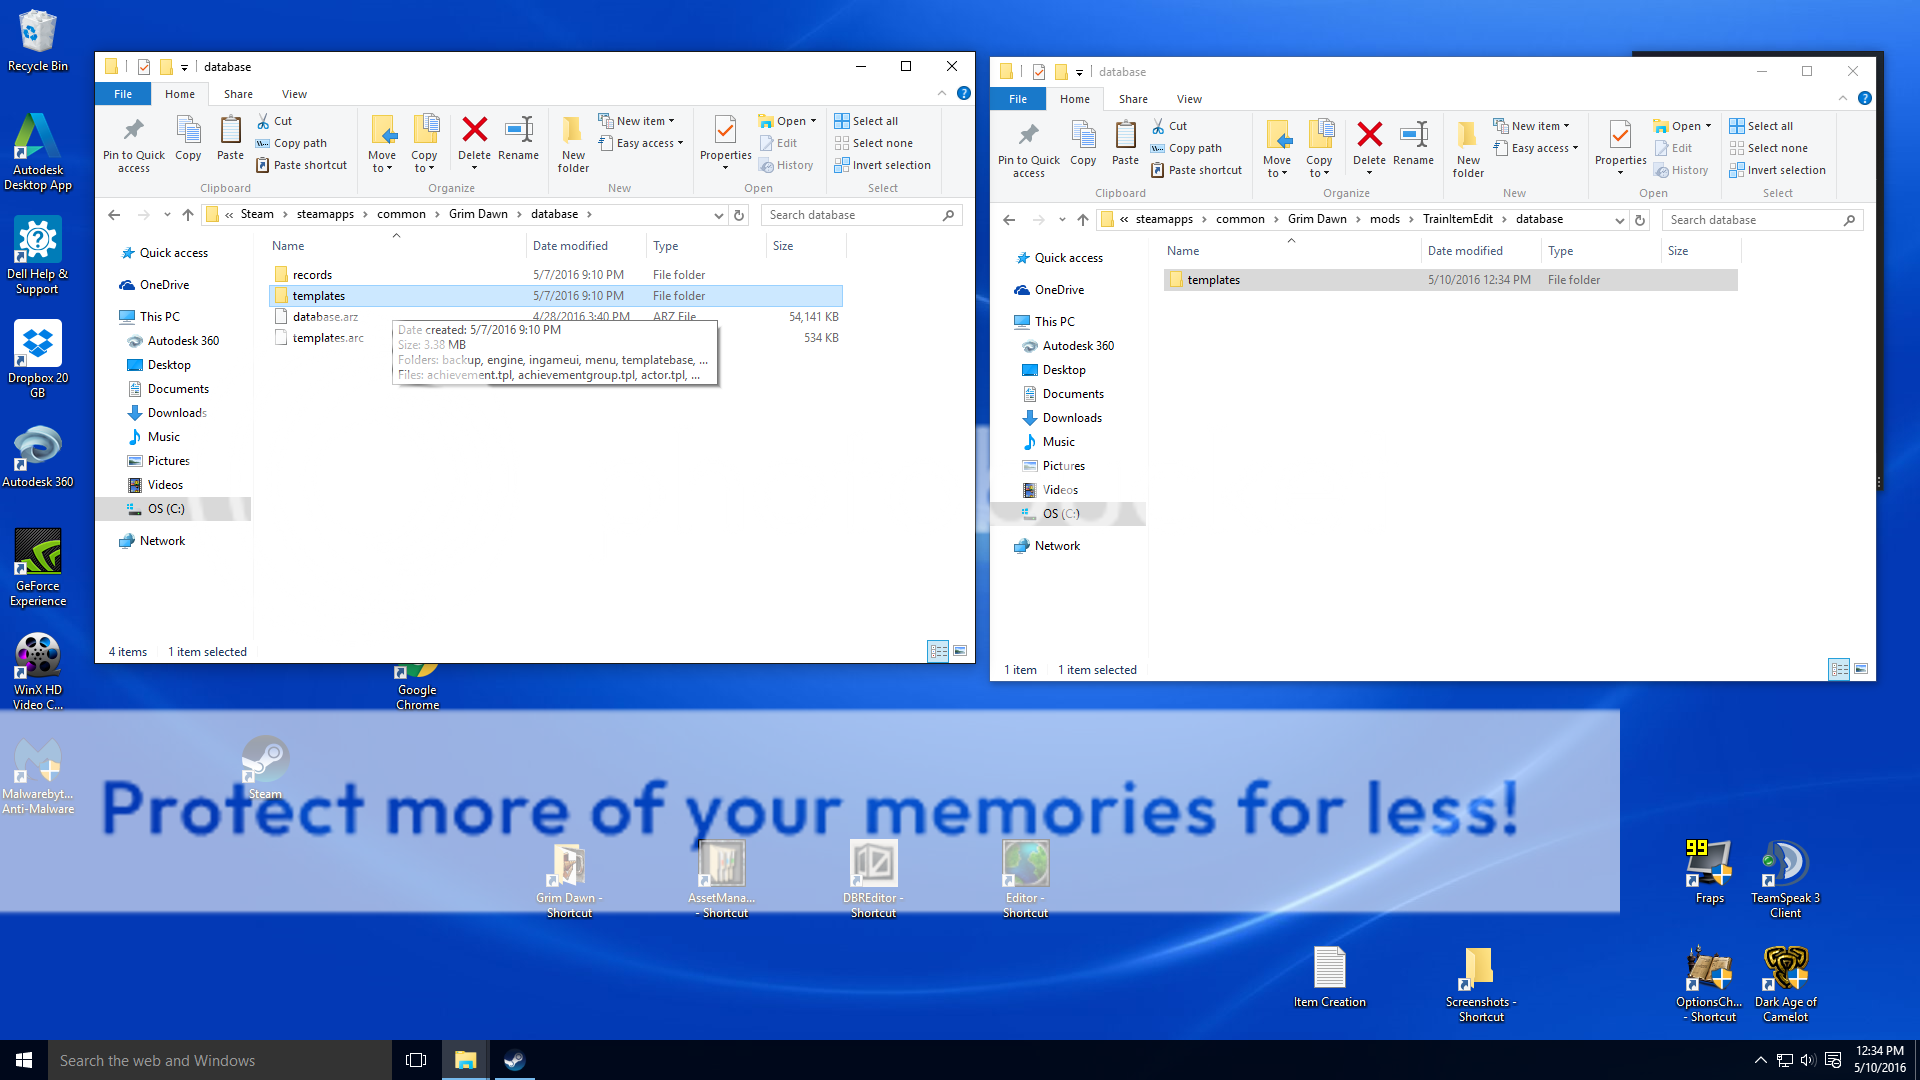
For the DBREditor to function correctly, we need to copy a folder from Grim Dawn game into our mod folder. Locate the templates folder in GrimDawn/database and copy it to mod/TrainItemEdit/database.
We are now ready to experiment with data!
Step 2: Lets mess with something.
From here forward, it will help to have two windows open. You will also want to create a directory tree in your mod folder similar to the Grim Dawn tree structure anytime you add files to your mod.
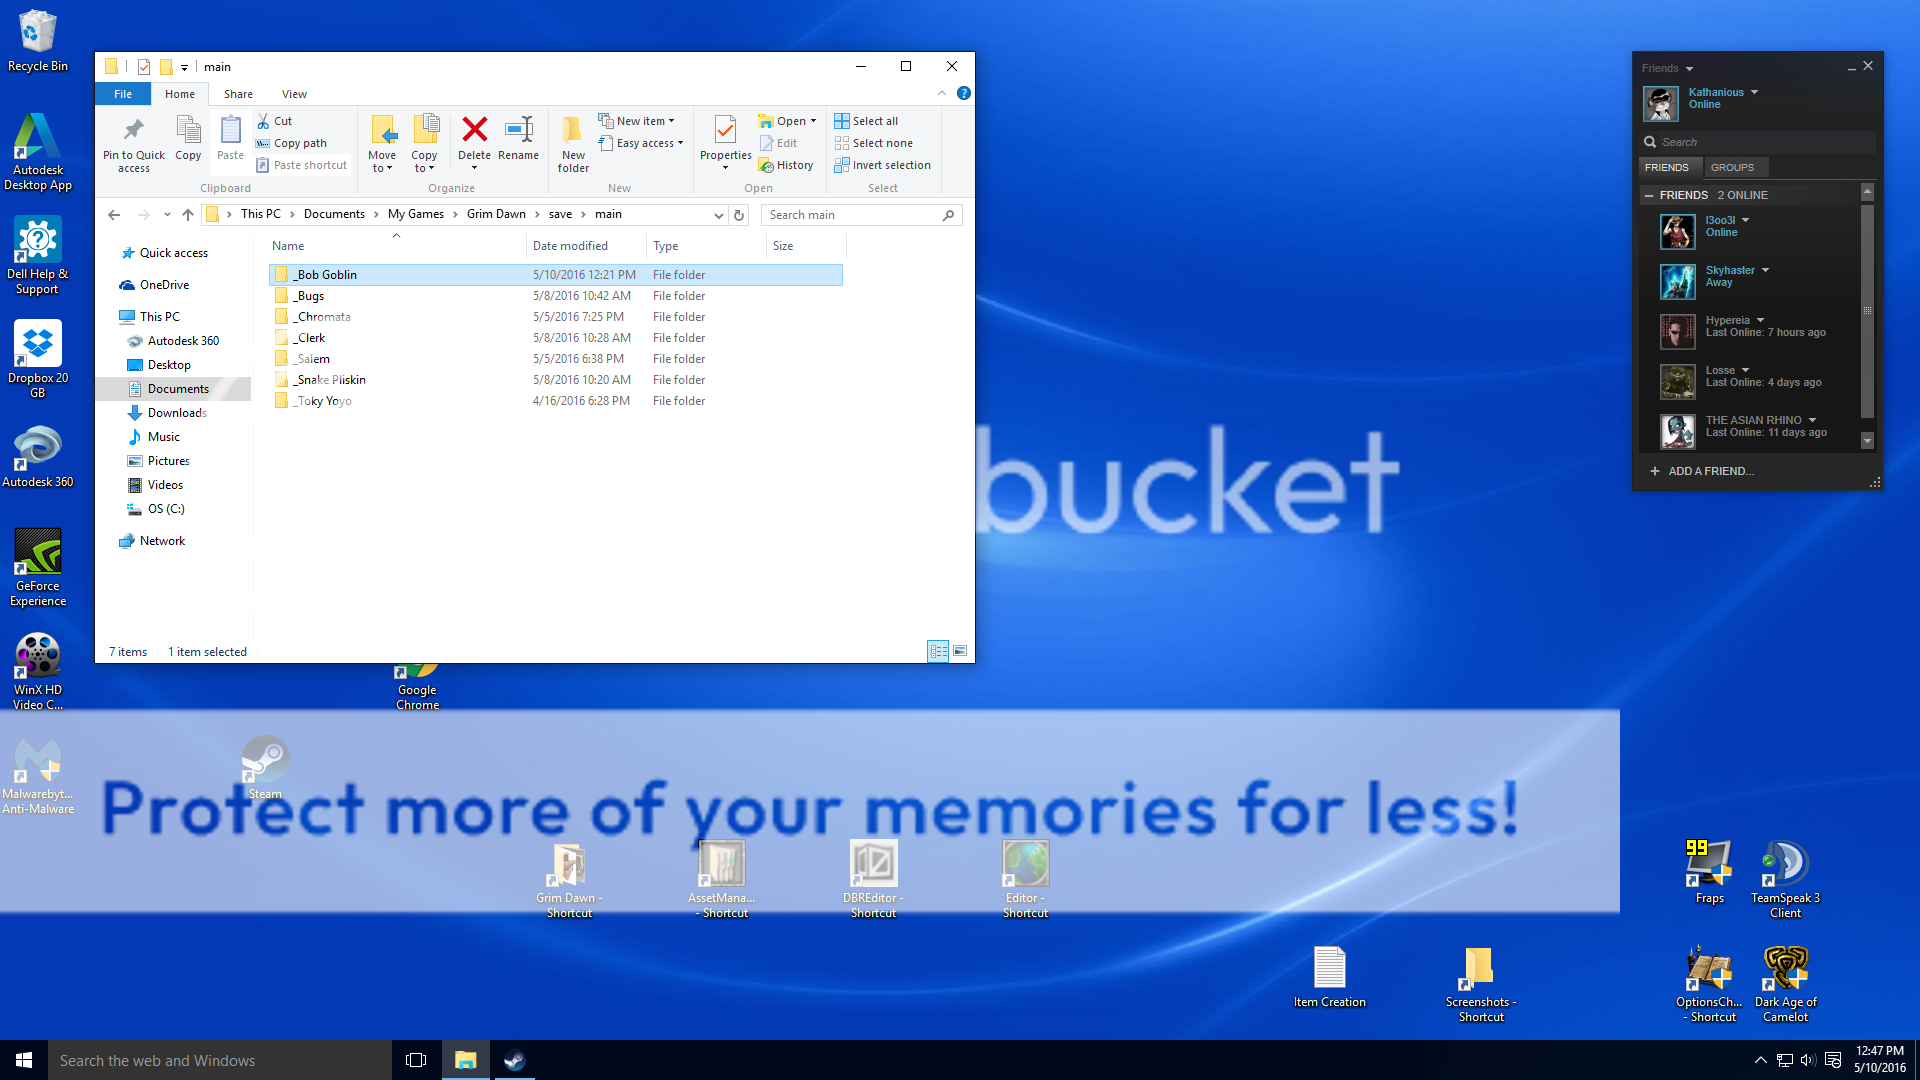
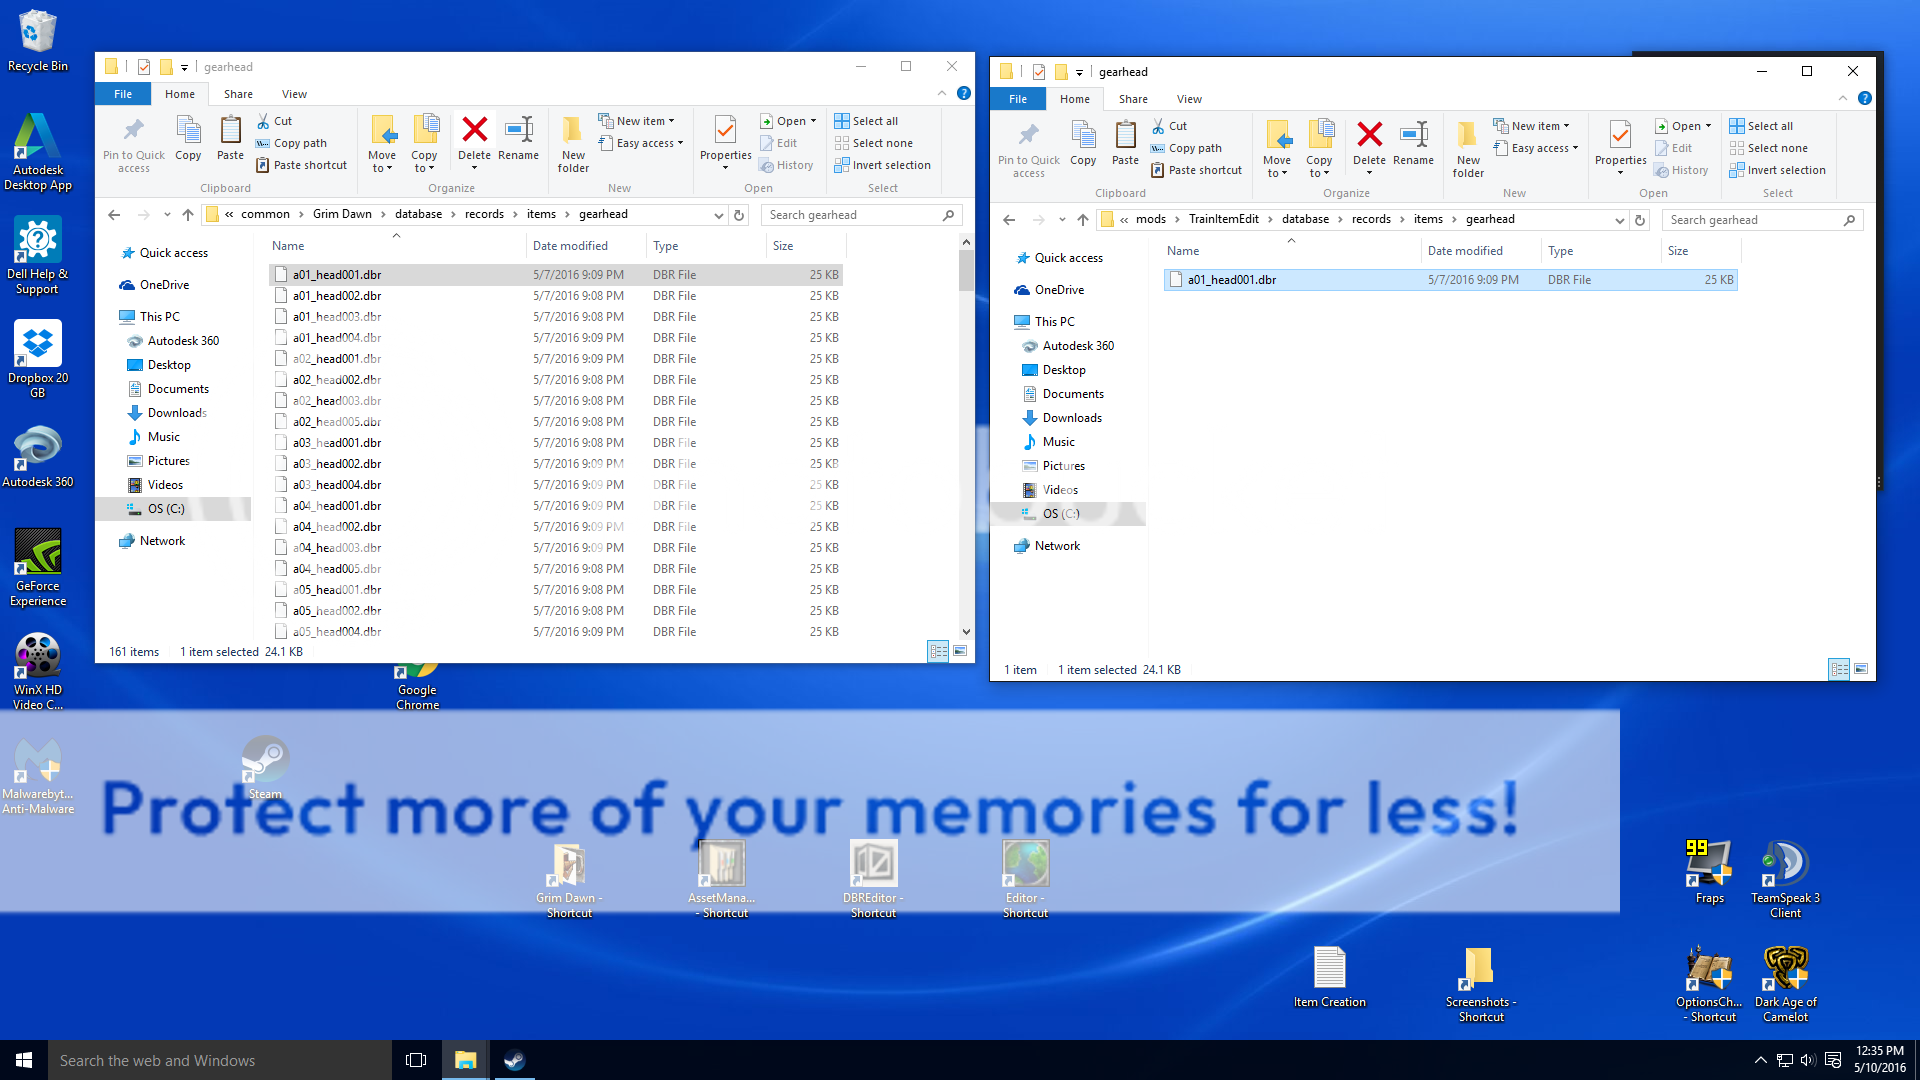
For this example I chose a simple helmet item located in GrimDawn/database/records/items/gearhead.
You will want to create the same directory structure in your mod folder, mods/TrainItemEdit/database/records/items/gearhead.
Copy a01_head001.dbr to the mod/…/gearhead folder.
Next, launch the DBREditor program. Go to File > Settings > and point the working and build directory to GrimDawn/mod/TrainItemEdit
From there, click File > Open > and make your way to database/records/items/gearhead and you will see our a01_head001.dbr helmet file.
Upon opening, we will be greeted with various data fields.
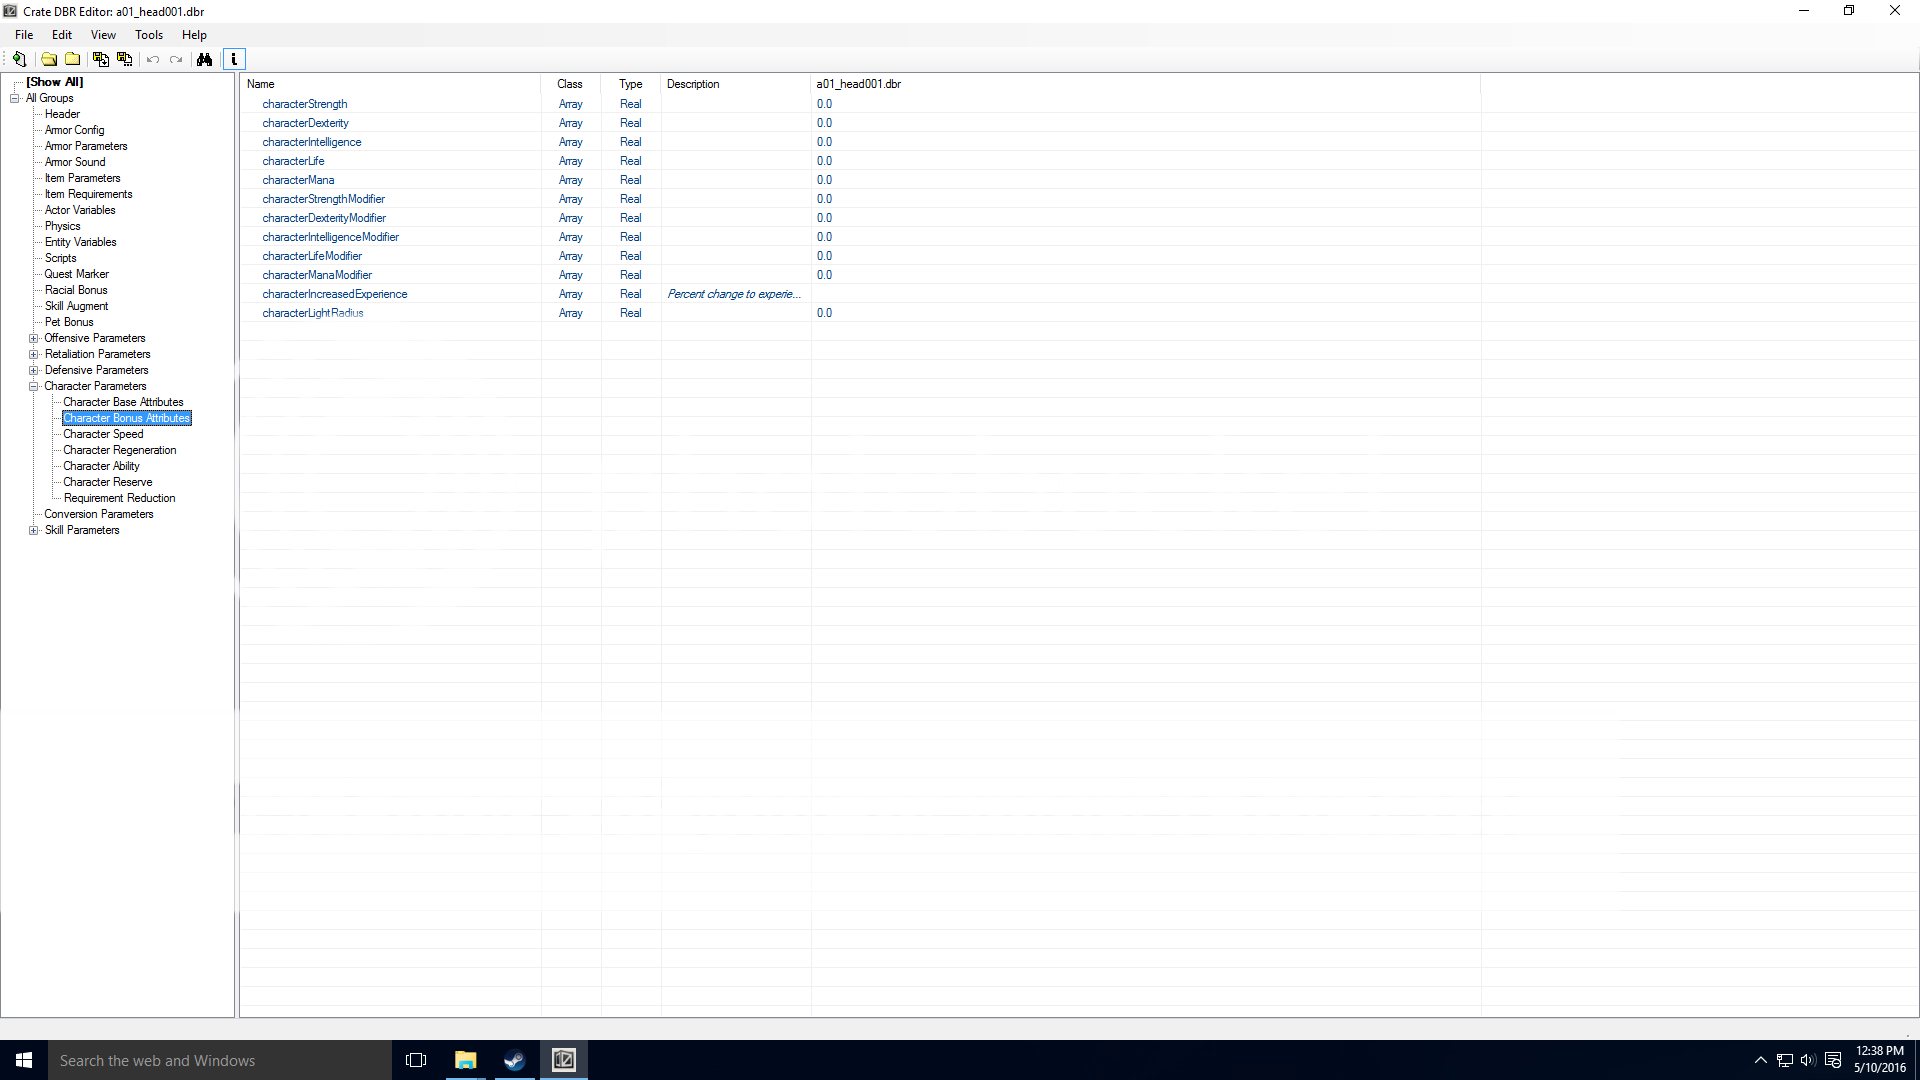
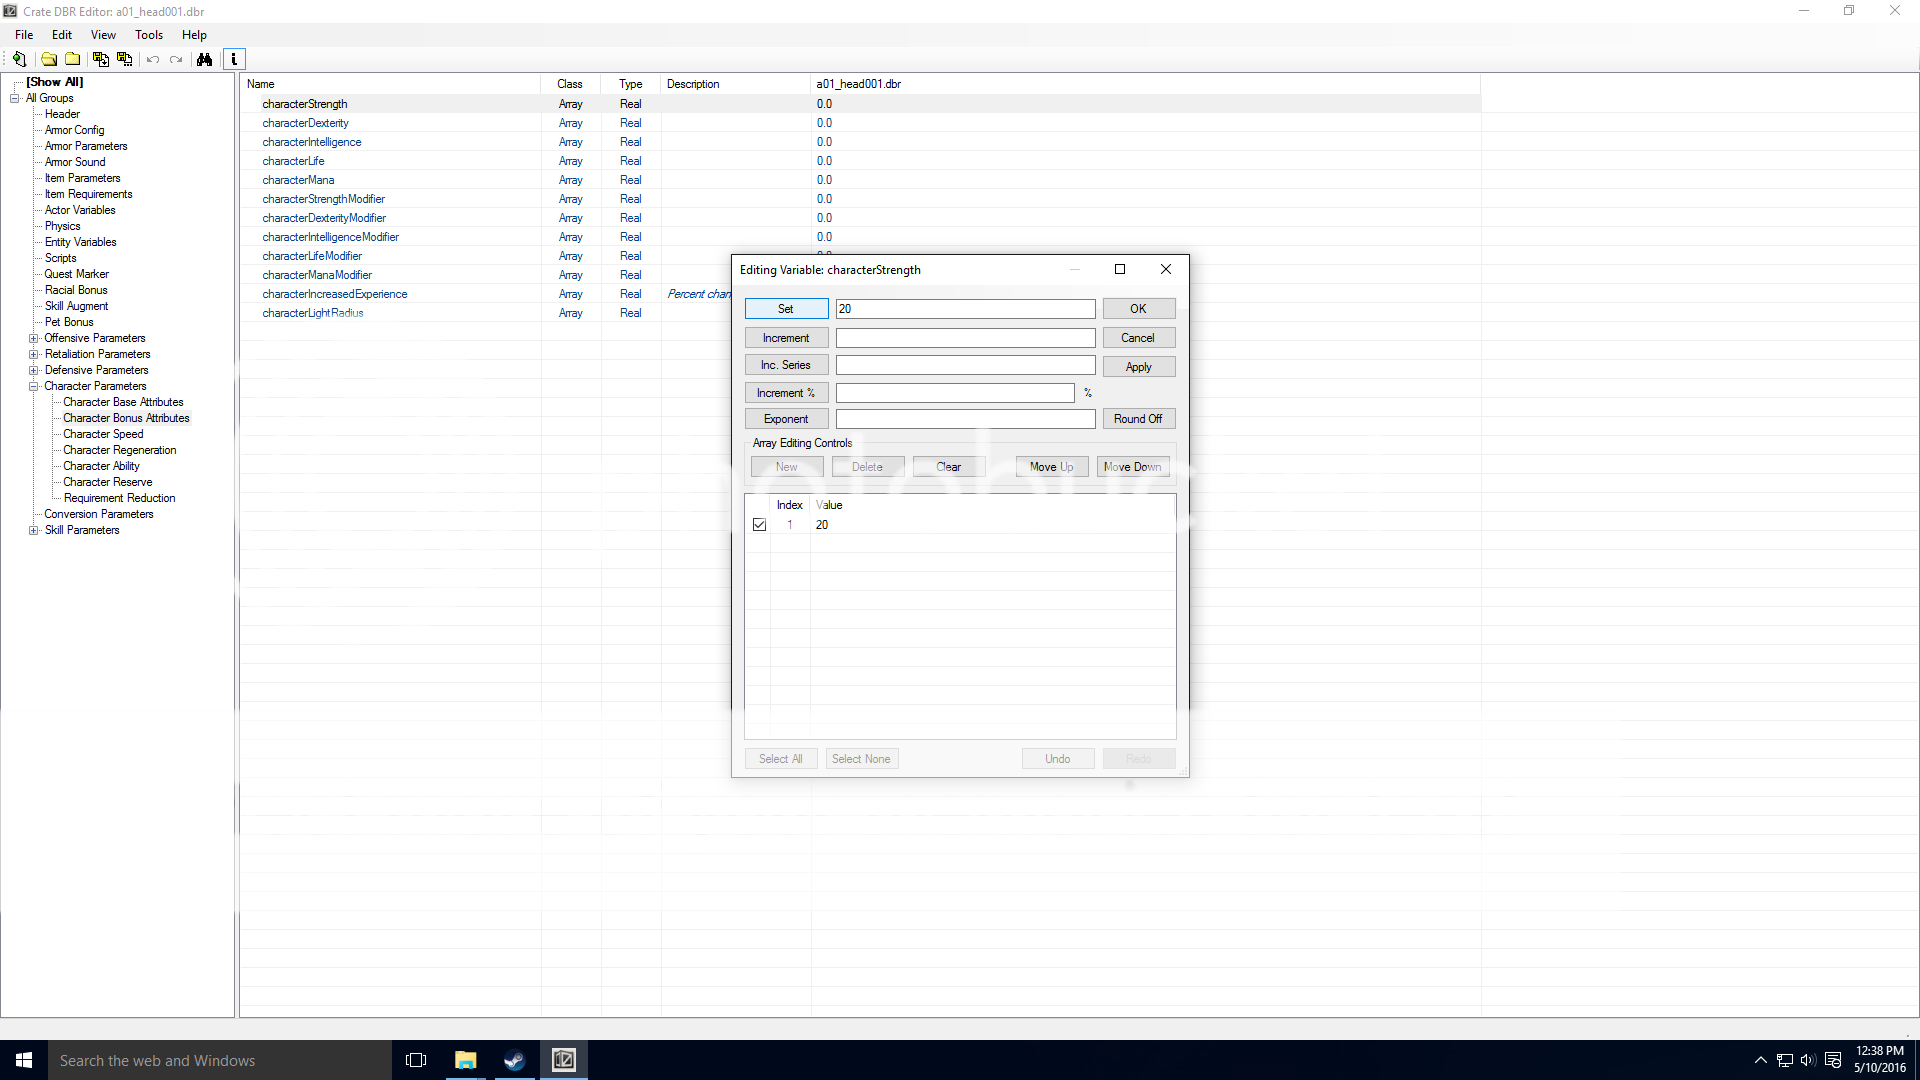
There are parameters for sounds, textures, requirements, etc… for the purpose of this tutorial, we are going to keep it simple and add some stats to this helmet file. Click Character Parameters > Character Bonus Attributes
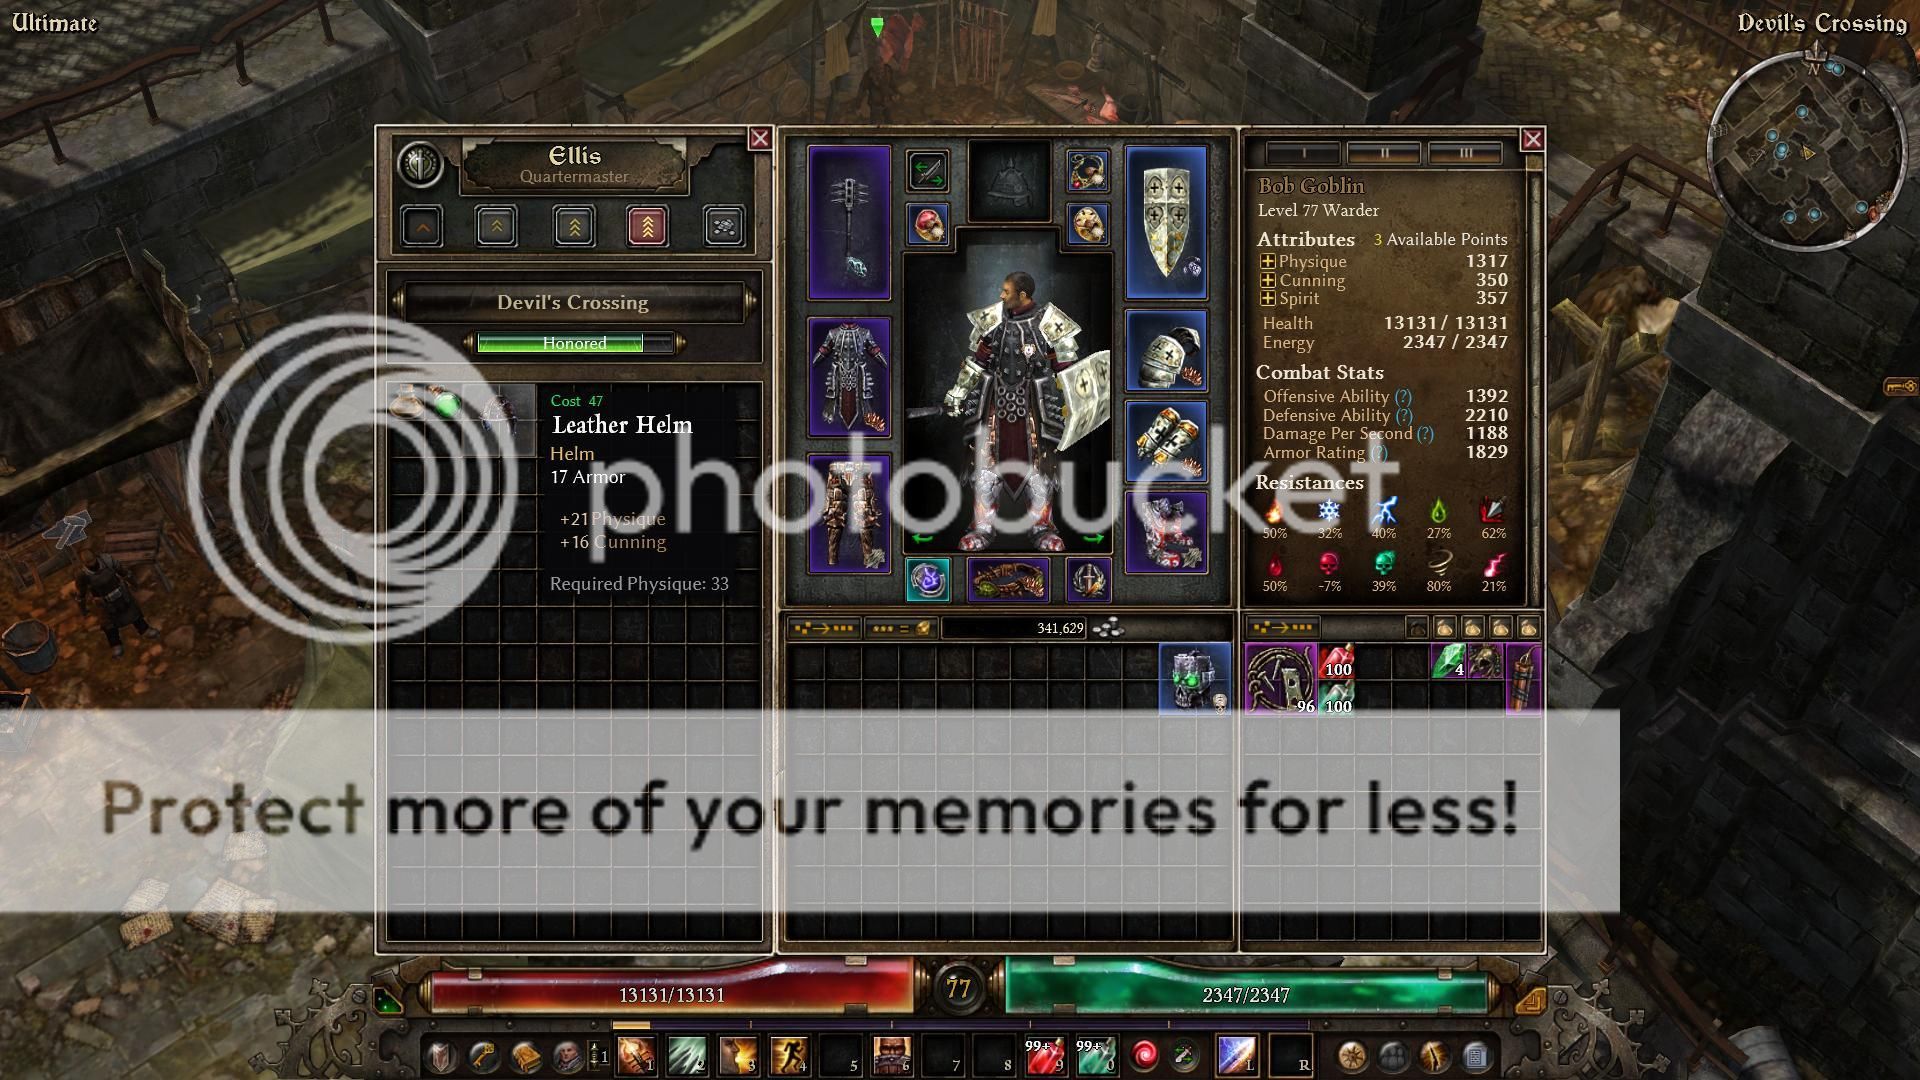
Click Strength(Physique), then ctrl+e to edit, type 20, click Set, then click OK. Lets do the same for Dexterity(Cunning), then Save As “TestHelm01.” Exit out of DBREditor.
We now have a “new” Grim Dawn item! Lets get it into the game.
Step 3: Get the item into the game for testing.
I have found the easiest way to get an item into the game is on a faction vendor.
If we browse the Grim Dawn database files, we find in the Grim Dawn/database/records/creatures/npcs/merchants/factiontables folder, a file named _merchanttbl_faction_deviscrossing.dbr
Thats the loot table for our guy. So lets recreate that file tree in the mod directory (mod/TrainItemEdit/database/records/creatures/npcs/merchants/factiontables) and copy that file over.

Launch DBREditor and open the file in our mod/…/factiontables directory. Browsing through the data points we find under Market Tables > Normal, entries pointing to other files. So this file isn’t what we wanted, but we find the four entries for the various levels of faction(friendly/respected/honored/revered). Let this also be a lesson that the data we are after may be a few layers deep. Close this file.
So it appears the file we actually want is devilscrossingfriendly_01.dbr. That file is located in the same directory we found the previous merchant file. Copy devilscrossingfriendly_01.dbr to our mod/…/factiontables folder. Open this file in DBREDitor.
Click Tier Config and you will see the data point we want at the bottom of the list “marketStaticItems.” Highlight this entry and press ctrl+e to edit.
We see the oil and tincture this vendor always has. De-select entries 1 and 2. Otherwise our new entry will over-write both. Click new, entry 3 should appear and leave it “checked.”
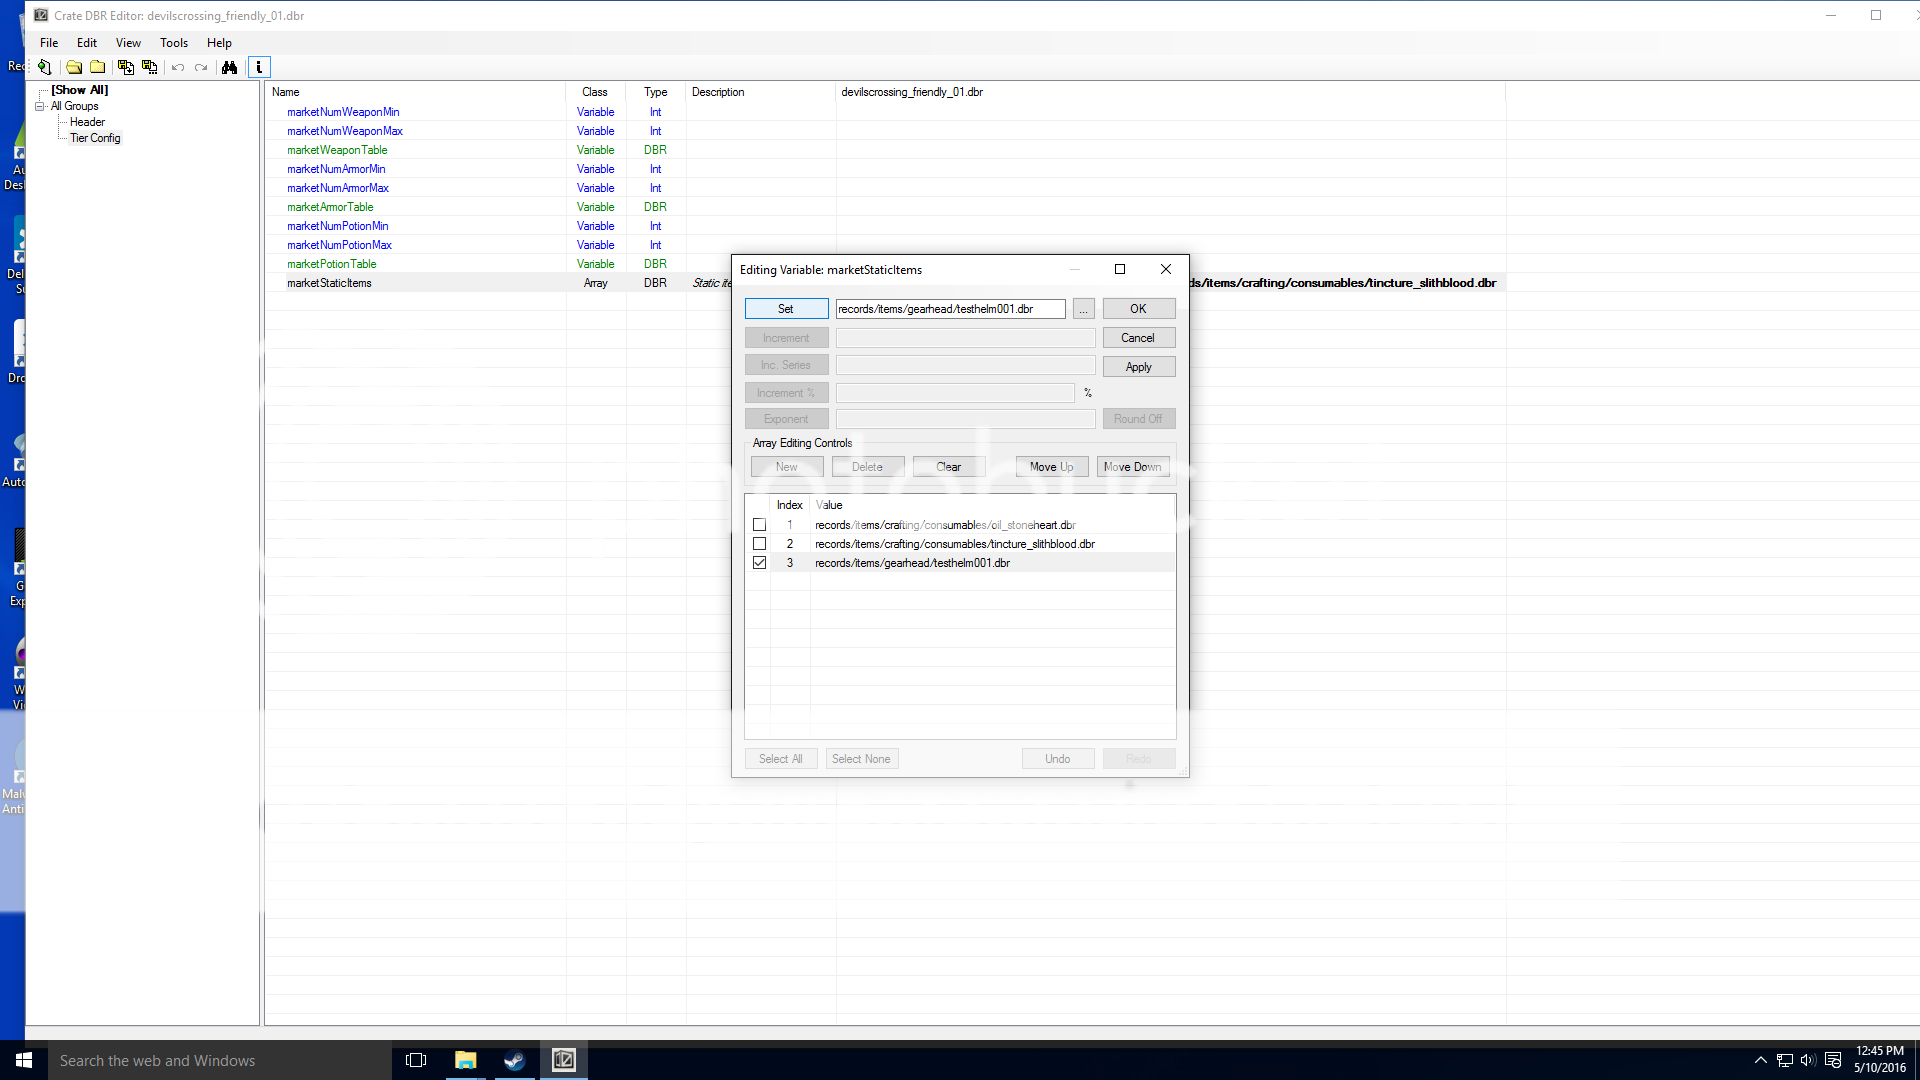
Click on the three little dots “…” near OK and find our TestHelm01 item in database/records/items/gearhead. Click SET and our item is added to the list. Now re-select entries 1 and 2 so they are back on the list as well.

Save the file and close the DBREDitor.
Launch the AssetManager program. Click Mod > Select > TrainItemEdit. Then press F7 to build our mod containing the new item.
Our mod is ready to play with our item on the Devil’s Crossing faction merch under the friendly tab.