- [Skater\hybrid] [1.3.0.8] THE BONKFATHER (Ralfhskz)
- Damage: Physical, internal trauma
- Active Skills: Blitz, Vire’s might, ground smash, ascension, displacement
Hey folks, hope everyone’s doing great!
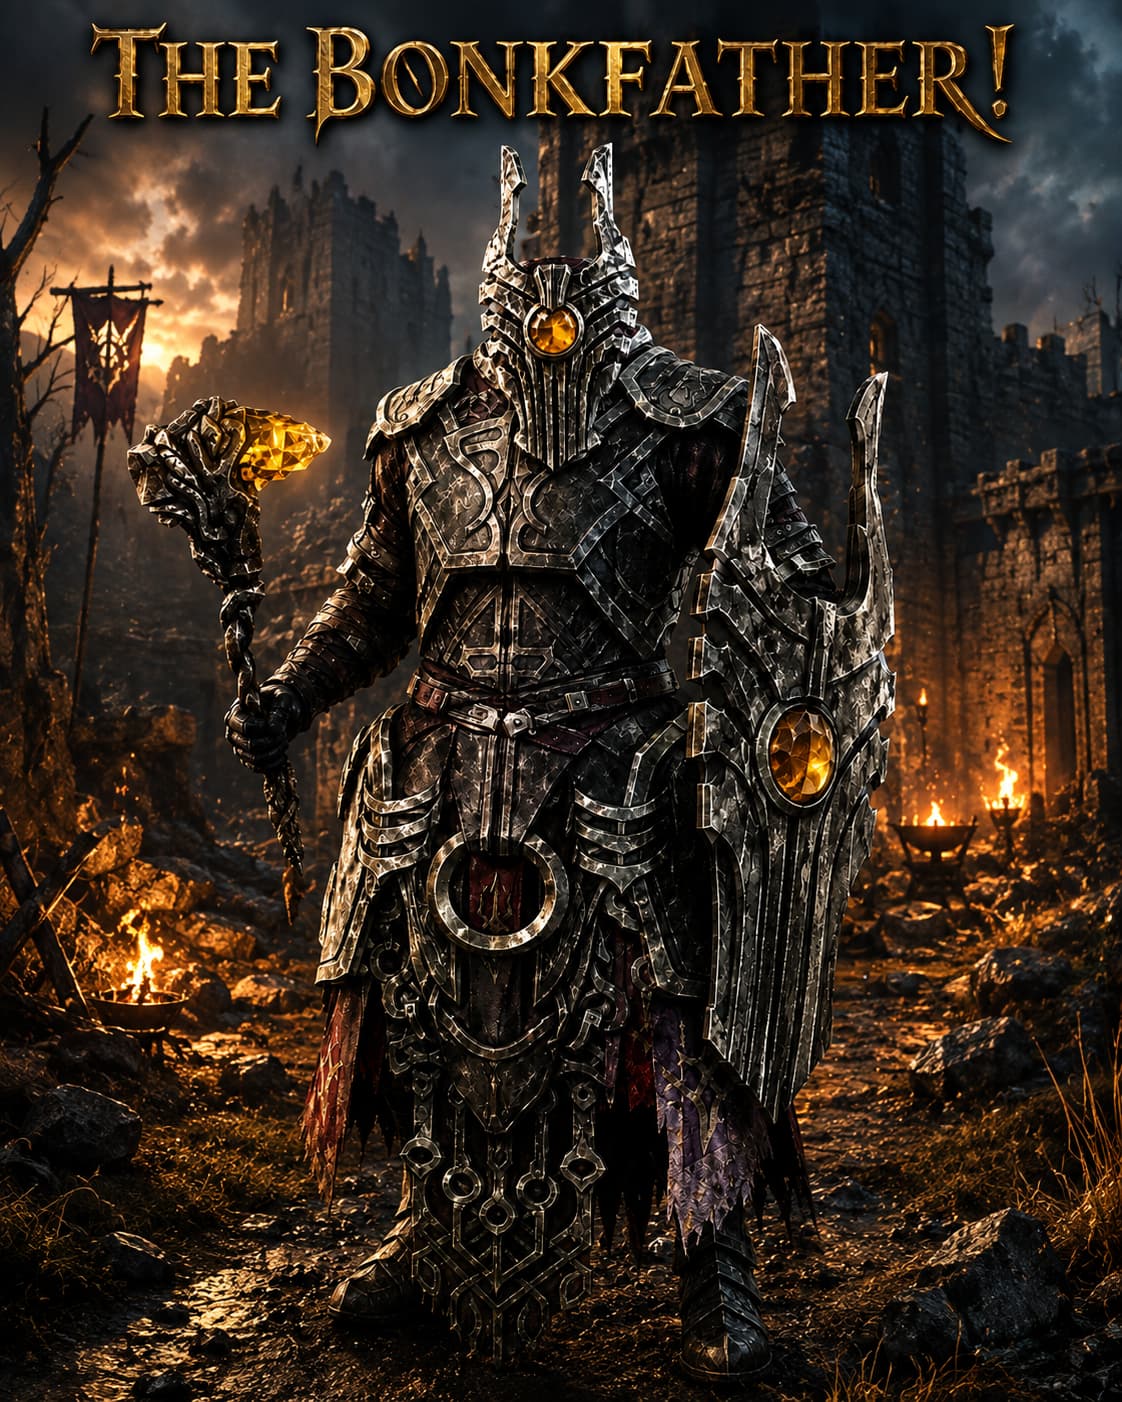
After doing some endgame testing with my Vitality Warder, I decided to take another look at some of the new Awakened sets. I stumbled across this one that I had never really paid much attention to in its Epic version, but holy crap, its Awakened version is insanely interesting!
In this case, the character’s name really lives up to the damage and the gameplay. HE BONKS🤣
I initially considered going with a more defensive devotion setup to deal with the new dangers and challenges in endgame, but the final damage output ended up surprising me in a very good way.
(yeah, warlord returns to its former glory!)
This build doesn’t require a lot of buttons or active skills, so I’d definitely consider it controller-friendly. I also think this character makes for an excellent endgame farmer, especially in Ascendant Mode.
The gameplay is smooth, fast, and really fun from the very beginning of the leveling process.
Another thing I really like about this build is that it doesn’t rely exclusively on random drops. Pretty much everything here can be target-farmed from specific enemies, bought from faction vendors, or crafted at the blacksmith.
The endgame rotation is extremely simple: smack your enemy with Blitz (that cheeky little double-tap), use Vire’s Might for some extra damage and to reduce Blitz’s cooldown, then smash them again until they’re turned into xorume juice (use ascension when heavily surrounded to absorb damage and to max up all your crowd control resists when needed).
You can also add one more skill to the rotation if you want. I used the skill granted by the boots, but if you don’t have that item, you can simply put a few points into Judgment instead.
A quick heads up before the leveling: PLEASE ACTIVATE ALL MONSTER TOTEMS (SELL UNWANTED LOOT) AND CHECK EVERY CORPSE, ROCK AND CHEST, because we’ll need to be rich or something close to that in the endgame 
 .
.
So, let’s get into it and I’ll show you how I started putting the character together:
I started the game the most obvious way for this class: choosing Soldier mastery first and going on a classic forcewave leveling!
Lvl 1-10 Soldier, Level 10 (GD 1.3.0.8) - Grim Dawn Build Calculator
I already got a head start and went to grab the good old Hevill’s Greatsword to use Forcewave without cooldown.
Spend your first skill points on the Soldier mastery bar until you reach Tremor. After that, put 1 point into Forcewave, 1 point into Tremor, and then, with each level-up, spend 1 point on Forcewave and 2 points on the Soldier mastery bar.
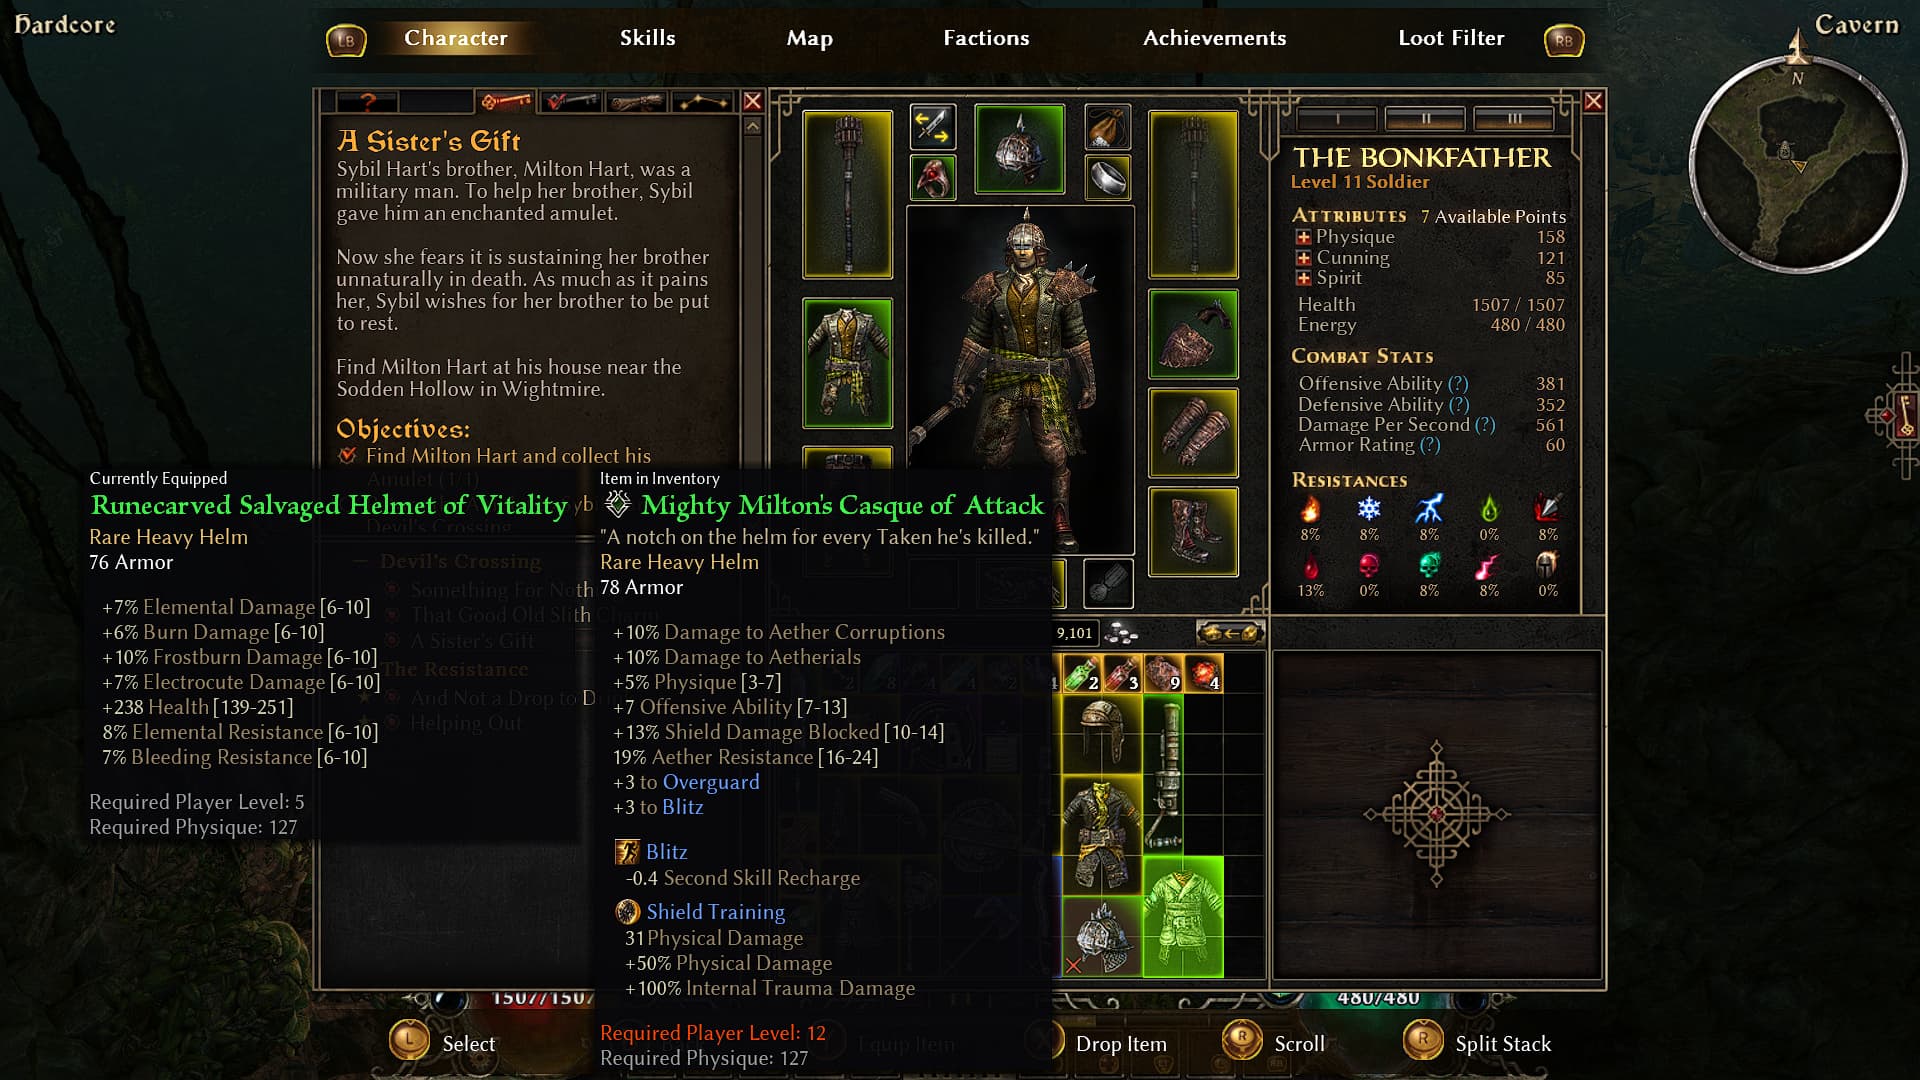
When passing through Wightmire, don’t forget to keep the helmet that drops from the enemy Milton Hart. We’ll be using it all the way into the endgame.
Lvl 10-20 Soldier, Level 20 (GD 1.3.0.8) - Grim Dawn Build Calculator
Invest points into Rending Force and one point into Internal Trauma. Put one point into Blitz and Veterancy. You can also put one point into Menhir’s Will just to be safe  . Start investing points into the oathkeeper mastery bar.
After restoring the first 6 shrines, put one point into Order (Crossroads) and complete Assassin’s Blades (attach the proc to Forcewave).
Lvl 20-30 Warlord, Level 30 (GD 1.3.0.8) - Grim Dawn Build Calculator
After defeating Warden Krieg, I immediately headed into the Forgotten Gods DLC so we could transition earlier into the gameplay we’ll be using from this point onward.
Feel free to choose whichever cult you want to ally with. The main goal here is to reach the entrance to the tomb of the eldritch sun.
By completing the quests for any of the chosen factions, the final quest will inevitably lead you to fight Uroboruuk’s son and, immediately after him, The Steward.
The goal is to farm the weapon that drops from him. This weapon wasn’t particularly appealing in previous patches, but the new +1 charge to Vire’s Might mechanic, combined with the skill’s damage bonuses, has made it a very viable and fun option for leveling.
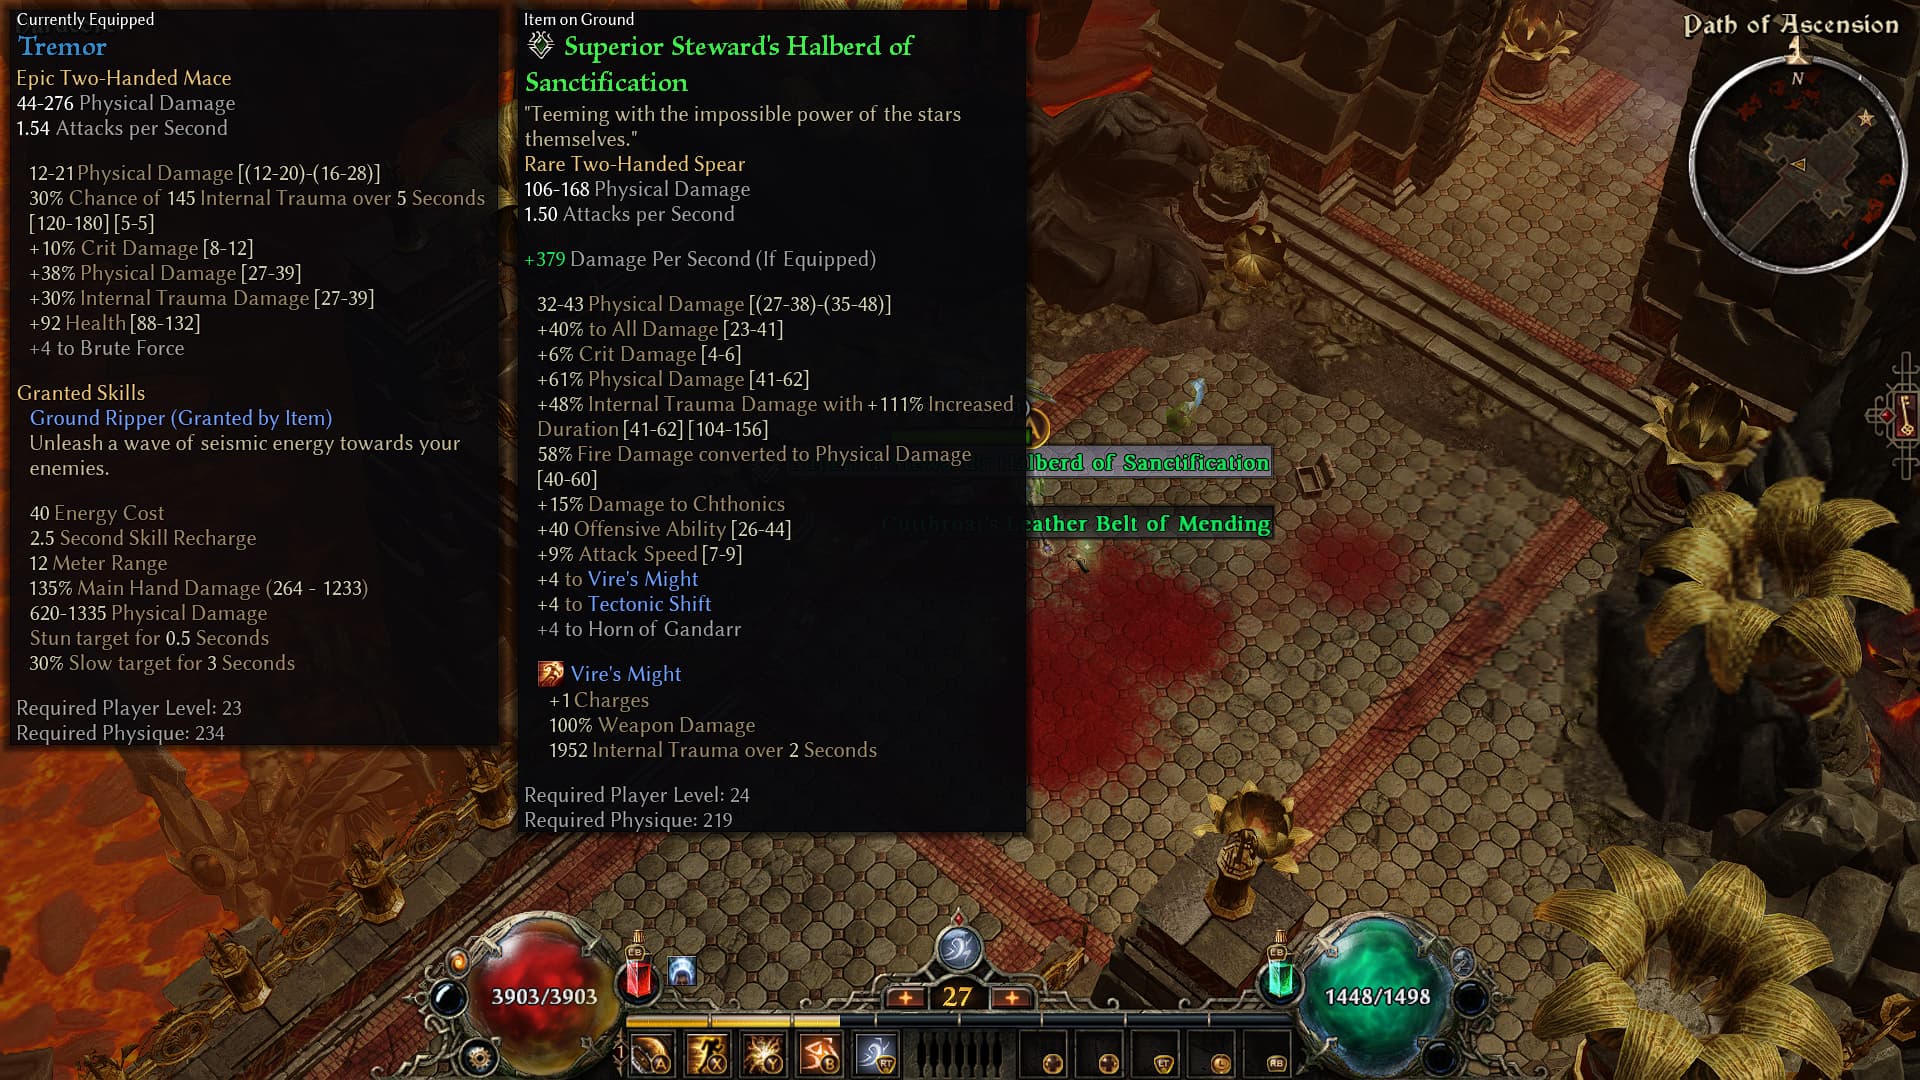
After equipping the weapon, respec your Forcewave points and its modifiers into Vire’s Might, Volcanic Stride, Blitz, and Blindside. Invest 1 point in summon Guardian of Empyrion and bind the assassin’s blades proc to it.
For your Devotions: complete Dryad (attach the proc to Blitz), complete Tortoise. Remove the point from Order and invest one point into Ascendant (both in Crossroads), then complete Hammer.
Lvl 30-40 Warlord, Level 41 (GD 1.3.0.8) - Grim Dawn Build Calculator
After finishing the DLC, I went back to the vanilla campaign. From this point on, start investing points into Tectonic Shift, Blindside, and the Oathkeeper mastery bar until you reach Celestial Presence.
Once you unlock it, invest points into Celestial Presence until it reaches at least 12/12.
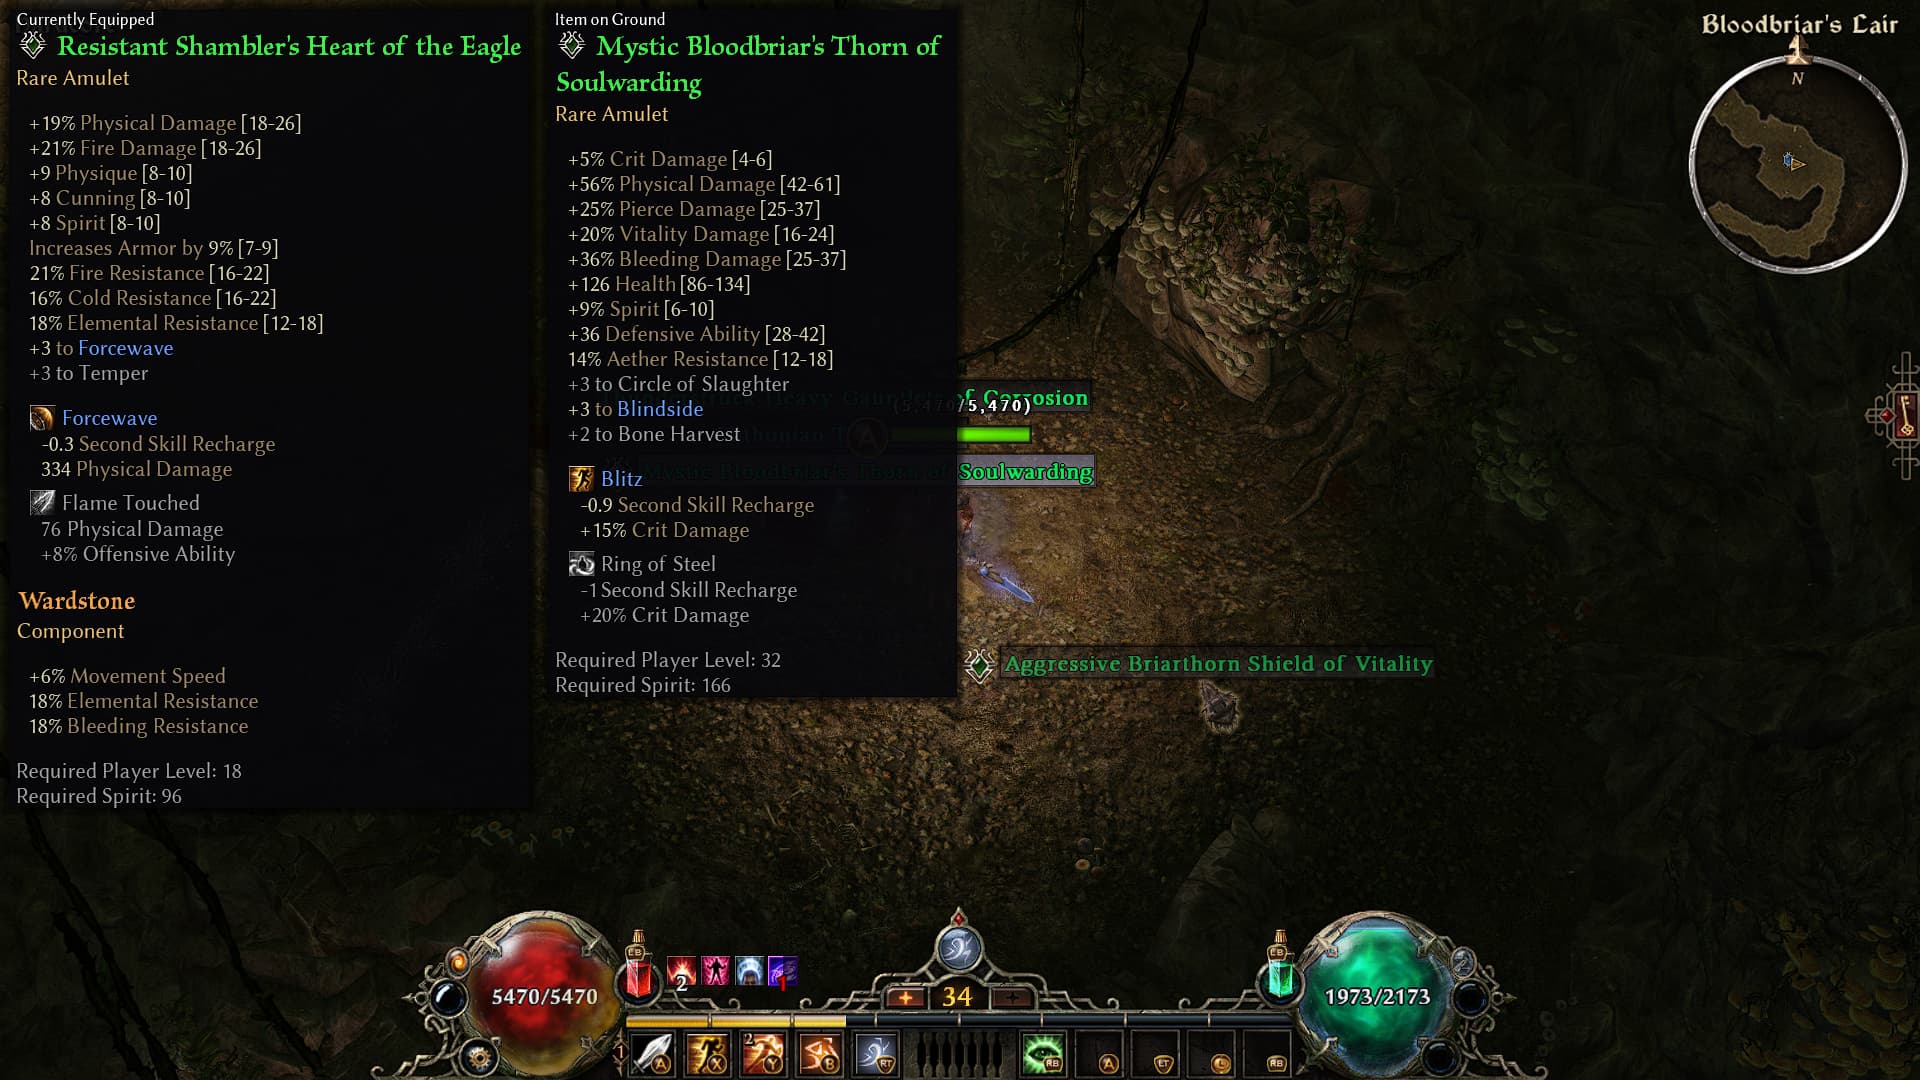
Before reaching Homestead, complete the Pine Barrens quests so you can farm this precious amulet. It will be our main amulet for the rest of the build.
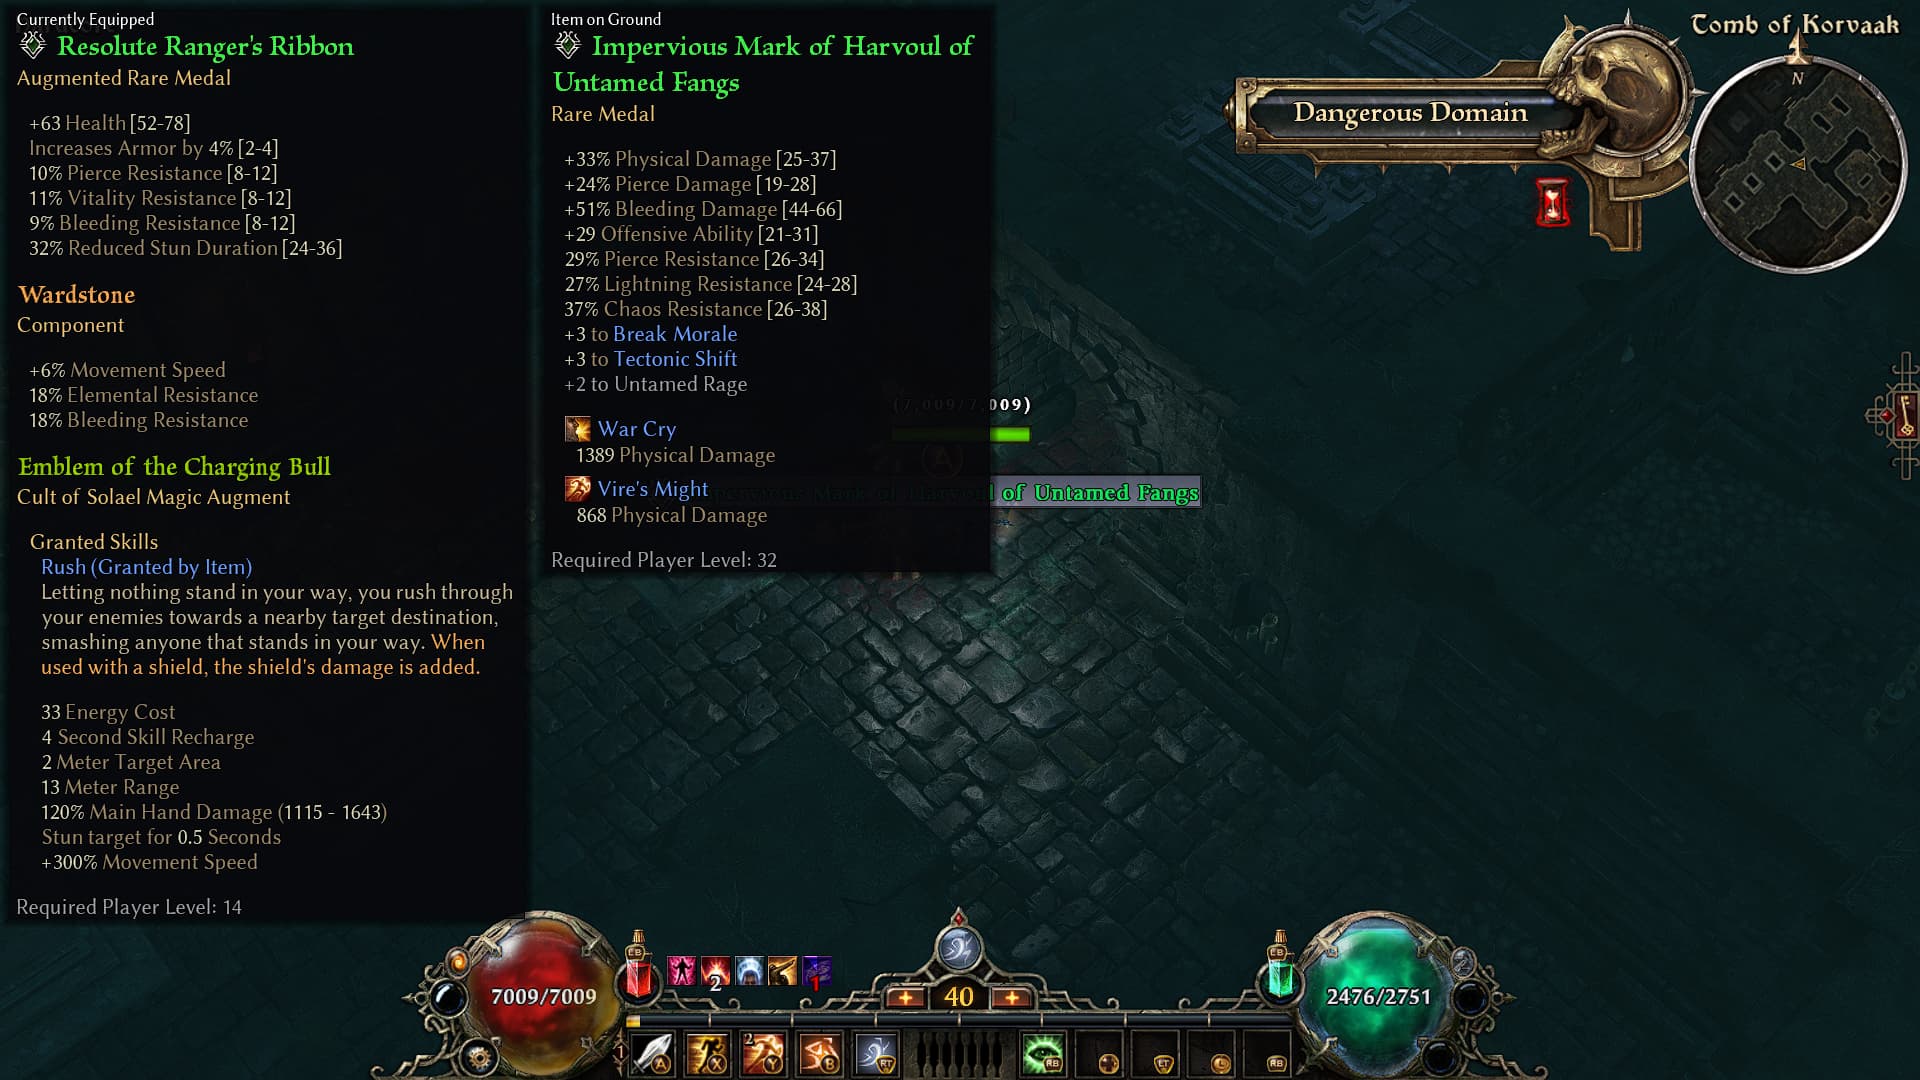
When passing through Asterkarn Valley, head to the right of the Riftgate to find a dungeon called Tomb of Korvaak. At the end of the dungeon, you’ll face an enemy called Harvoul. We’ll be using the medal that drops from him all the way into the endgame.
For your Devotions: complete Crab, remove Hammer, remove ascendant(crossroads), complete Lizard, complete Harvestman’s Scythe, and complete Ulzaad (attach the proc to Vire’s Might).
Lvl 40-50 Warlord, Level 50 (GD 1.3.0.8) - Grim Dawn Build Calculator
When passing through Ugdenbog, keep the belt that drops from Carraxus, the Foul. This belt will be our main belt slot for quite some time. It can also drop from other enemies, but Carraxus always drops one every time you annihilate him.
Once you’ve maxed out Celestial Presence, put all your Skill Points into the Soldier mastery bar until you reach Oleron’s Rage.
For your Devotions: complete Eel and complete Sailor’s Guide.
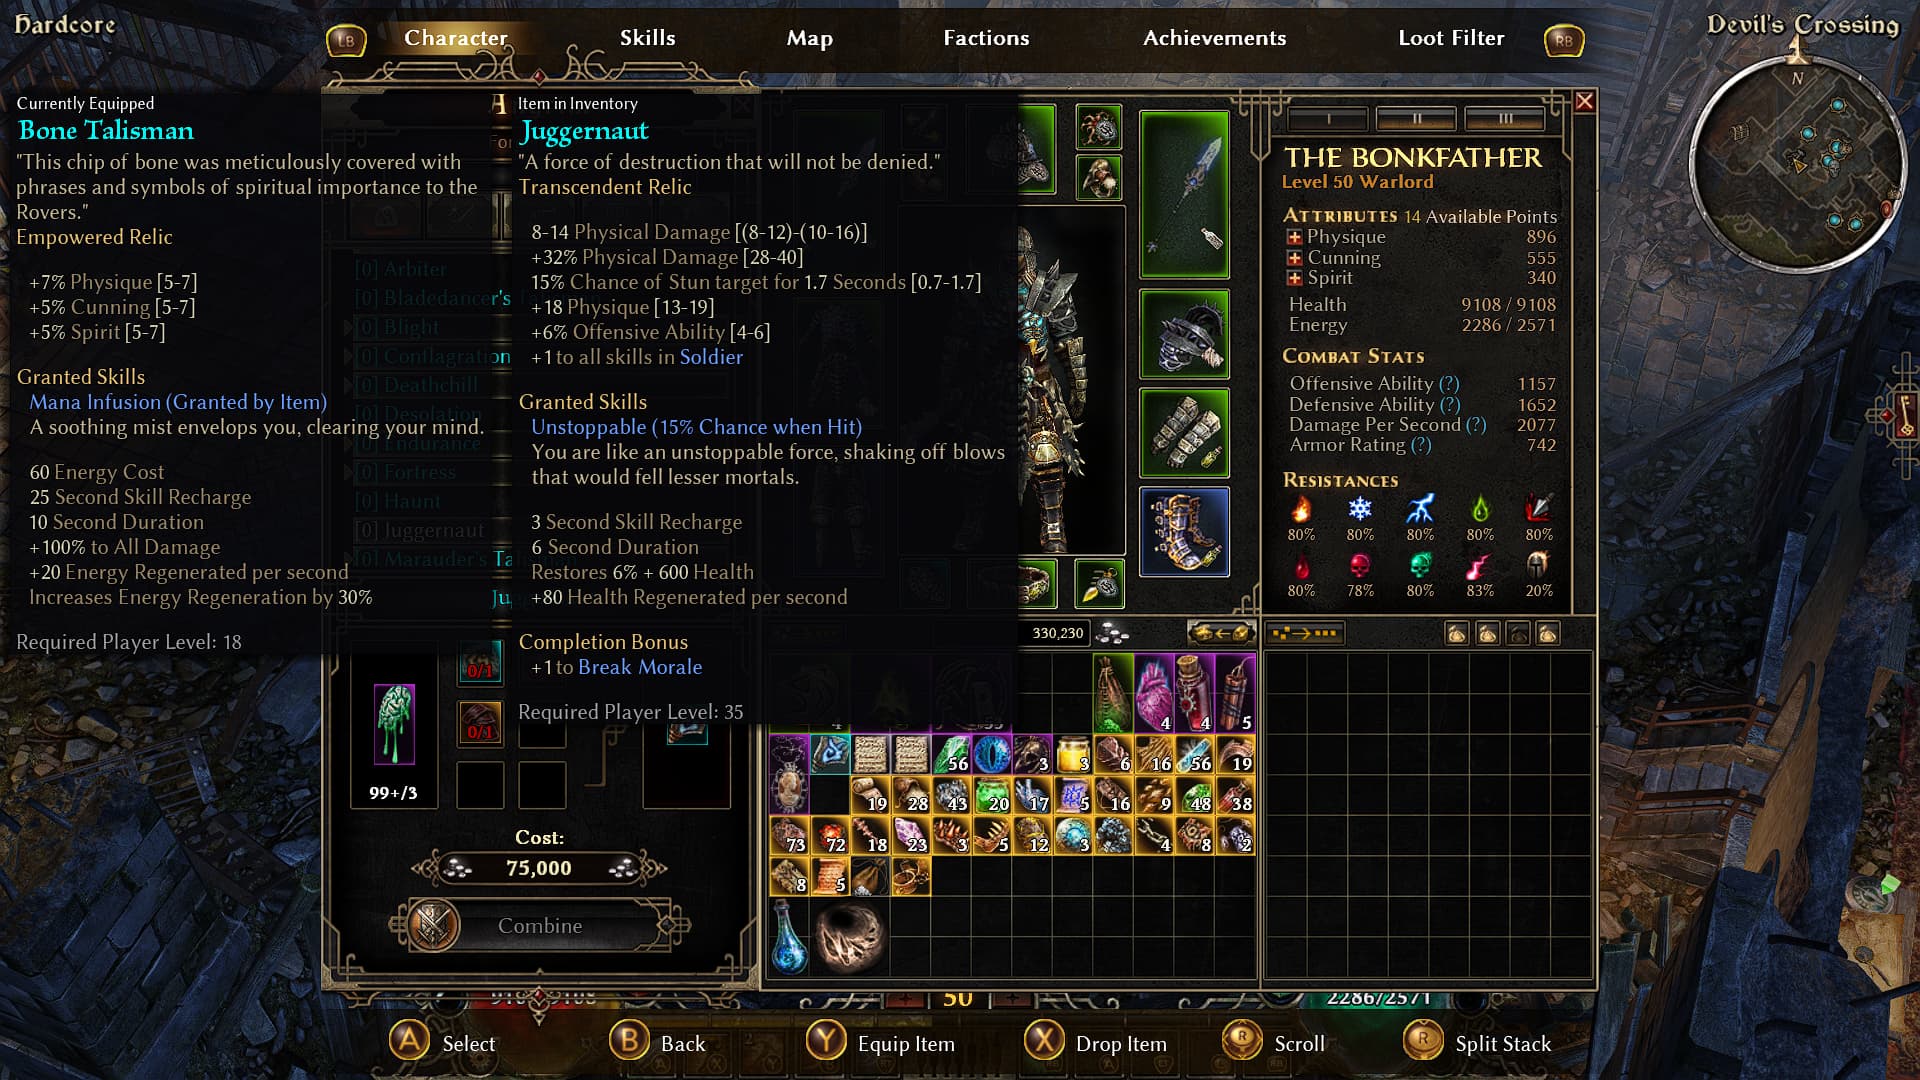
a golden tip: if you still haven’t gotten the Juggernaut Relic blueprint to drop by this point, once you unlock Hyram’s shop in Steelcap District in Malmouth, use the shop reset trick on him until you get access to the blueprint for this relic.
It’s not 100% mandatory for the build, but it will definitely be very useful for damage, OA, and survivability all the way into the endgame.
Lvl 50-60 Warlord, Level 60 (GD 1.3.0.8) - Grim Dawn Build Calculator
After finishing the Ashes of Malmouth and Fangs of Asterkarn DLCs, I started Elite mode at around level 62.
Check your resistances and make any necessary upgrades to your gear and weapon. It’s also time to check whether you’ve reached Honored status with any factions. If so, buy their Writ to speed up your progress toward Revered status.
For your Skill Points, after maxing out Oleron’s Rage, start maxing out Field Command and Presence of Virtue as well.
To finish up the Devotions: complete Light of Empyrion and Tree of Life (5 points remaining).
Lvl 60-70 Warlord, Level 70 (GD 1.3.0.8) - Grim Dawn Build Calculator
Now it’s time to speed things up and push through the main campaign and the Elite DLCs again.
Don’t forget to buy the writs from any factions you’ve already reached Honored status with! I hope you’ve been selling your loot and picking up as much as possible to keep building up your gold.
Don’t forget to open chests and loot corpses for iron bits and loot. And always activate Monster Totems whenever you come across them.
Lvl 70-80 Warlord, Level 80 (GD 1.3.0.8) - Grim Dawn Build Calculator
By now, you’re probably playing on Ultimate. Start making further upgrades to your gear and check your faction reputation again.
Keep an eye on the loot you’re picking up, because at this level and on Ultimate, Epic and Legendary items should start dropping pretty frequently.
Your main goal from this point onward is to get at least 4 pieces of the Epic Stonefather set.
Here’s a useful tip if you’re having trouble getting the pieces from Totems: you can buy the set’s blueprint from Benevald’s shop in Blood Grove. Just use the shop reset trick a few times until the blueprint shows up.
Lvl 80-90 Warlord, Level 90 (GD 1.3.0.8) - Grim Dawn Build Calculator
Once you hit level 90+, start farming the endgame versions of your gear.
About affixes of green items: Look for physical and or internal trauma bonuses, like IMPOSING, DEVASTATING, EARTHBOUND, BARBARIC, RAMPAGE, OF RUIN, OF OLERON’S WRATH, OF ABOMINATION, OF SUPREMACY, OF SOULWARDING etc…
I got lucky and dropped those decent pants early on.
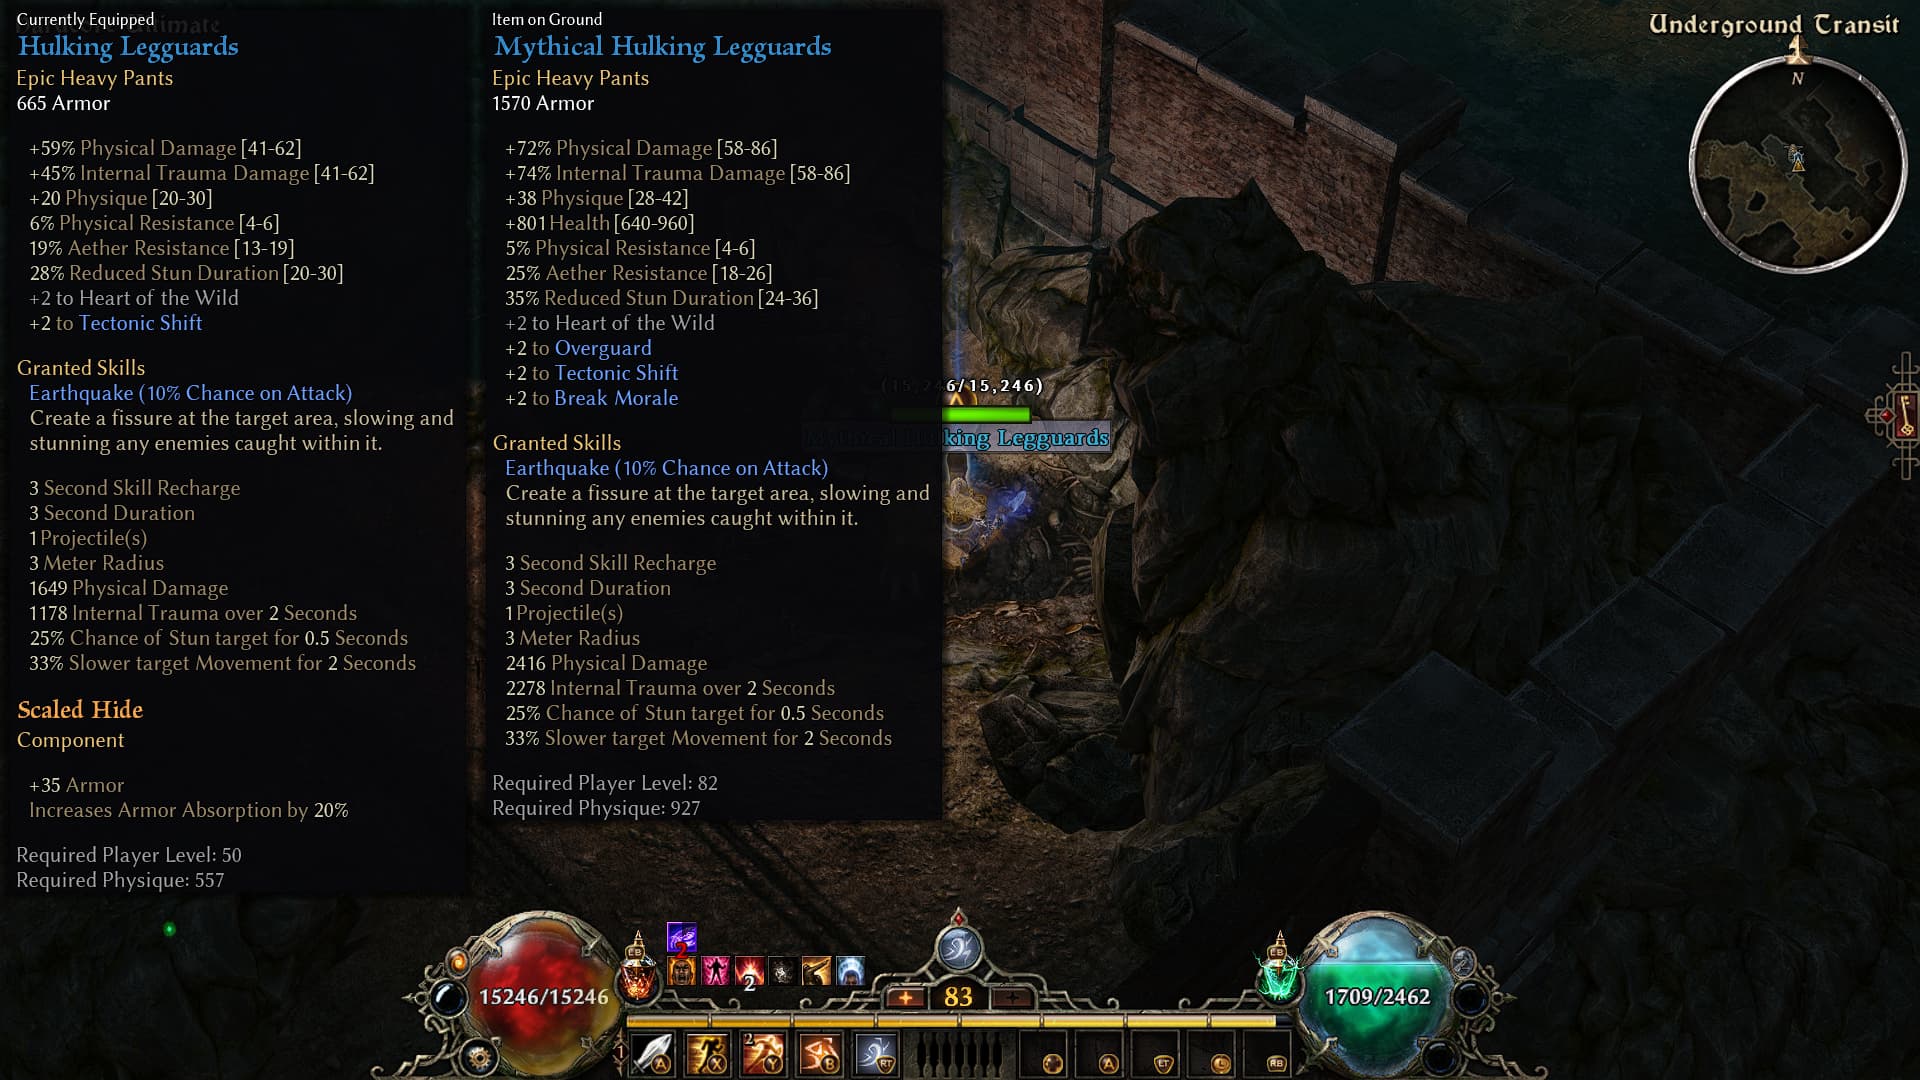
They’re a common drop and should serve you well until you get the proper endgame pants.
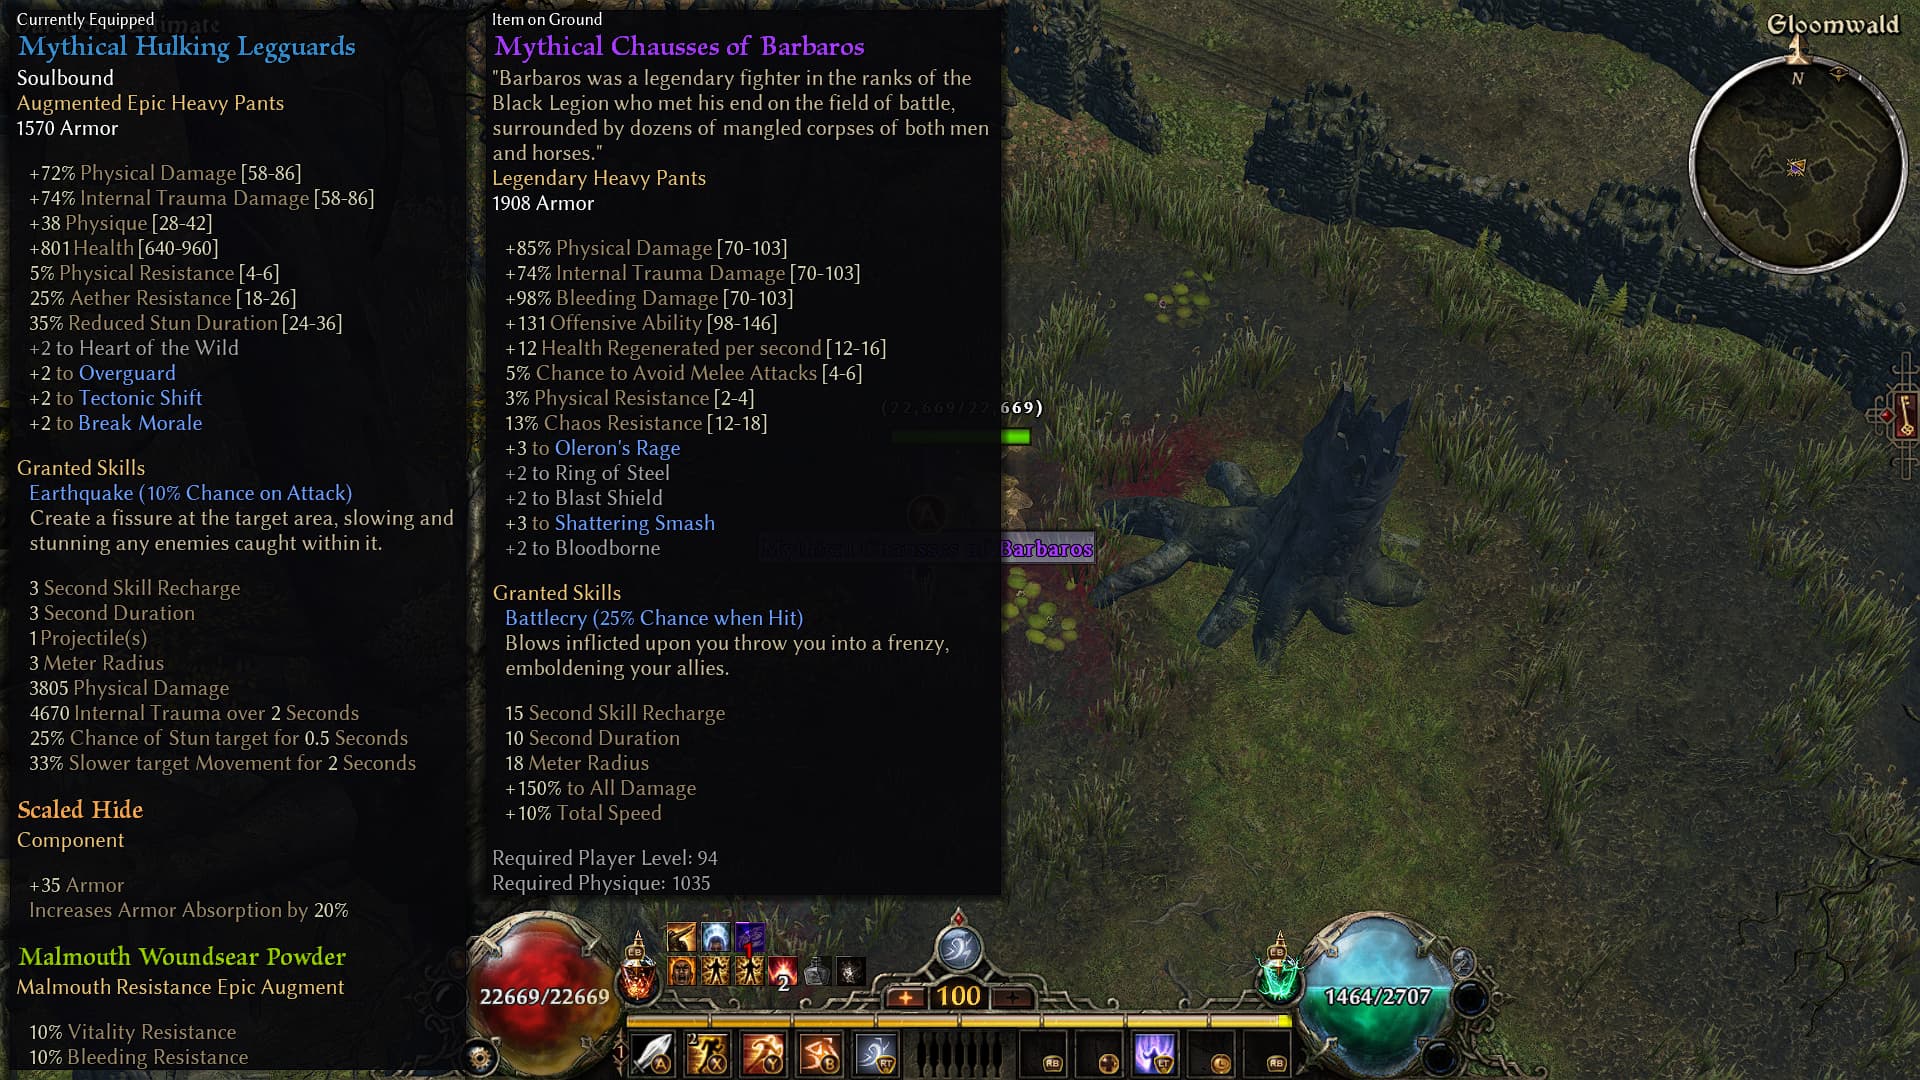
If you didn’t dropped any of them, don’t you worry and go farm one dreeg-sect legguards from the Guardian of dreeg near lower crossing.
For your budget rings, you can buy them from the Coven of Ugdenbog faction vendor. Endgame version was planned using on Mythical Sigil of the Stone Thane and one Bladetwister signet, but didn’t dropped any of them yet.
The budget chest armor and shoulders can be purchased from the Malmouth Resistance faction vendor (I planned using the mythical titan pauldrons on endgame, but didn’t dropped any yet).
If you still haven’t gotten the Stoneplate Waistguard blueprint, farm a decent level 94 Ugdenbog Girdle from Carraxus.
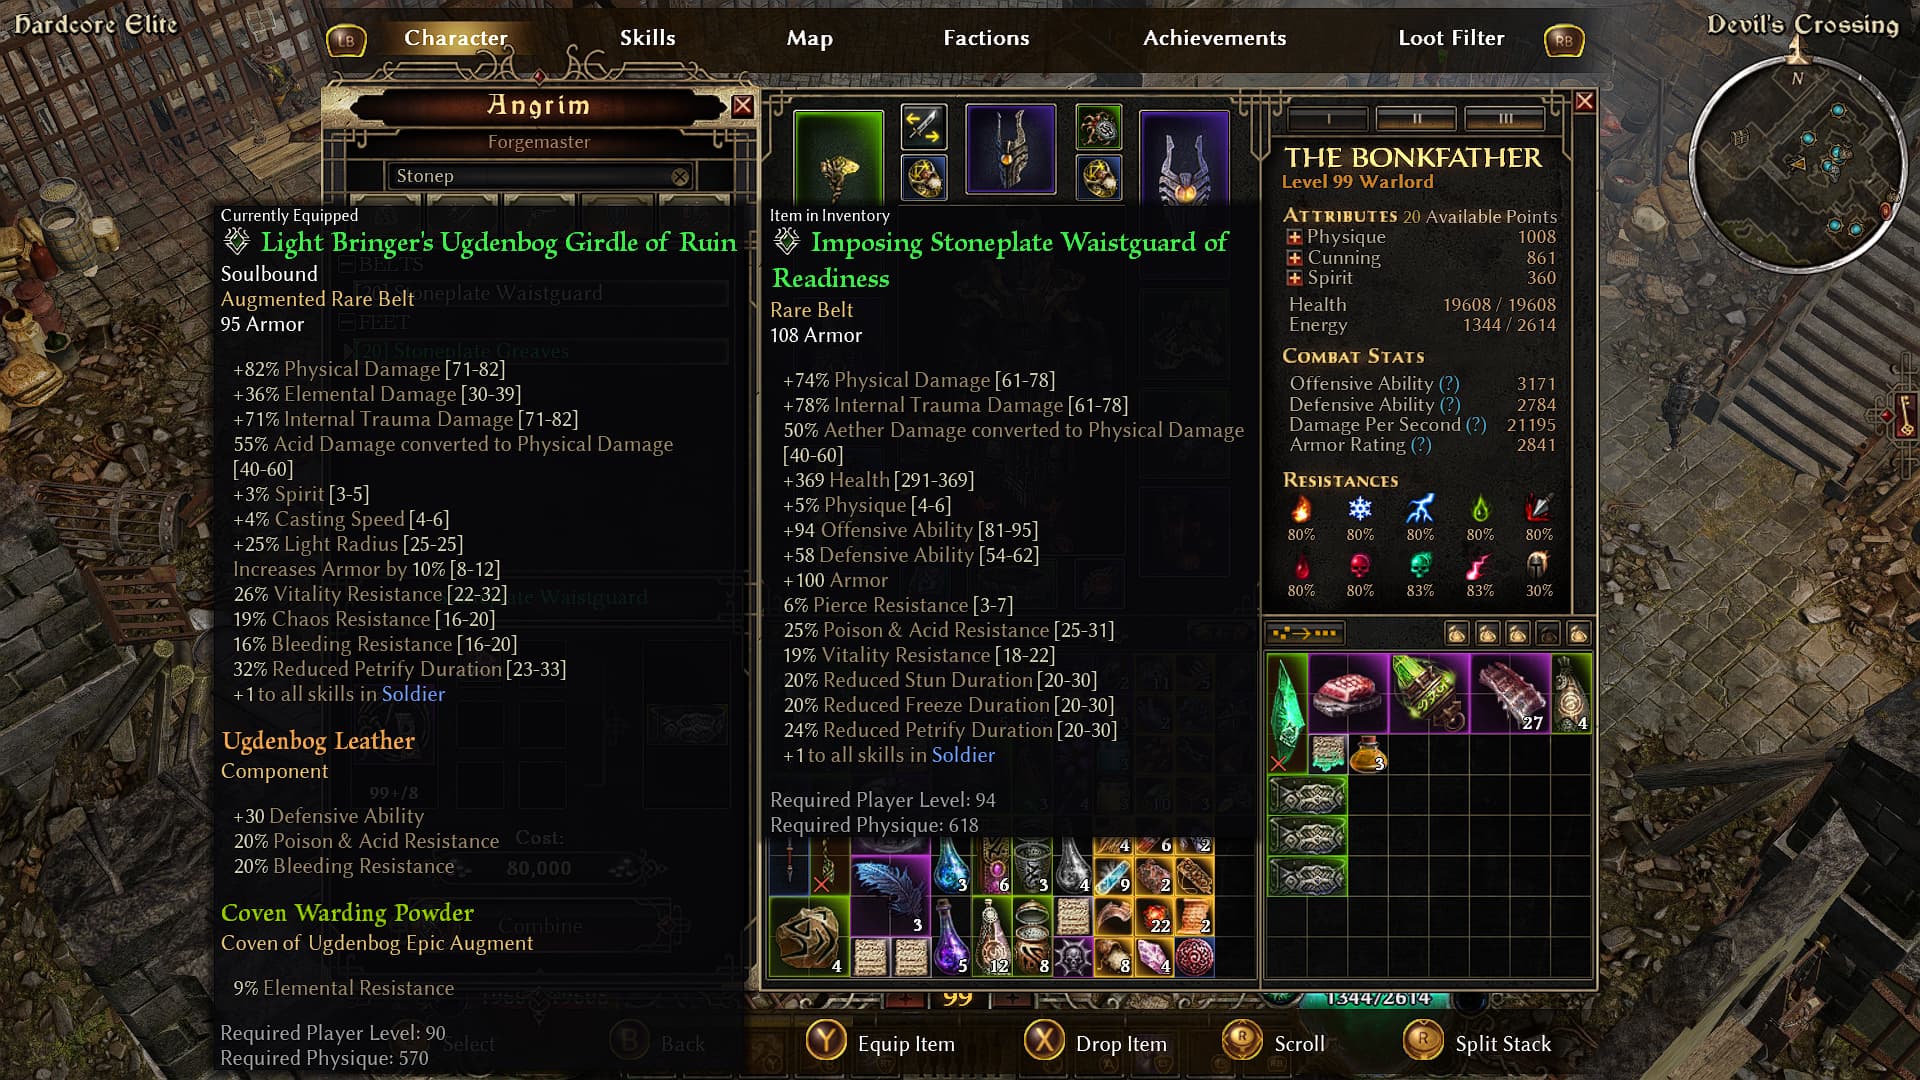
Make another run through the entrance of the Tomb of the Eldritch Sun to get a level 94 Steward Halberd.
Don’t forget blitzin’ Milton hart again to farm a decent lvl94 version of his helmet.
I ended up getting these Epic boots,
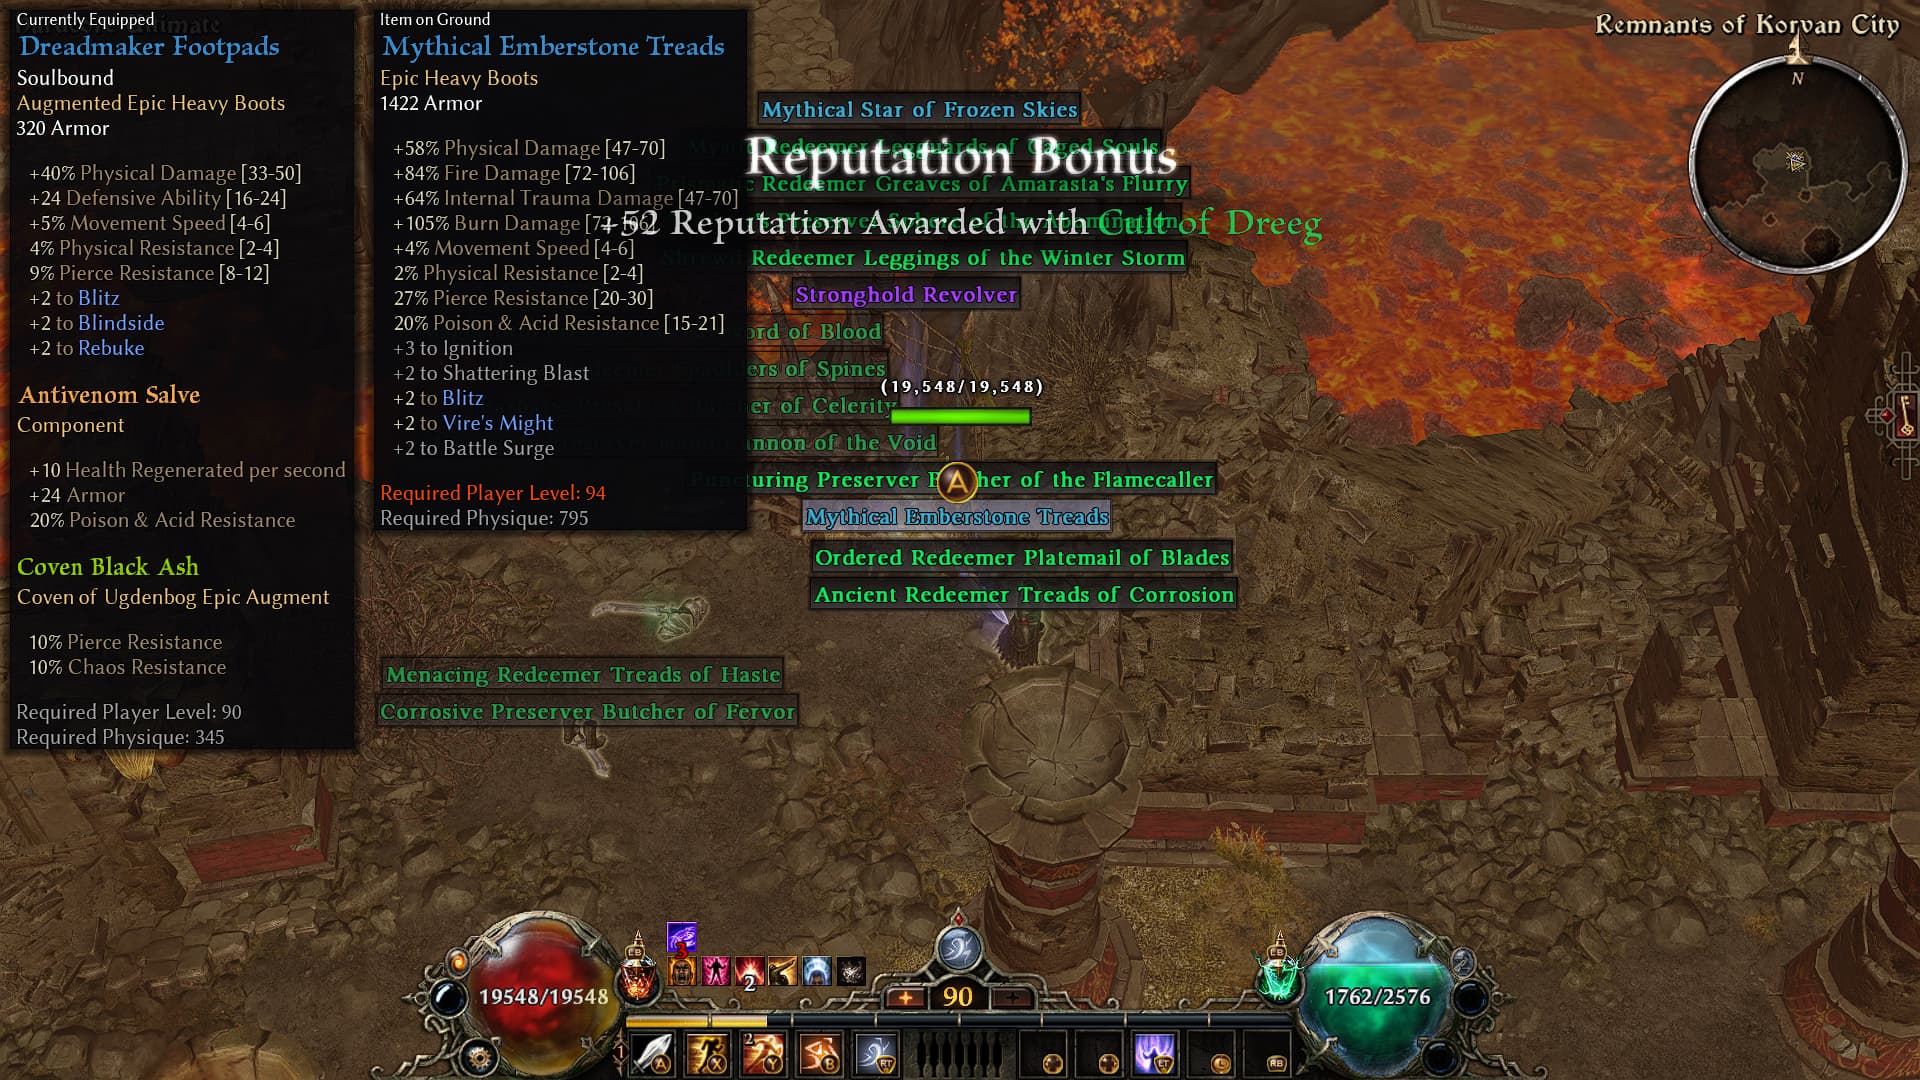
which served me well for a while until I got this amazing drop pair that will be great for the endgame.
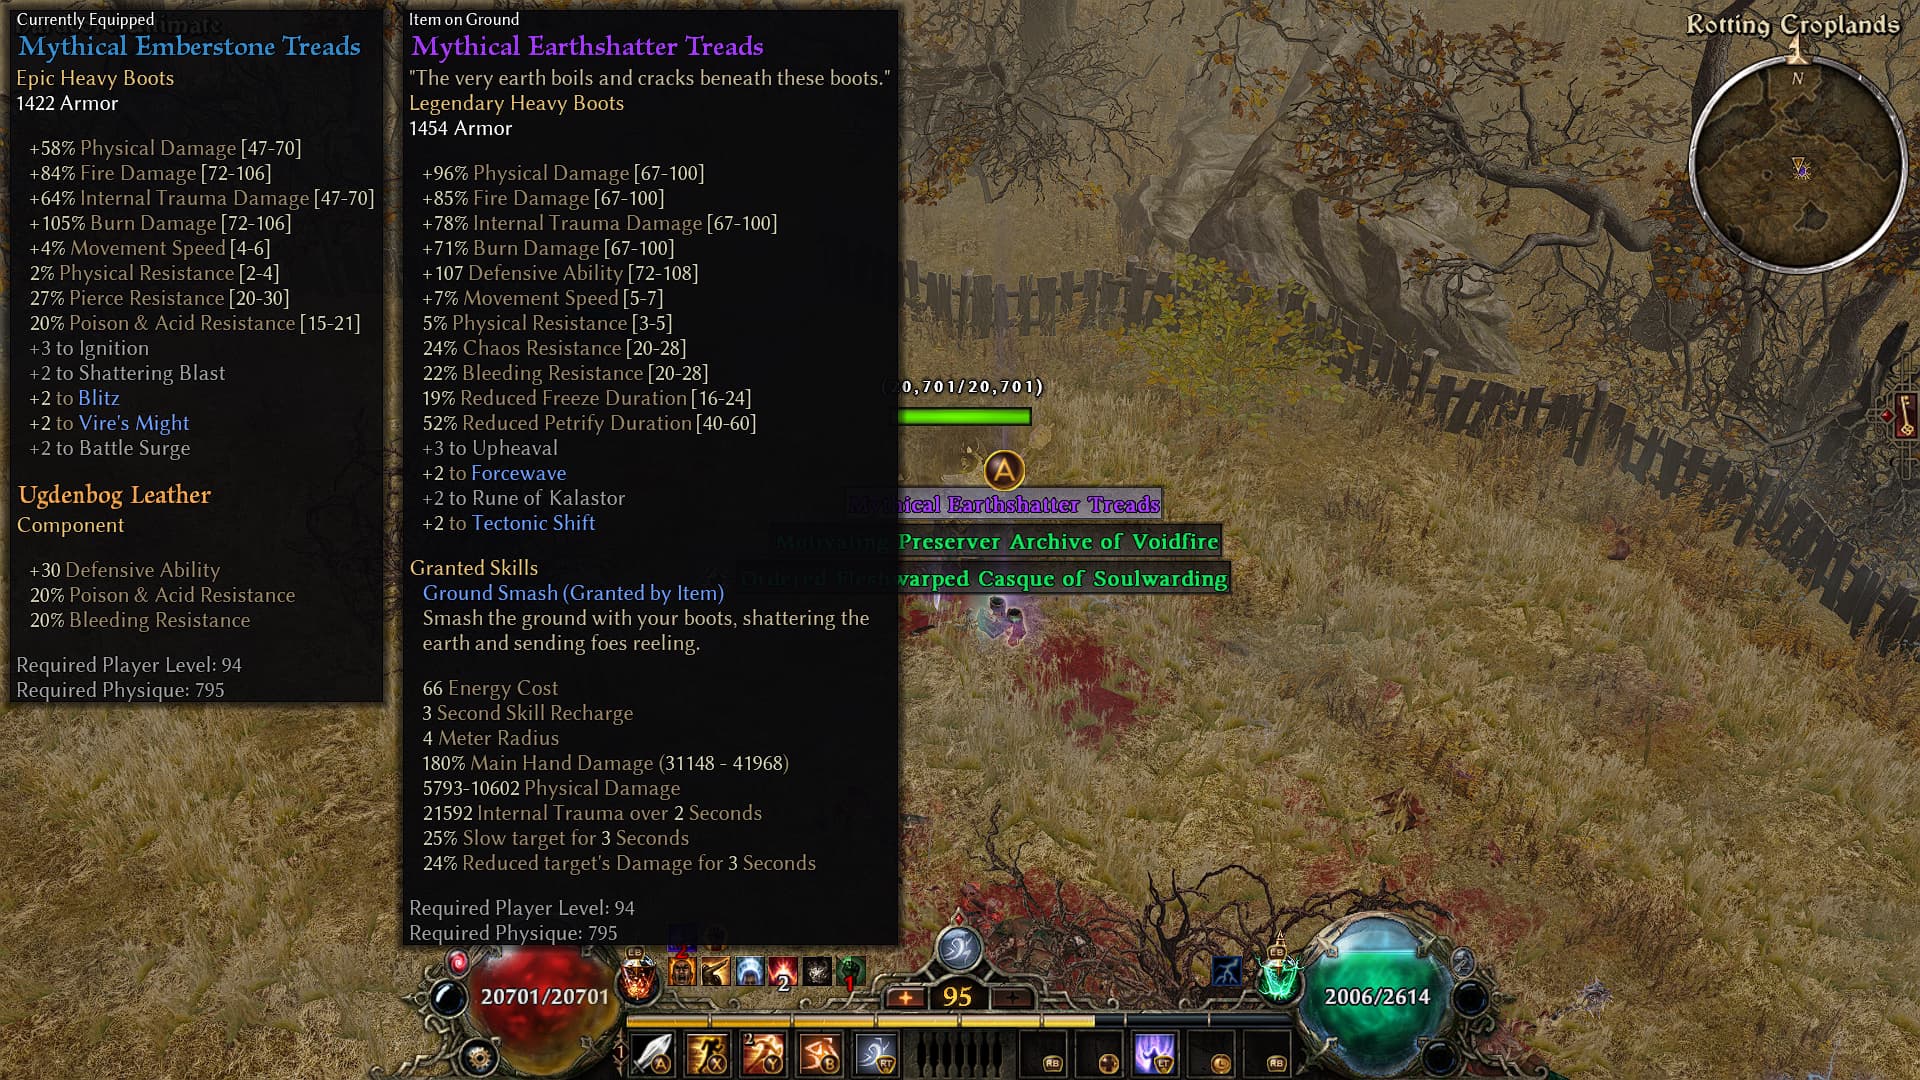
If you don’t have either of those available, a decent pair of Elite Legion Greaves will do just fine.
Make a run to Ol’ Bloodbriar’s hideout and Harvoul’s dungeon to farm decent level 94 versions of the amulet and medal.
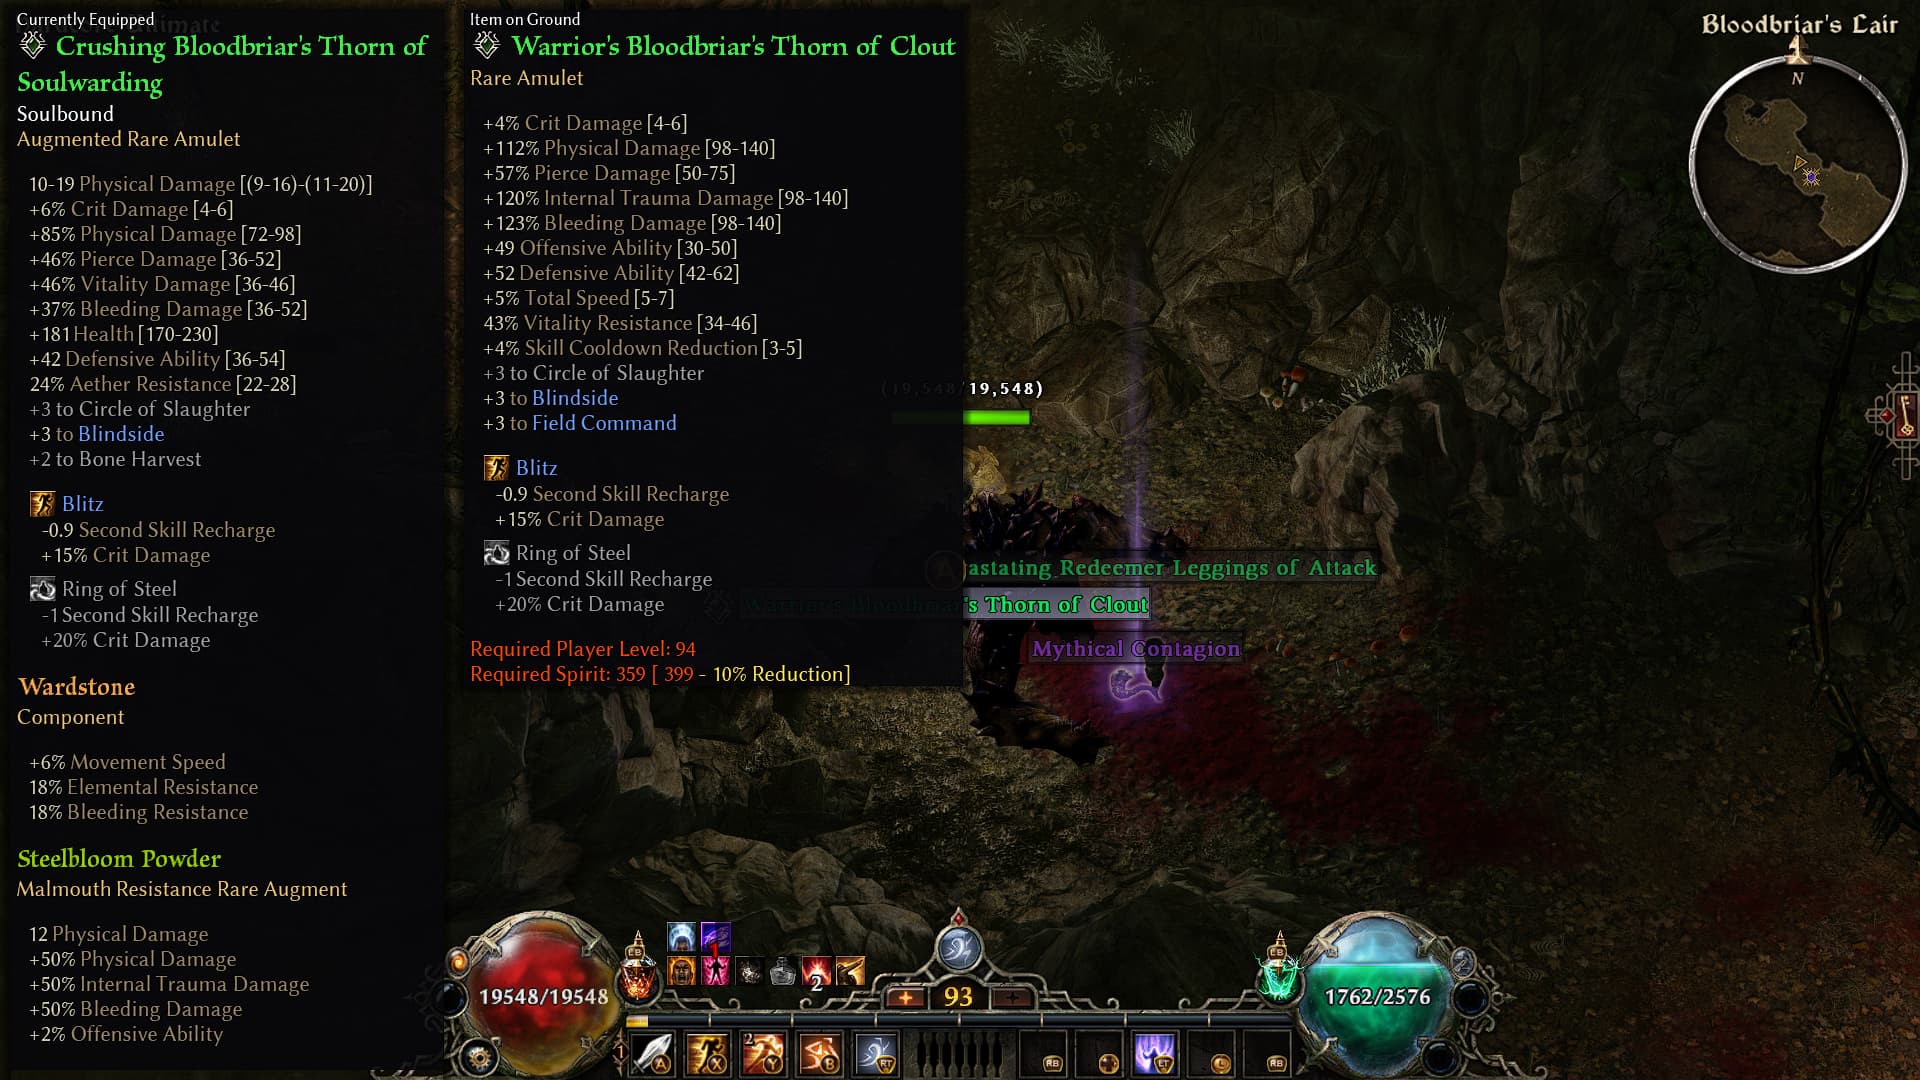
For gloves, I was planning to use Mythical Colossal Grasp, but since I haven’t gotten them to drop yet, I crafted a pair of Emberguard Gauntlets as a temporary option. You can also go with the budget-friendly Elite Harvest Grips.
My character when I hit level 94: Warlord, Level 94 (GD 1.3.0.8) - Grim Dawn Build Calculator
With this budget setup, you can farm monster totems very easily. I even managed to take down Rashalga quickly and effortlessly while progressing through Ultimate.
Bonkfather X Rashalga (budget)

But remember, the main goal here is to get the four pieces of the Stonefather set as quickly as possible, either by farming them as drops or crafting them. (remember I told you to become rich in iron bits? time to get poor again 
 )
)
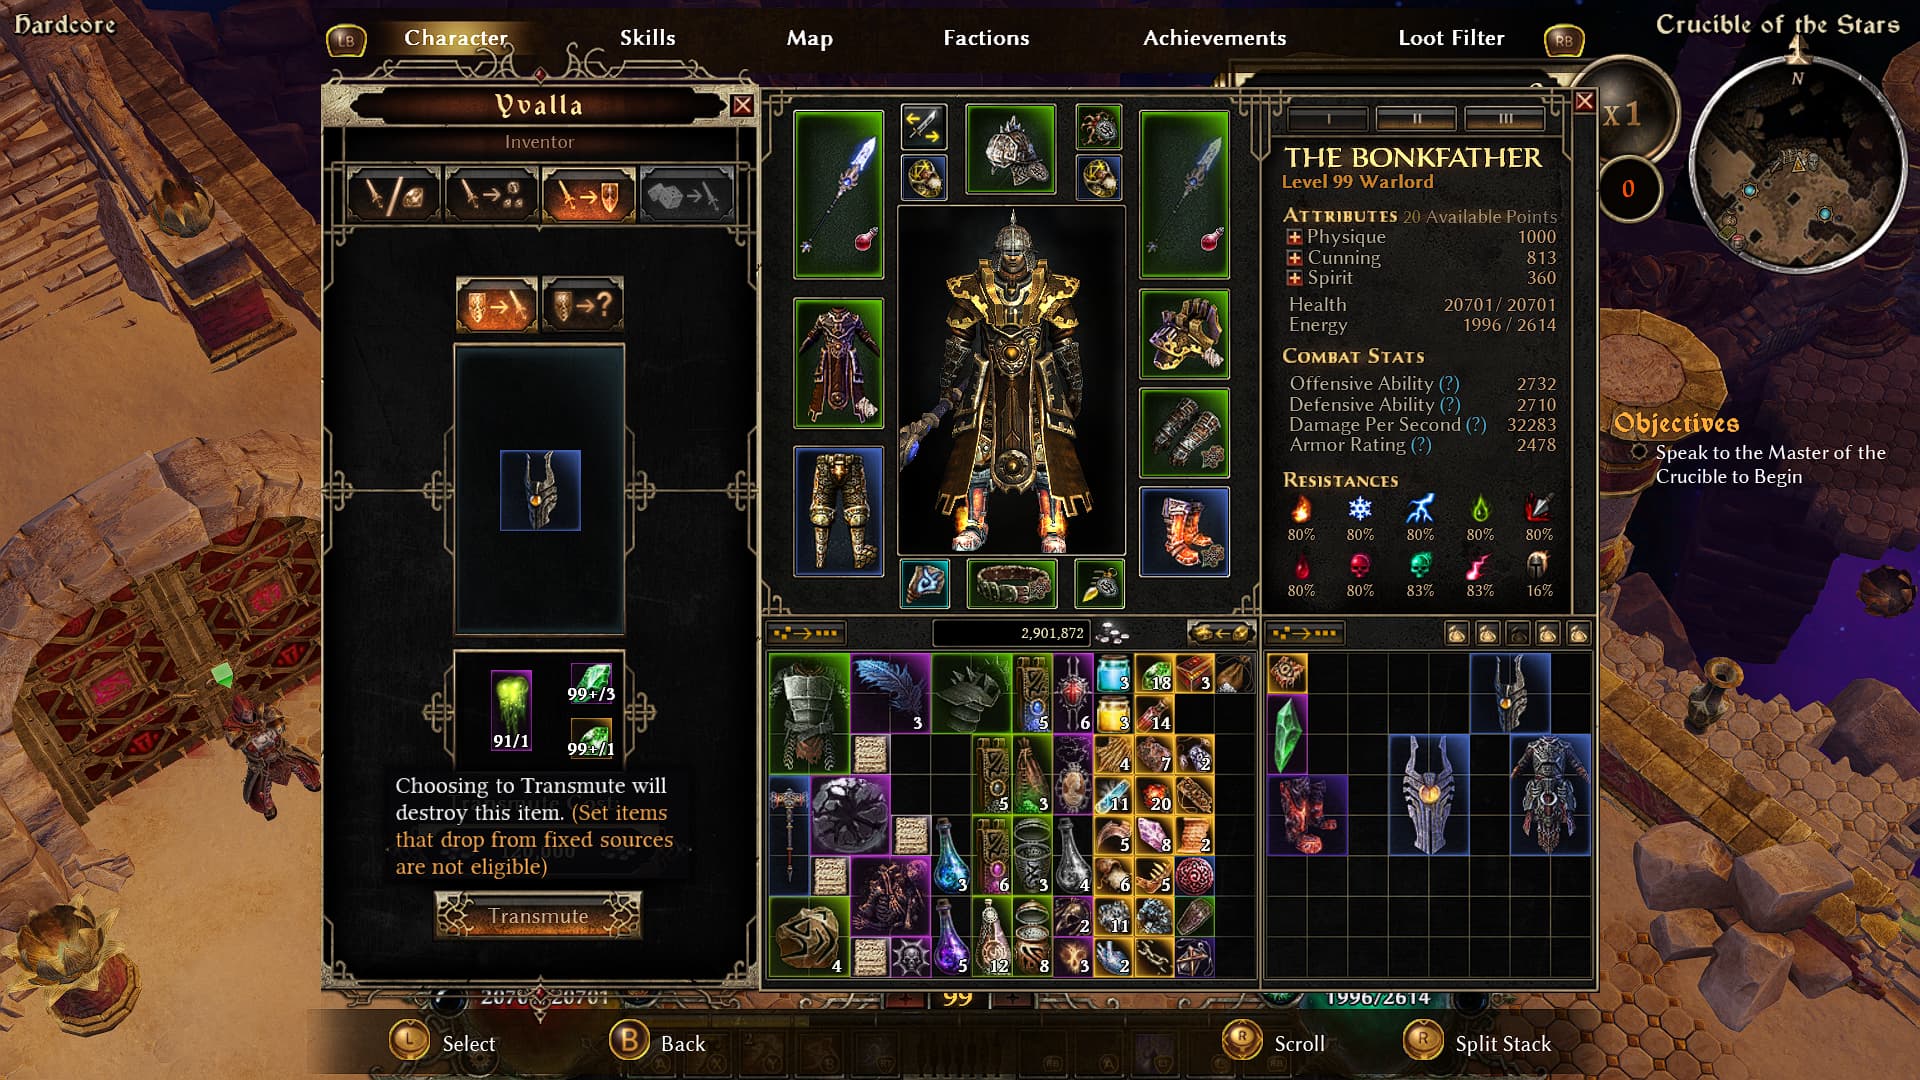
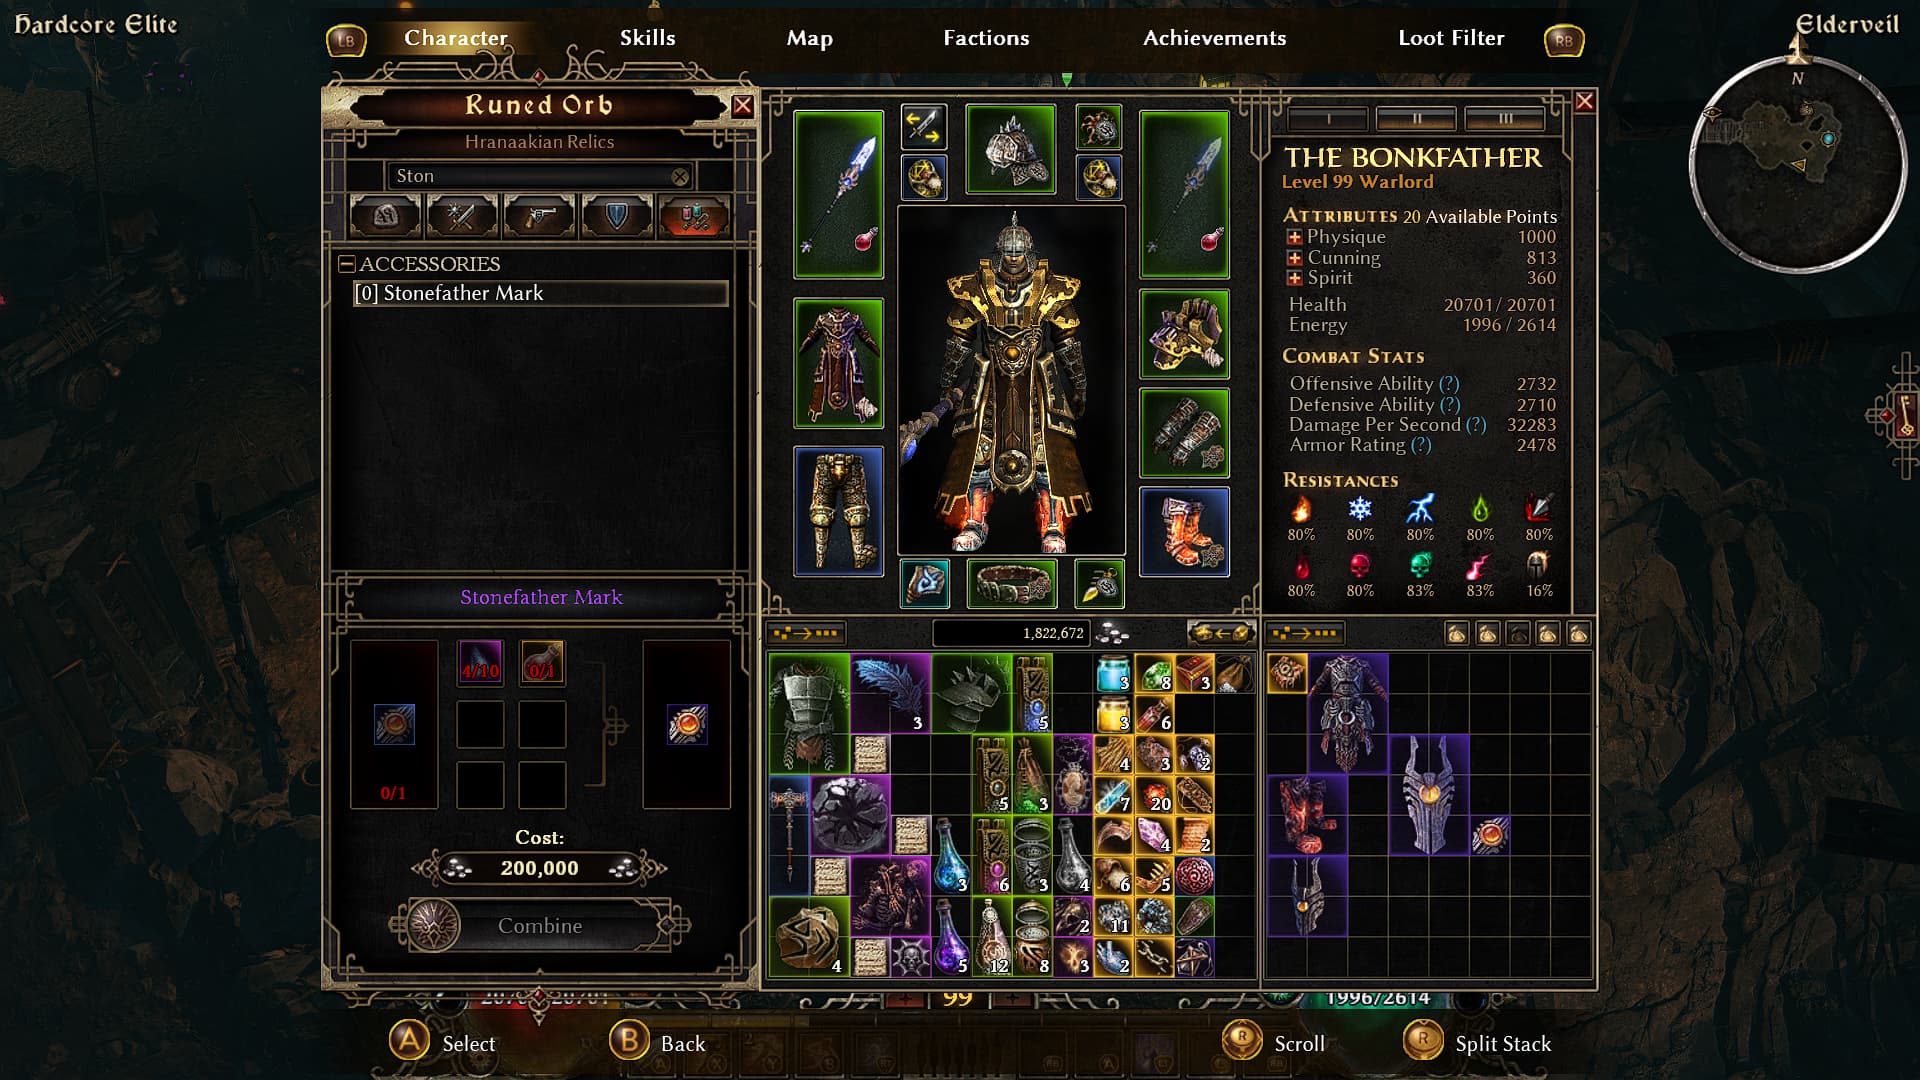
Build was like this when I hit level 100
Now that you have the full awakened set, go farm your weapon from bargoll in ugdenbog.

I originally planned trying awakened midwinter memento on amulet and Mythical gavel of ravenous souls, but after some tests, I decided to keep the blood briar amulet and the bargoll weapon, they end up giving incomparable higher damage and crits.
Now that you’re fully geared up, you can comfortably start farming Ascendant mode. I tested the build in the Skeleton Key dungeons, against The Dread, the main Nemeses, and even some Celestials, and the build proved to be incredibly fun to play and powerful.
Bonkfather x Theodin Marcell

Bonkfather x Korvaak

Bonkfather x Beronath

Bonkfather - Ancient Grove run

Bonkfather - Steps of torment run

Bonkfather - Tomb of the heretic run
Bonkfather - Port Valbury run

Bonkfather - Bastion of Chaos run
Bonkfather X SR26-27

Bonkfather X Kra’Vall

Bonkfather X Rashalga

Bonkfather X The Dread

Bonkfather X lokarr

Bonkfather X Bourbon Clones

Bonkfather X Avatar of mogdrogen

Bonkfather X Callagadra

Bonkfather X Ravager

Bonkfather X Crate of entertainment

Actual build:
Well, I consider this a very fast and fun endgame farmer, and since it don’t require many buttons to work properly, i think this build has something for everyone—something that’s practically impossible in Grim Dawn, hahaha!
Thanks for reading this guide, and I hope you have a great time if you decide to level up this hard-hitting Warlord.
Cheers, and see you next time!
 - kinda curious how HC folks feel about those two