- [Melee] [1.3.1.0] The brute windcaller (Ralfhskz)
- Damage: Physical, internal trauma, bleeding
- Active Skills: Savagery, curse of frailty, blood of dreeg, wendigo totem
Hello, Grim Dawn community!
I’m here to share build with you that originally started out as kind of a “meme build” in my head, but it ended up working surprisingly well if what you’re looking for is a character that can genuinely tank almost everything in the game.
The conjurer class (occultist + shaman) is usually known for its excellent potential with vitality caster, bleeding, and especially highly effective pet builds. But this “meme brawler Conjurer” ended up being a lot fun — and far more effective — than I expected.
Although it’s not a particularly fast build when it comes to clearing speed, it can go toe-to-toe with some very powerful Celestials, such as Callagadra, and even the super dangerous FoA Mogdrogen.
If you enjoy a straightforward, brawler-style build that doesn’t require pressing a ton of buttons or juggling several skills to work properly, this one might be right up your alley.
As for the gameplay: you’ll have to keep Blood of Dreeg active at all times, use Curse of Frailty and Devouring Swarm to apply massive debuffs to your enemies, and then smash their skulls with Savagery/Feral Hunger/upheaval, while your Wind Devils help with AoE damage and efficiently proc Bull Rush.
This character can farm a lot of endgame content without relying on items that are completely random drops. Most of the gear used here can be target-farmed from specific enemies or purchased from faction vendors.
I didn’t use XP Potions or any other items that speed up the leveling process.
Now I’ll show you how I leveled this character:
Lvl 10-20 Shaman, Level 10 (GD 1.3.1.0) - Grim Dawn Build Calculator
I started out by choosing Shaman as my first mastery. Spend your first skill points from each level-up on Devouring Swarm, Savagery and on the mastery bar.
Before you reach the first riftgate, you’ll come across an enemy called Barrog, the Bloodied. He drops a weapon that we’ll be using all the way into the endgame.
This weapon actually wasn’t my first choice. At first, I was planning to use this weapon that drops from the shambler enemies, but getting one to drop on Normal difficulty is incredibly tedious and frustrating. So, if you somehow manage to get one on Normal, feel free to switch to it — and consider yourself extremely lucky, hehe
Lvl 10-20 Shaman, Level 20 (GD 1.3.1.0) - Grim Dawn Build Calculator
After unlocking your first 6 devotion points, put one point into order (Crossroads) and complete Assassin’s Blade. Bind the proc to Savagery, spend a point on primordial (crossroads).
Keep investing points into the mastery bar. Put one point into Wind Devil, invest a few points into Tenacity of the Boar, and at least one point into Mogdrogen’s Pact. I used the briarthorn pet from shaman as a source of additional damage until reaching homestead, since he deals some nice physical and bleeding dmg.
For now, the main goal is to reach Homestead as quickly as possible, so I simply followed the regular Vanilla campaign route.
Lvl 20-30 Conjurer, Level 30 (GD 1.3.1.0) - Grim Dawn Build Calculator
Remove devouring swarm for now and spend some points into Summon Briarthorn and Ground Slam.
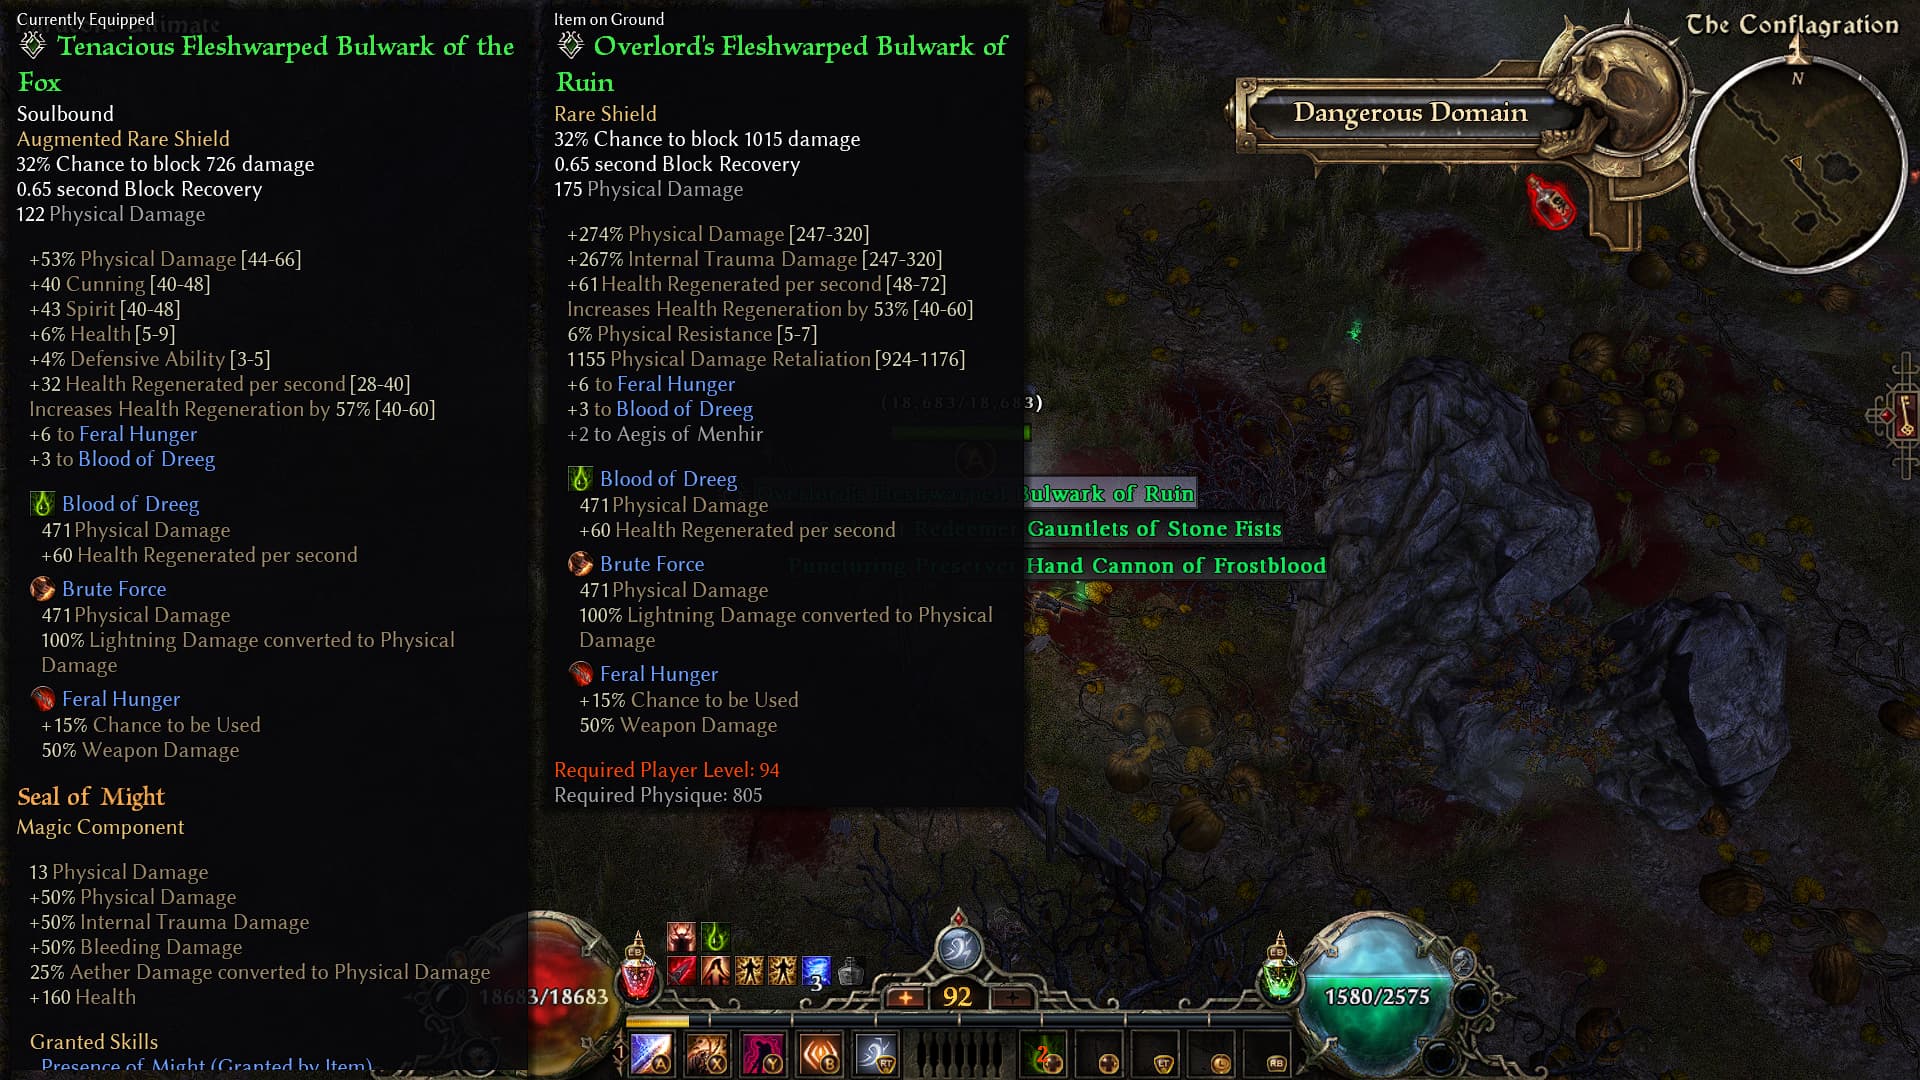
Once you reach Homestead, you’ll encounter Harrath, the Slaughterer right near the riftgate. He will always drop a Fleshwarped Bulwark, which is the key item for this build.
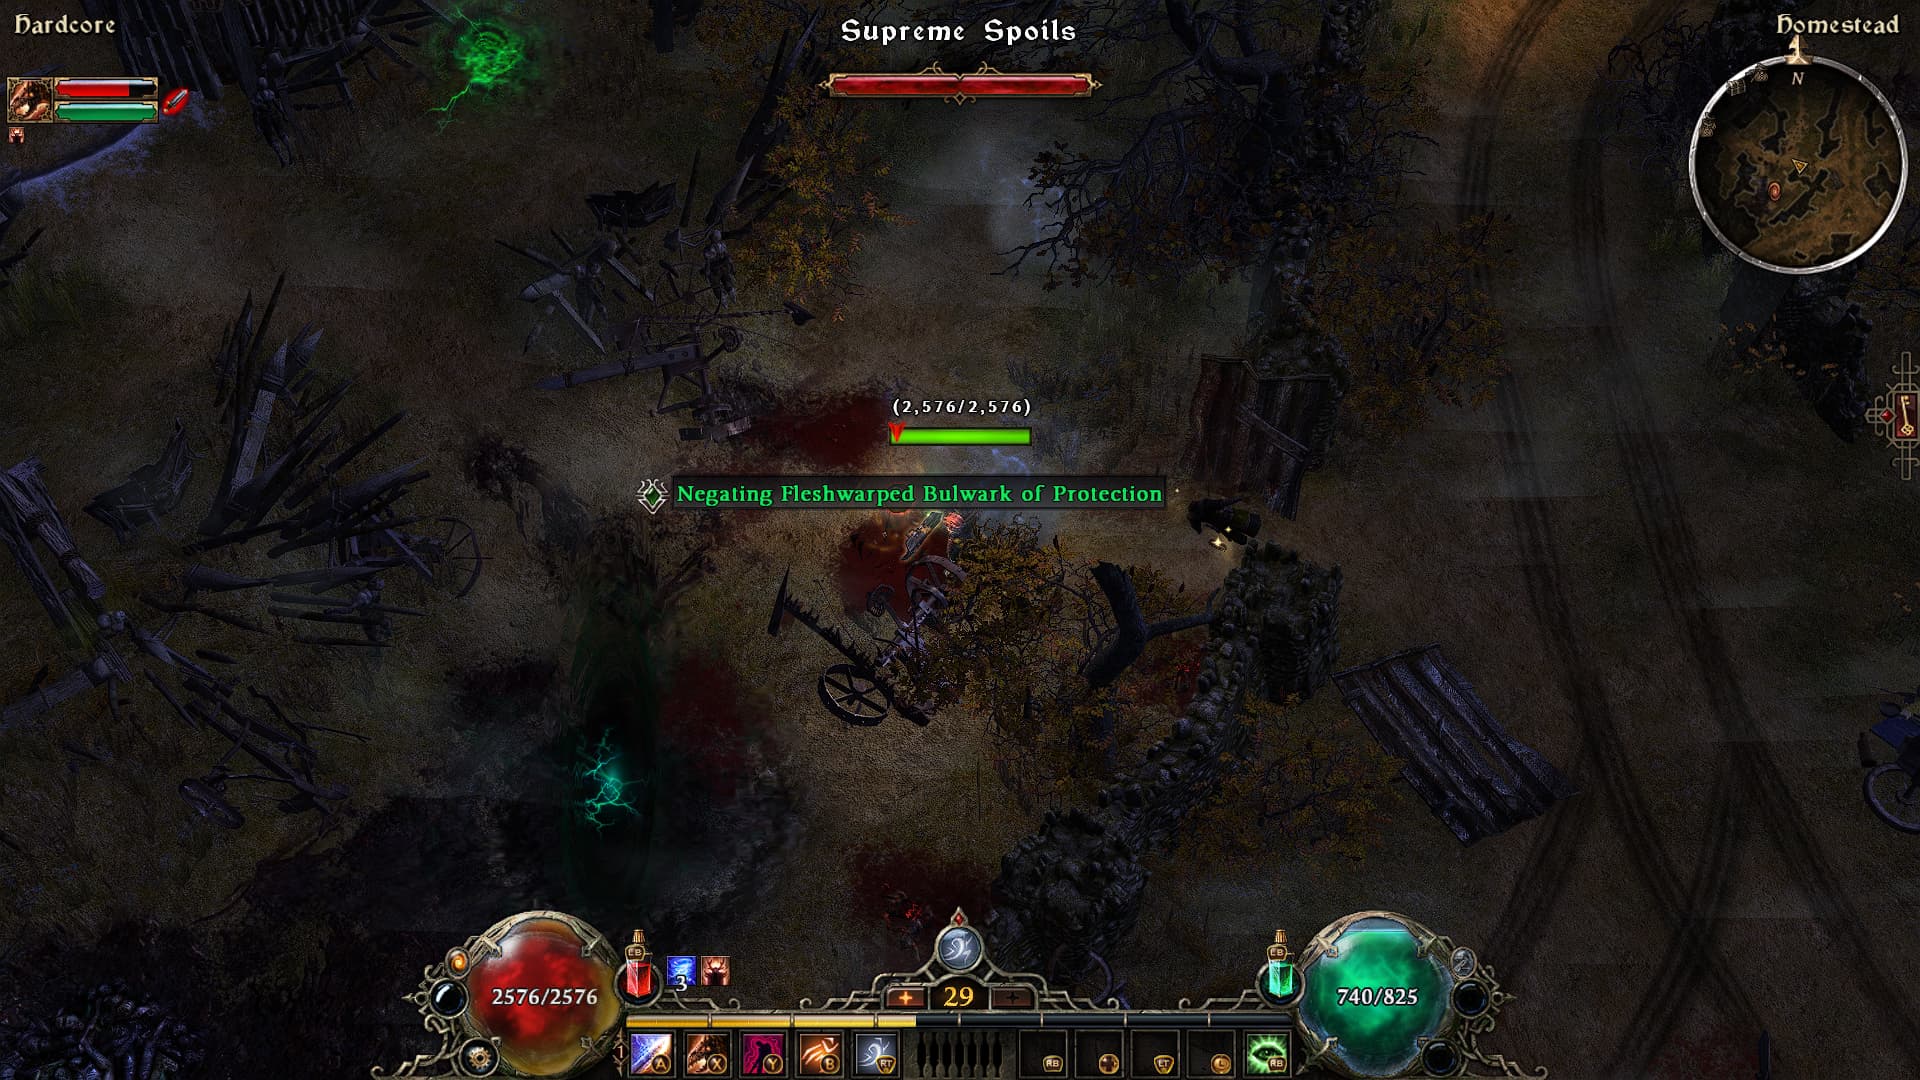
After equipping it, remove all points from Summon Briarthorn and choose occultist as your second mastery. Max out curse of Frailty. Invest some points on feral hunger. Spend points into the Shaman mastery bar until you at least unlock Maelstrom in the Wind Devil skill line. Start maxing it out.
Also invest points into the Occultist mastery bar until you reach Blood of Dreeg.
For devotions, complete Eel. Then put one point into Ascendant (Crossroads), complete Hammer, and remove the point from Ascendant afterward. Finally, spend 5 points in Dire Bear and bind its proc to Curse of Frailty.
Lvl 30-40 Conjurer, Level 40 (GD 1.3.1.0) - Grim Dawn Build Calculator
While you’re still around Homestead, farm your main amulet from Mogara in the Jagged Waste.
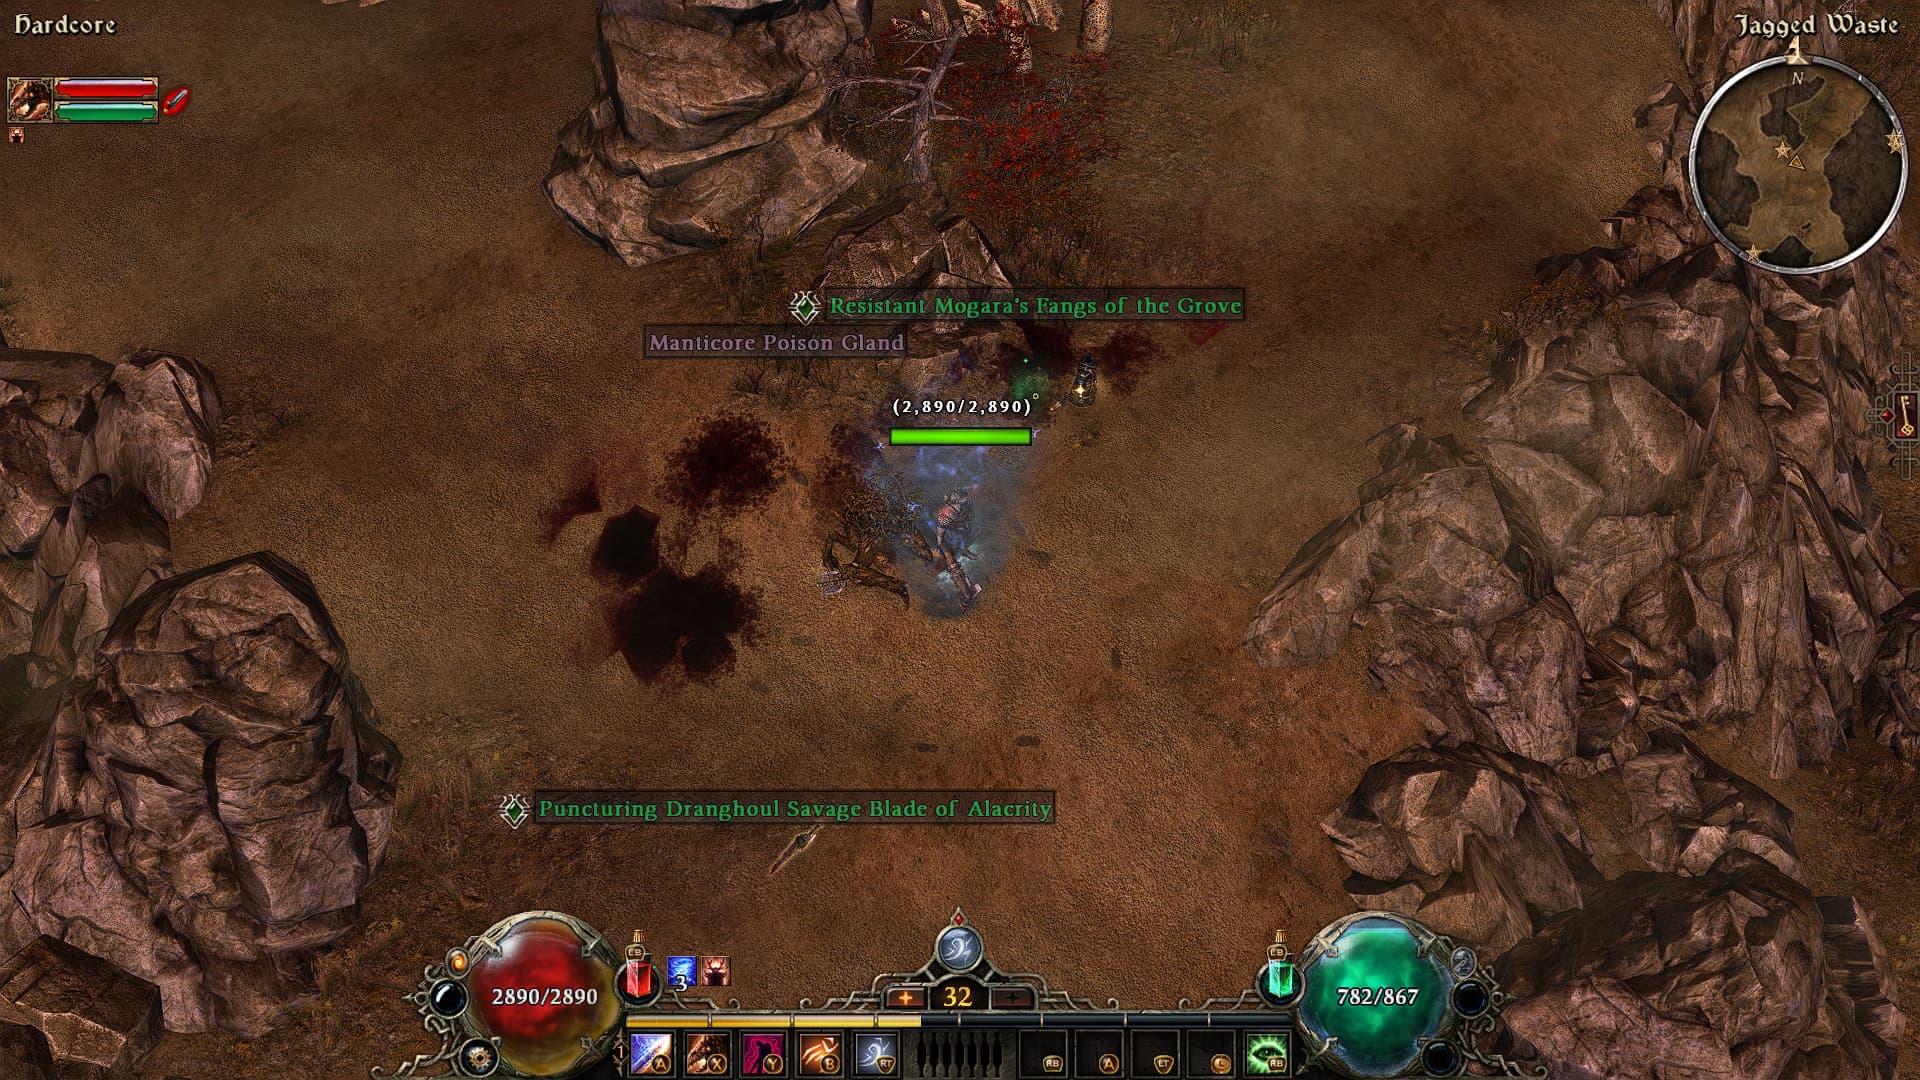
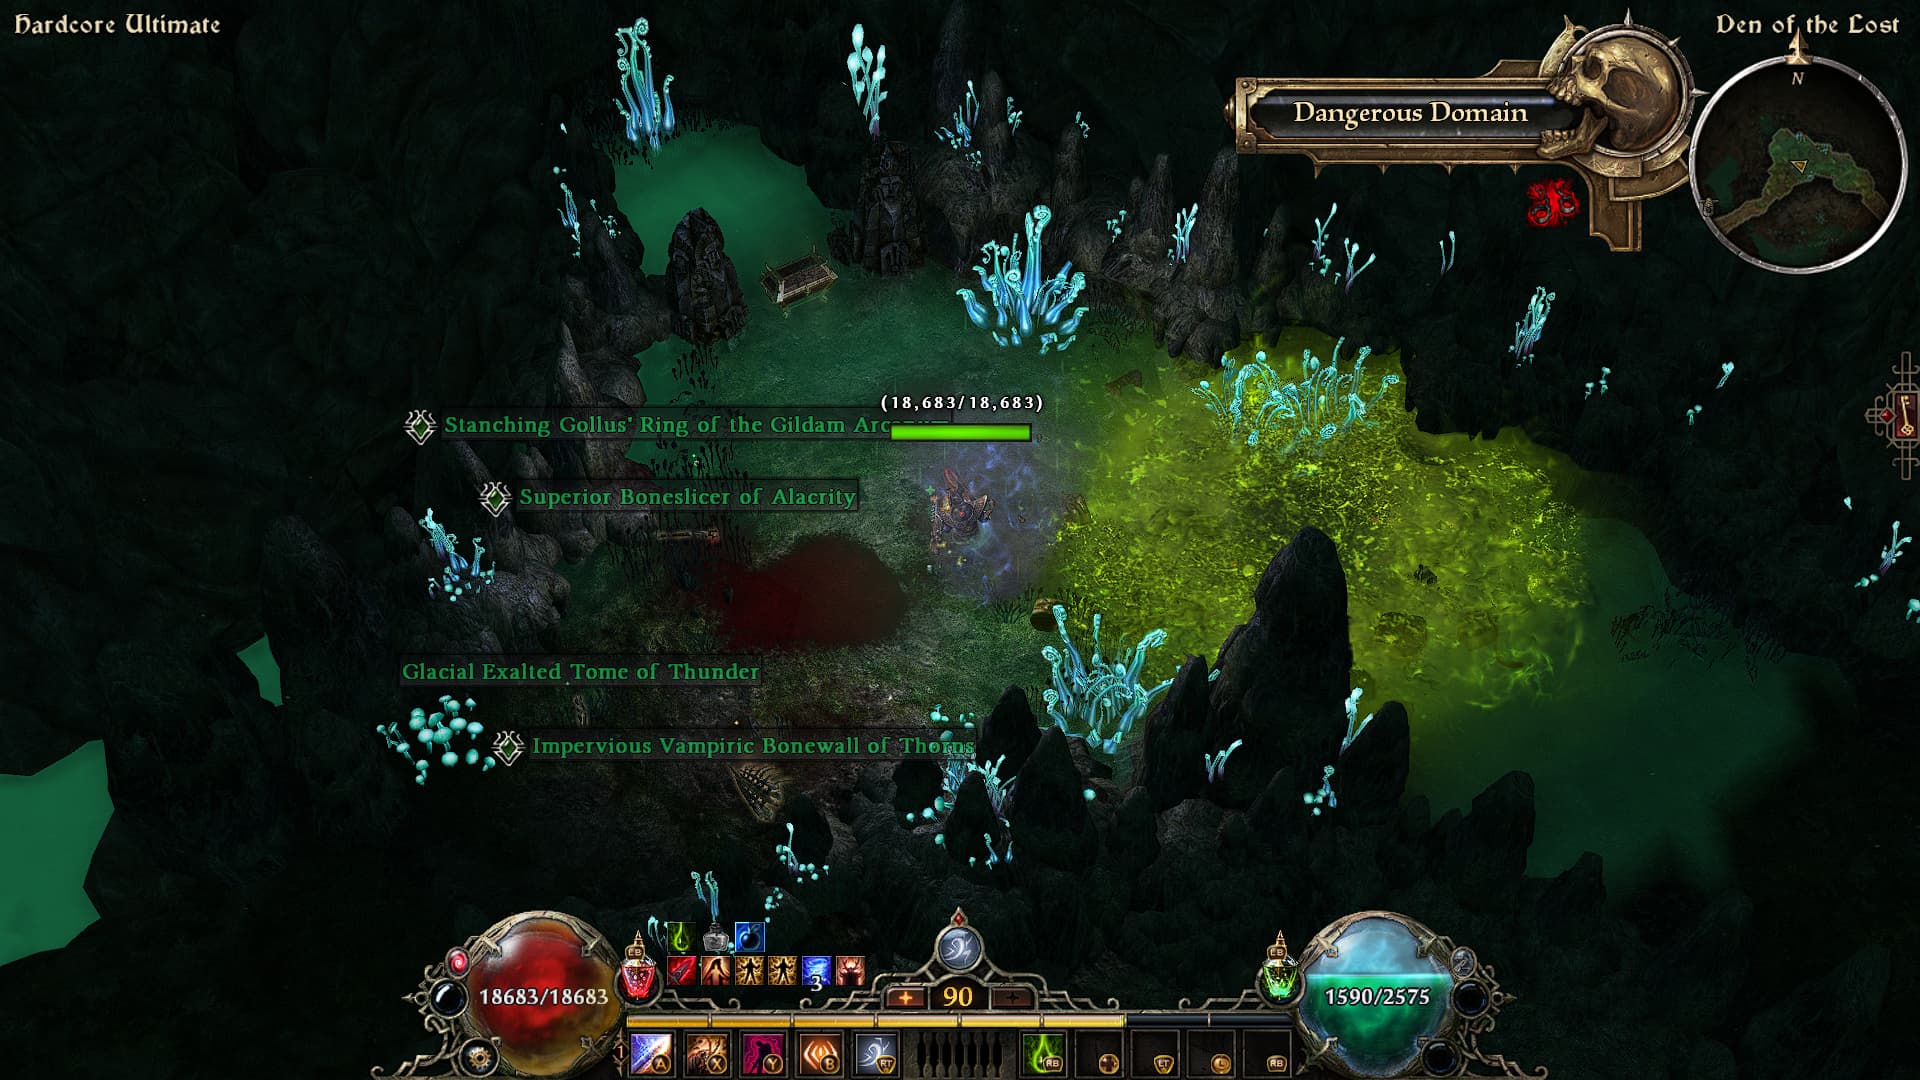
Also remember to keep the gollus’ ring when you beat him in the den of the lost.

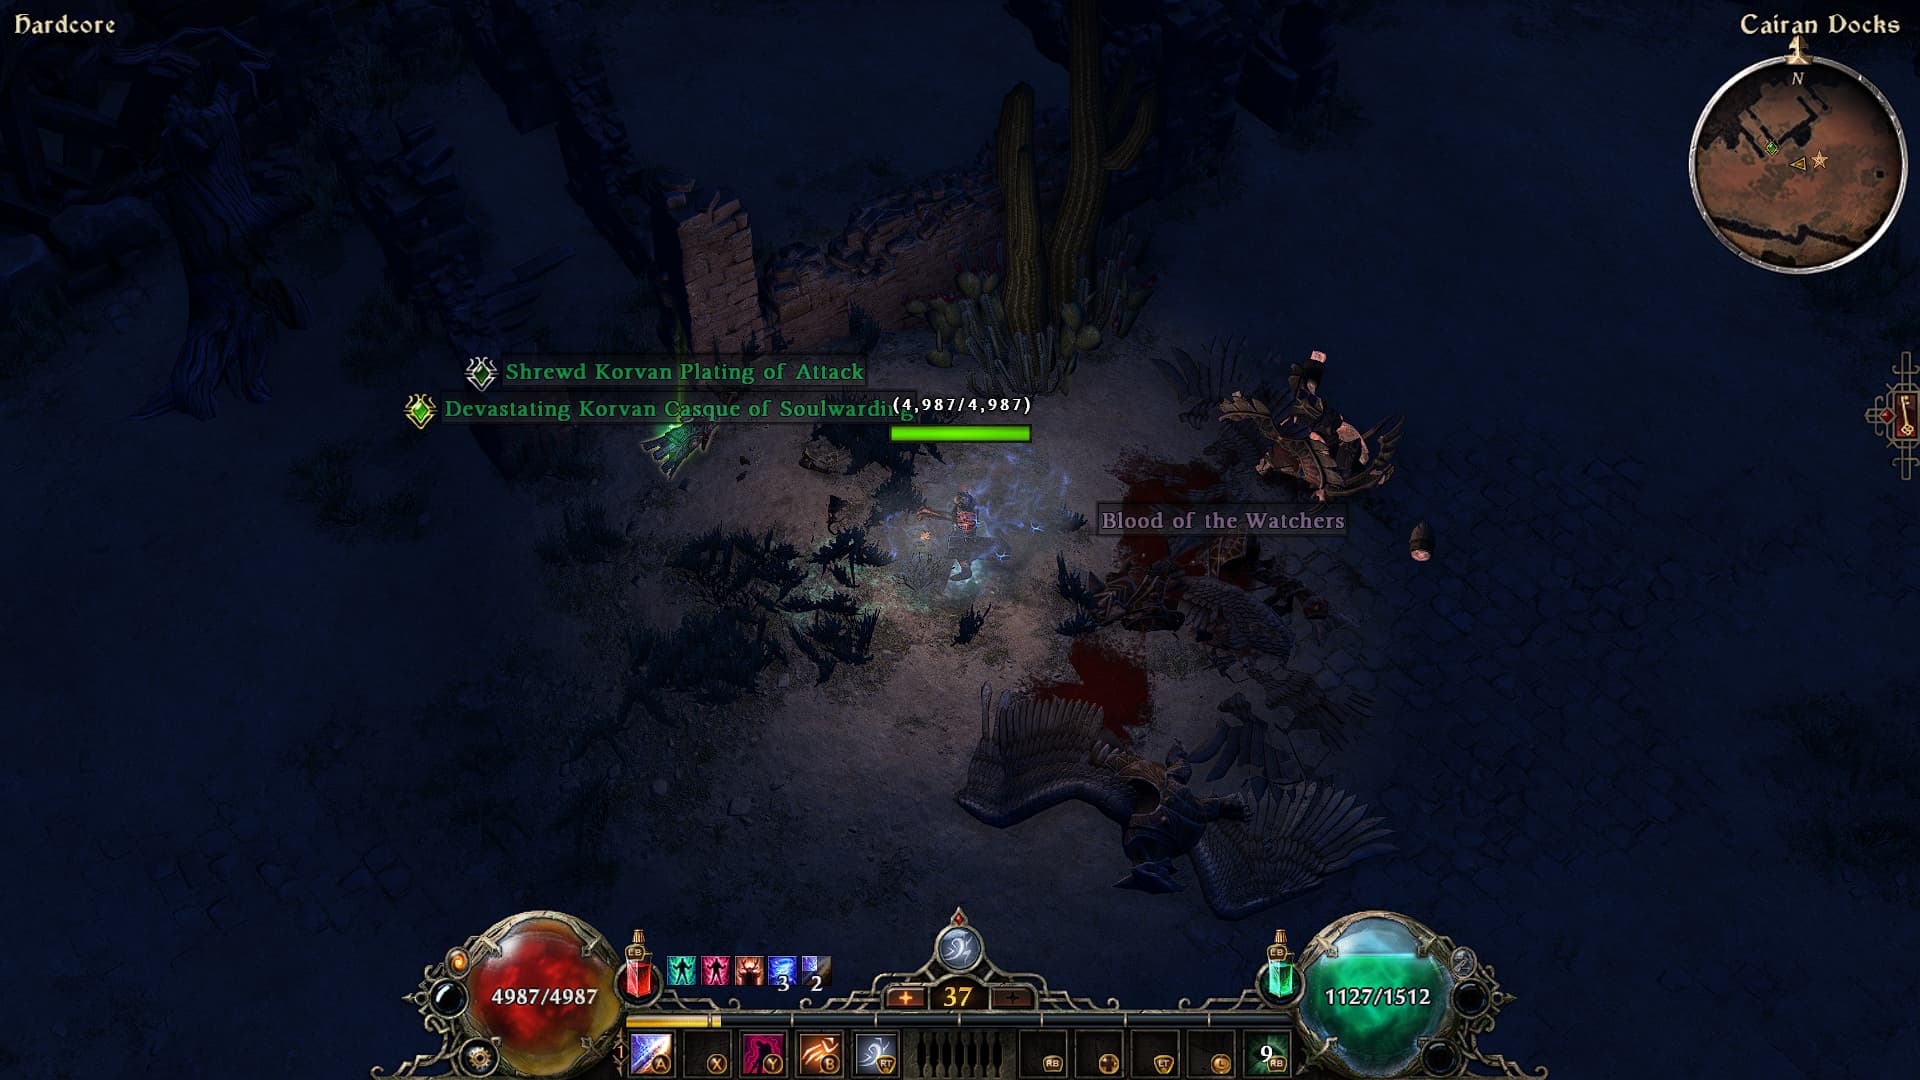
After reaching Darkvale Gate, I decided to go ahead and complete the Forgotten Gods DLC. If you get lucky enough to drop the Korvan Casque and Korvan Spaulders while still on Normal difficulty, equip them. Once you equip the helm, start using Devouring Swarm again.
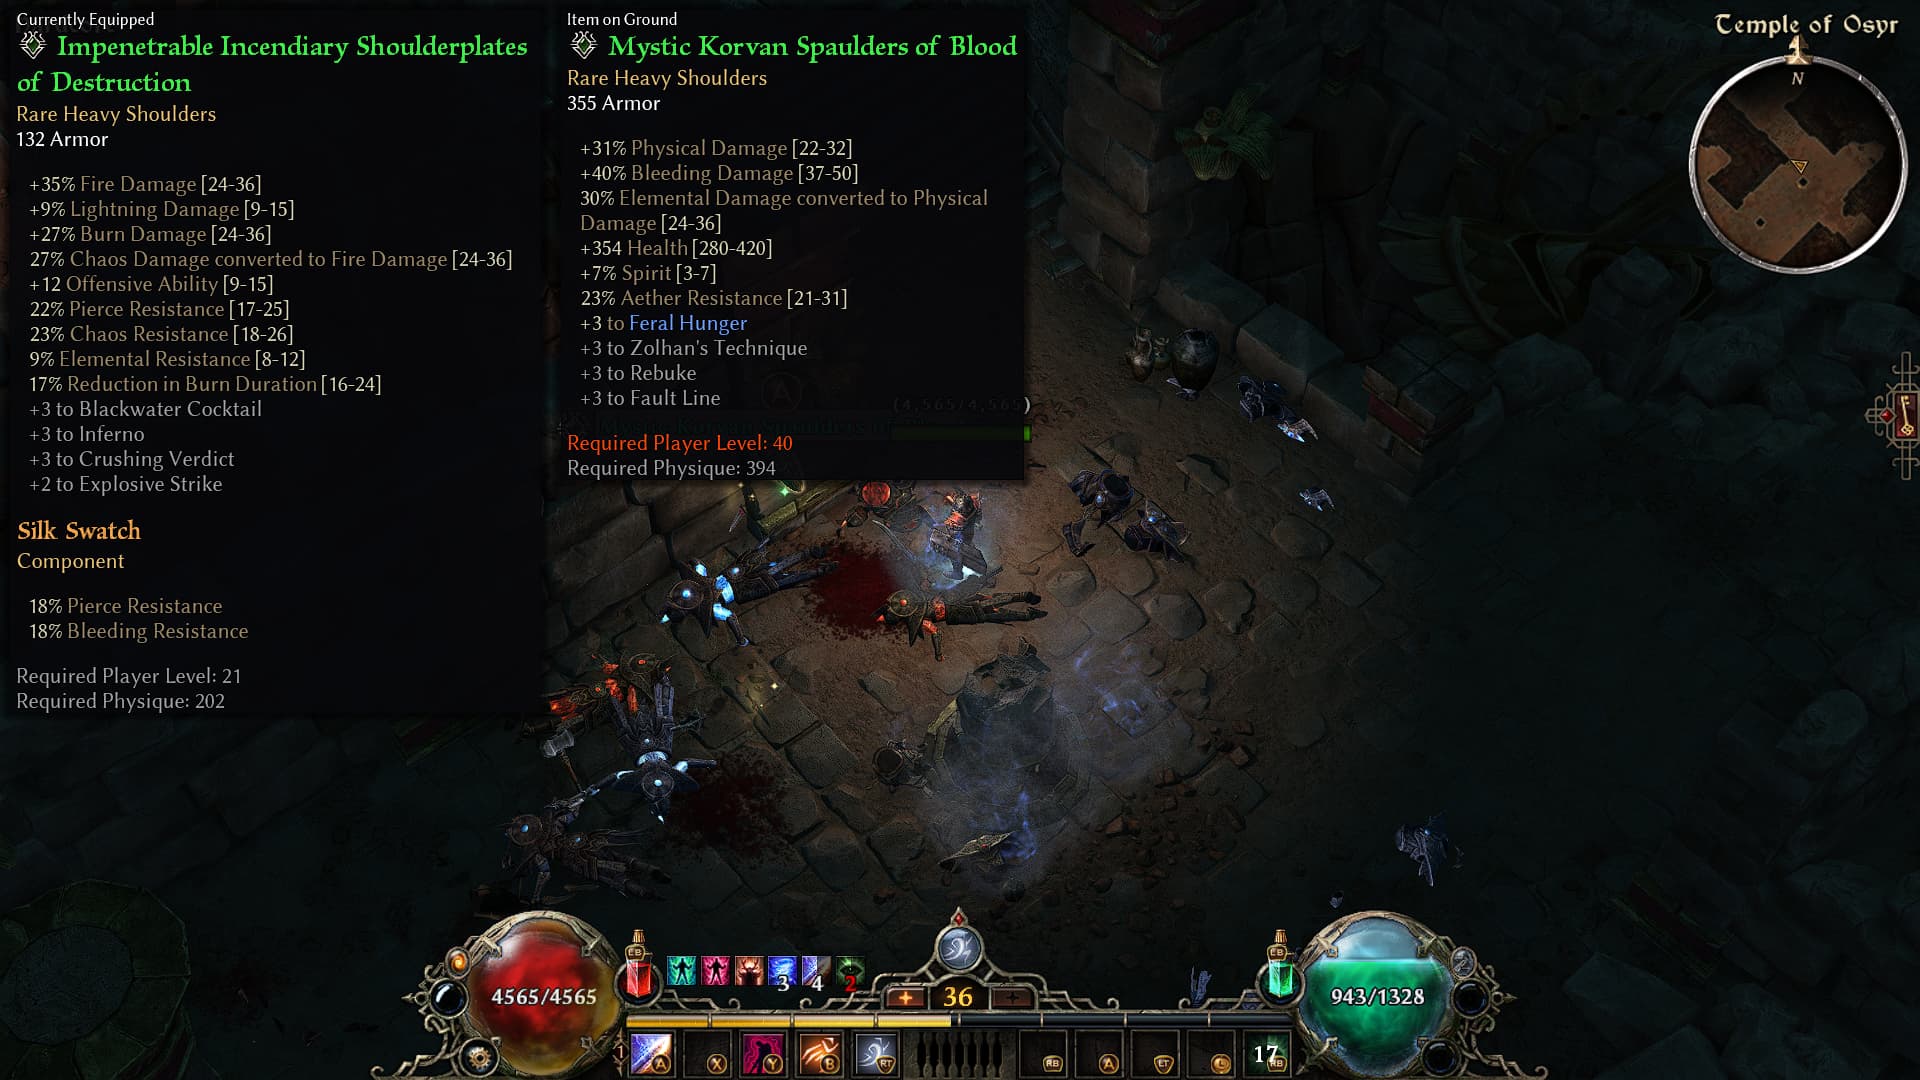
For Devotions:
- Complete Bull and bind its proc to Wind Devil.
- Complete Harvestman’s Scythe.
- Complete Tortoise.
- Remove Eel.
- Start investing points into Ulzaad.
Lvl 40-50 Conjurer, Level 50 (GD 1.3.1.0) - Grim Dawn Build Calculator
Invest points into upheaval.
It’s time to complete the Shaman mastery bar. Max out Primal Bond.
If you want, you can put one or two points into Wendigo Totem to make the character even tankier right away, but I didn’t really feel the need for it at this stage of the game. Everything was already very easy to facetank.
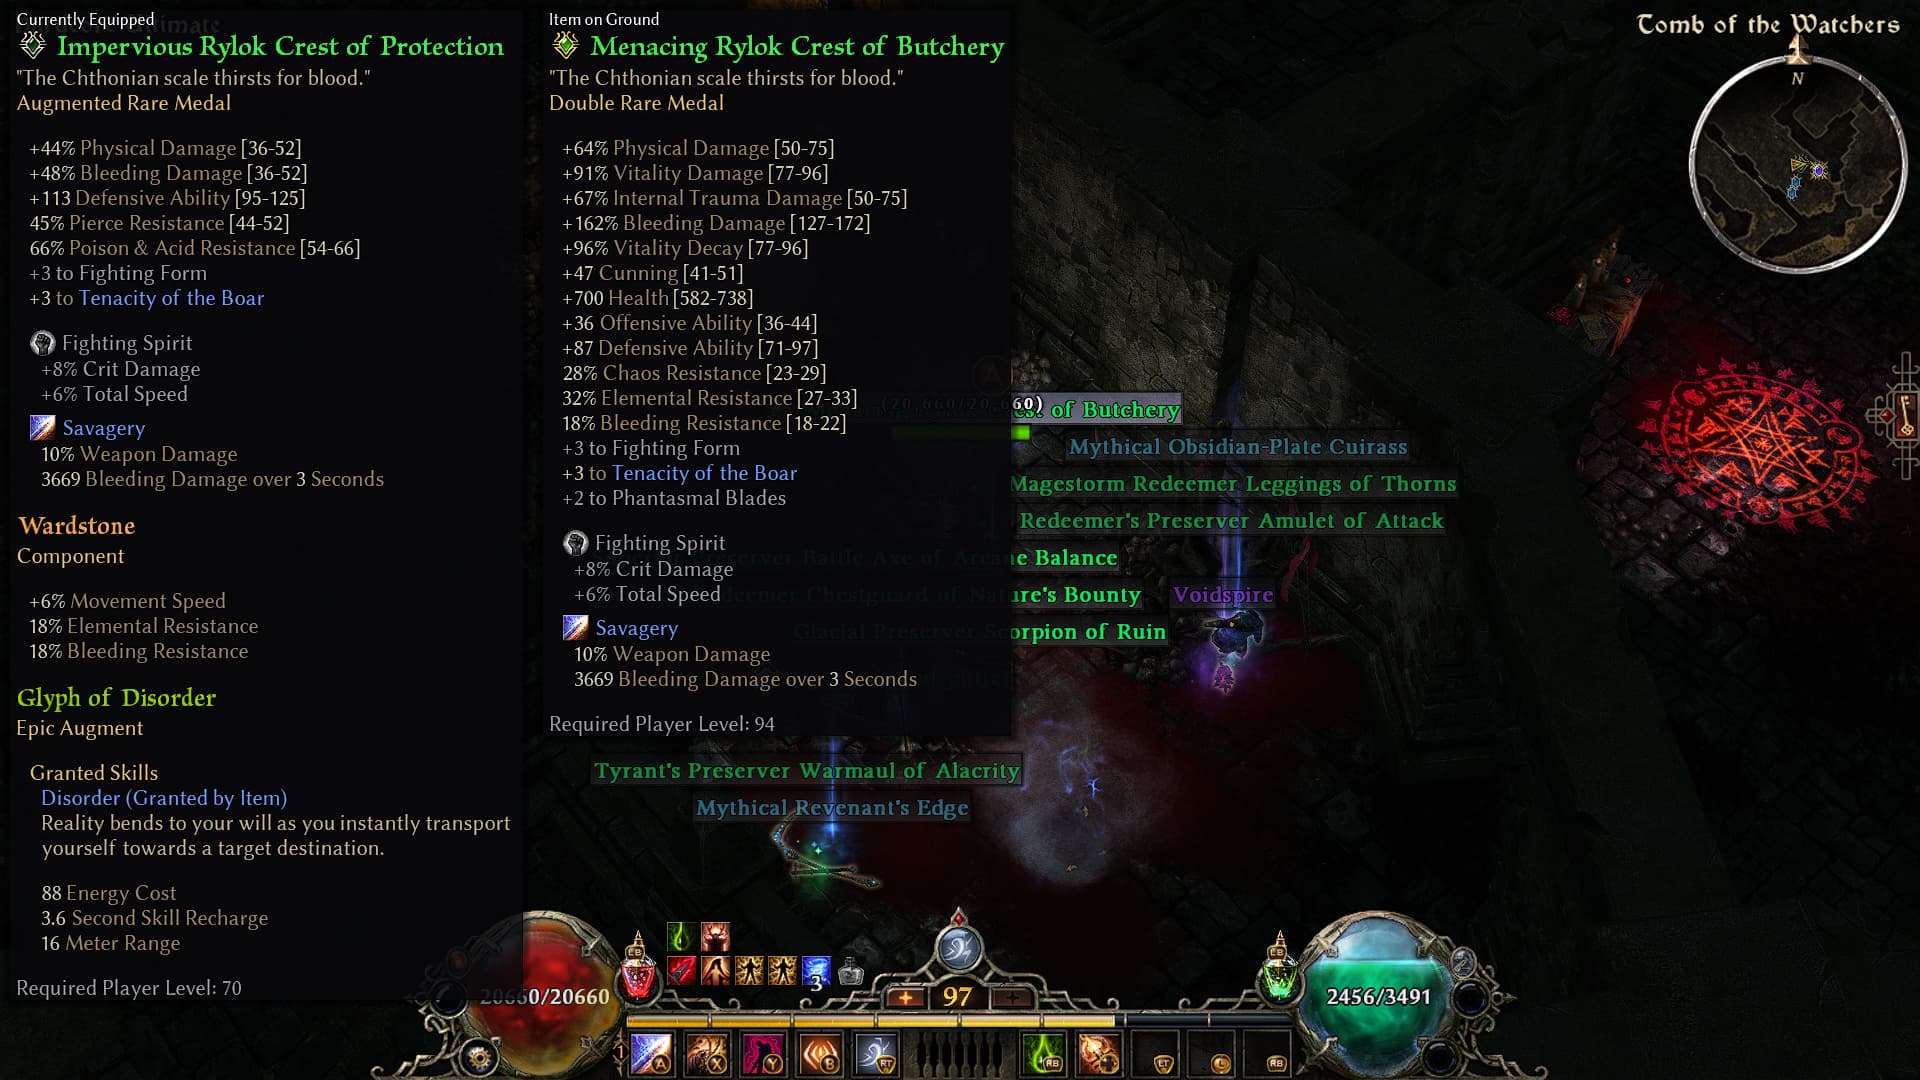
As you move into the Ashes of Malmouth DLC, you can already start farming the medal we’ll use for the build. You can farm the Rylok Crest in areas with a high concentration of Chthonic Rylok enemies.
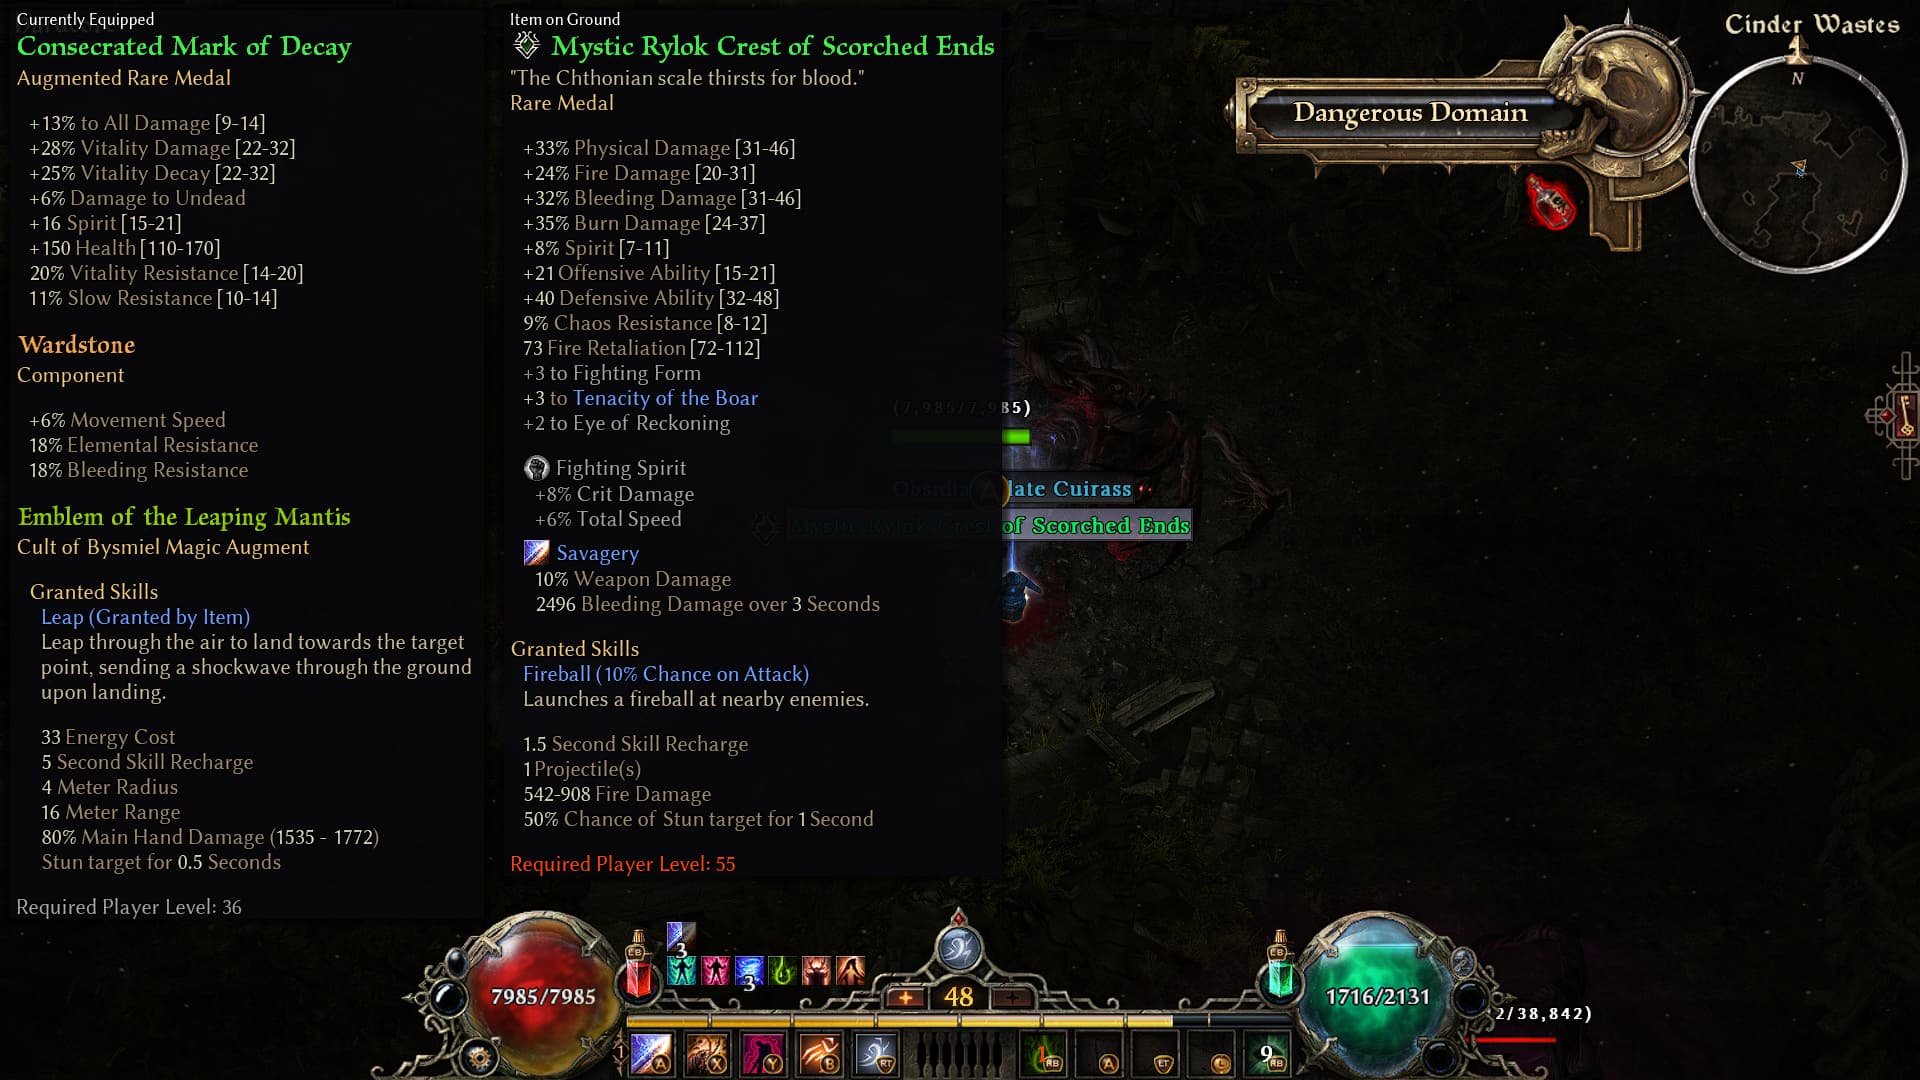
For Devotions:
- Complete Lizard.
- Complete Hound.
- Complete Stag.
Lvl 50-60 Conjurer, Level 60 (GD 1.3.1.0) - Grim Dawn Build Calculator
Around this level range, you’ll probably be finishing up all the DLCs and getting ready to move into Elite.
Once you start Elite, check your faction reputations and make any necessary gear upgrades to balance your resistances while improving your defenses and damage.
Keep investing skill points into the Occultist mastery bar until you reach Aspect of the Guardian.
For Devotions:
- Complete Light of Empyrion.
- Complete Tree of Life.
Lvl 60-70 Conjurer, Level 70 (GD 1.3.1.0) - Grim Dawn Build Calculator
There isn’t much to add here other than reminding you to keep an eye on your faction reputations and make any necessary gear upgrades as you progress.
Lvl 70-80 Conjurer, Level 80 (GD 1.3.1.0) - Grim Dawn Build Calculator
Once you reach Ultimate, remember to make further gear upgrades to keep your resistances at a comfortable overcap, while also improving your overall damage and defenses.
Lvl 80-90 Conjurer, Level 90 (GD 1.3.1.0) - Grim Dawn Build Calculator
Once you reach Level 90, it’s time to start farming the gear for your budget endgame setup. A little warning here: you should look for OA (offensive ability) on some of the green items, affixes like DEVASTATING, RAMPAGE, AGGRESSIVE and suffixes like OF ATTACK, OF READINESS, OF DRANGHOUL are welcome.
Buy the blueprint for crafting your endgame weapon from the Cult of Dreeg faction vendor.
You can farm the endgame version of the shield near homestead, fort ikon or even do some power-shopping on the port valbury’s vendor. Look for physical resist and physical damage affixes.
For the chest armor, I used this cheap piece that can be purchased from the Coven of Ugdenbog faction vendor.
For pants, I used a decent Dreeg-Sect Legguards. However, you can also use Mythical Hulking Legguards
In the final endgame version, I ended up using Mythical Chausses of Barbaros.

Farm a pair of Level 94 Gollus’ Rings. Your first priority should be affixes that help you cover your resistances, but if you manage to get some with Attack Speed and Physical Damage bonuses as well, even better.
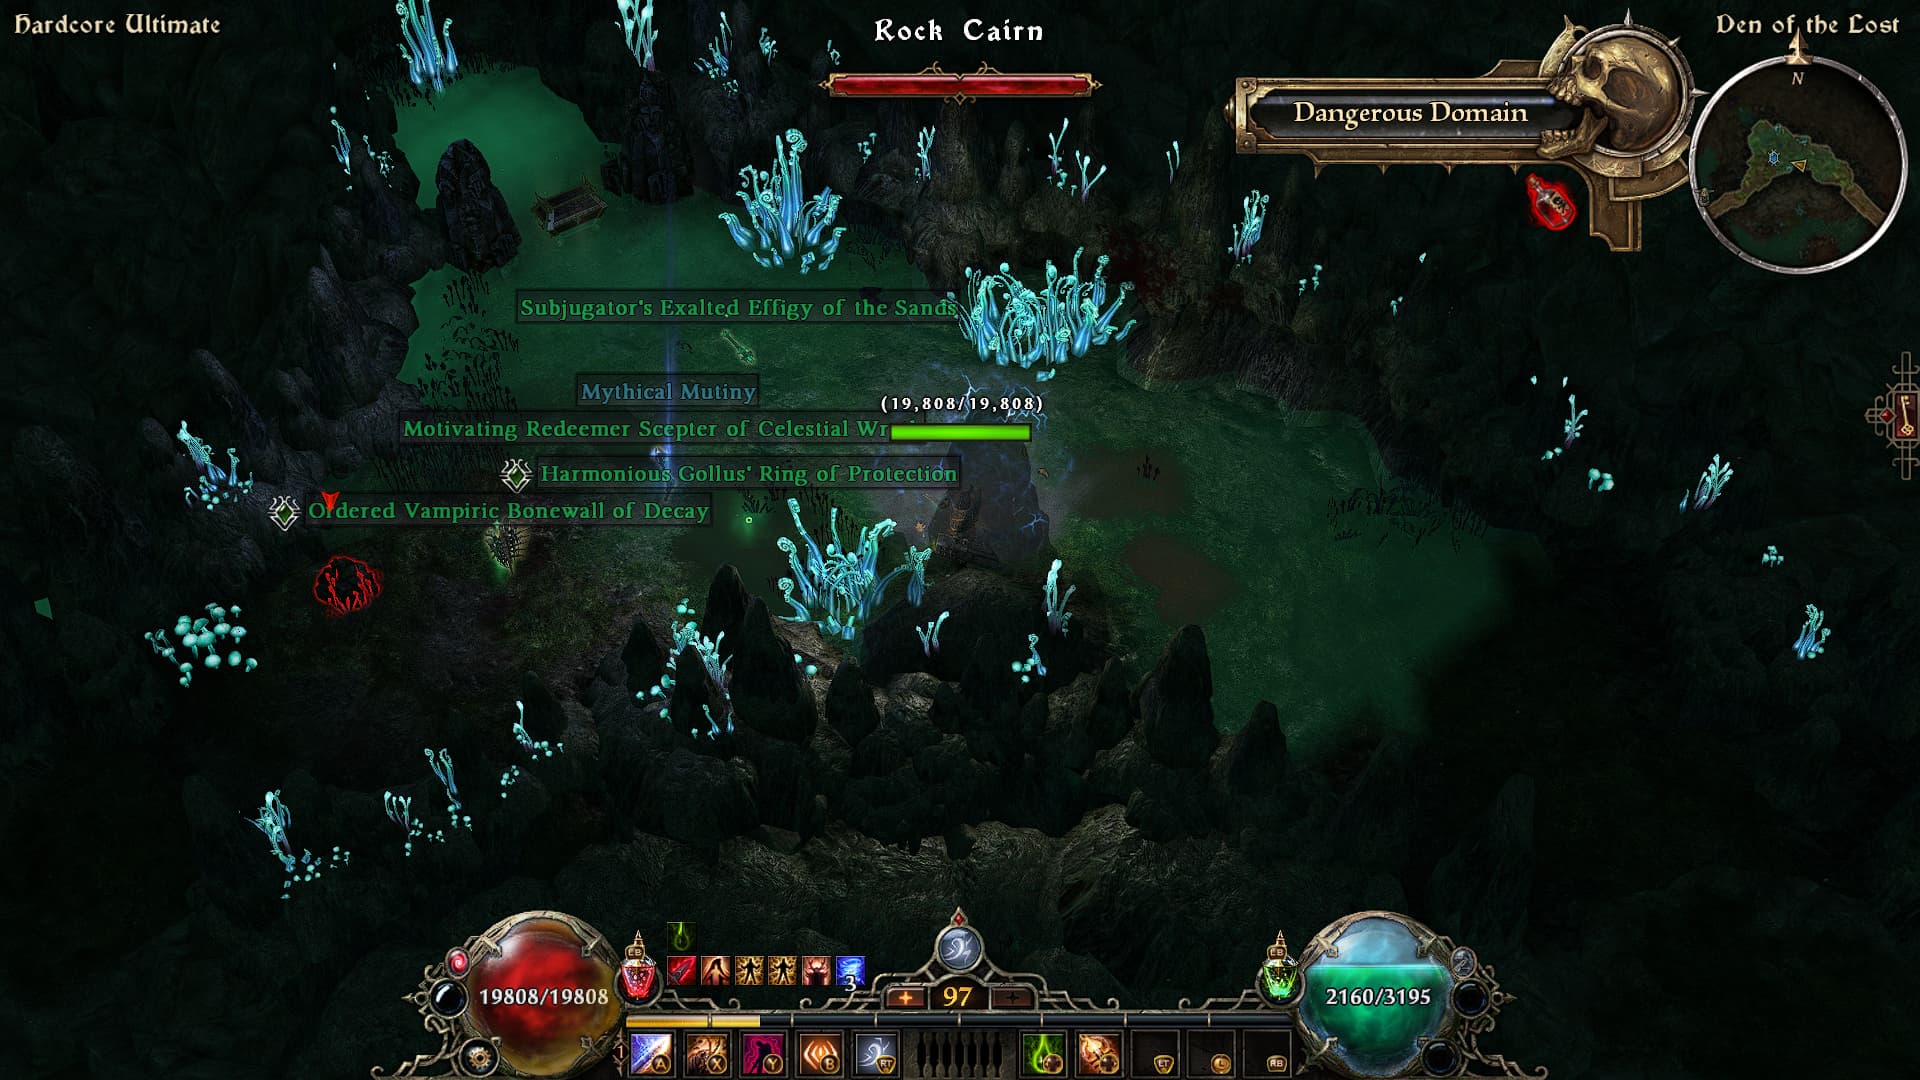
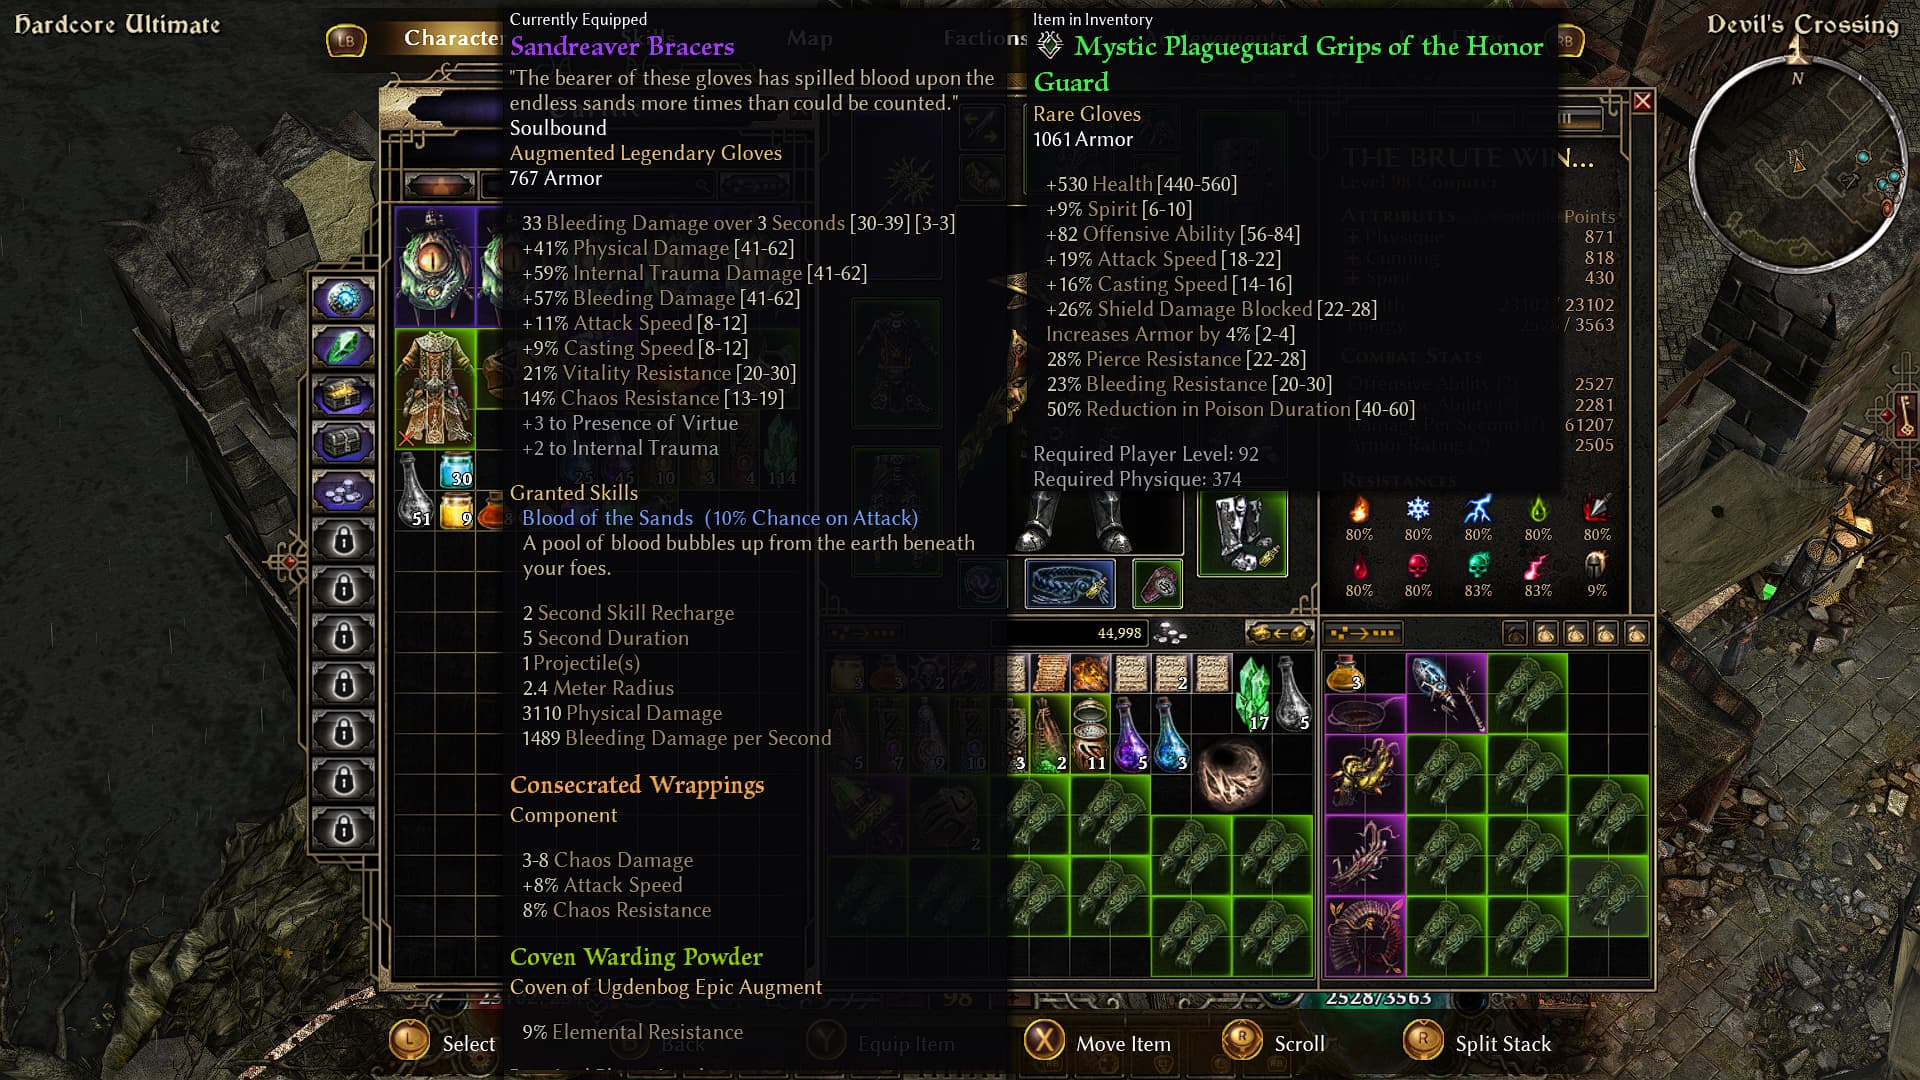
For gloves, I ended up crafting Plagueguard Grips. If you manage to cover your resistances while also getting a suffix that provides more Attack Speed and some kind of Physical Damage bonus, consider yourself extremely lucky. A cheap alternative is to use Elite Rhowari Grips if you haven’t found the blueprint yet.
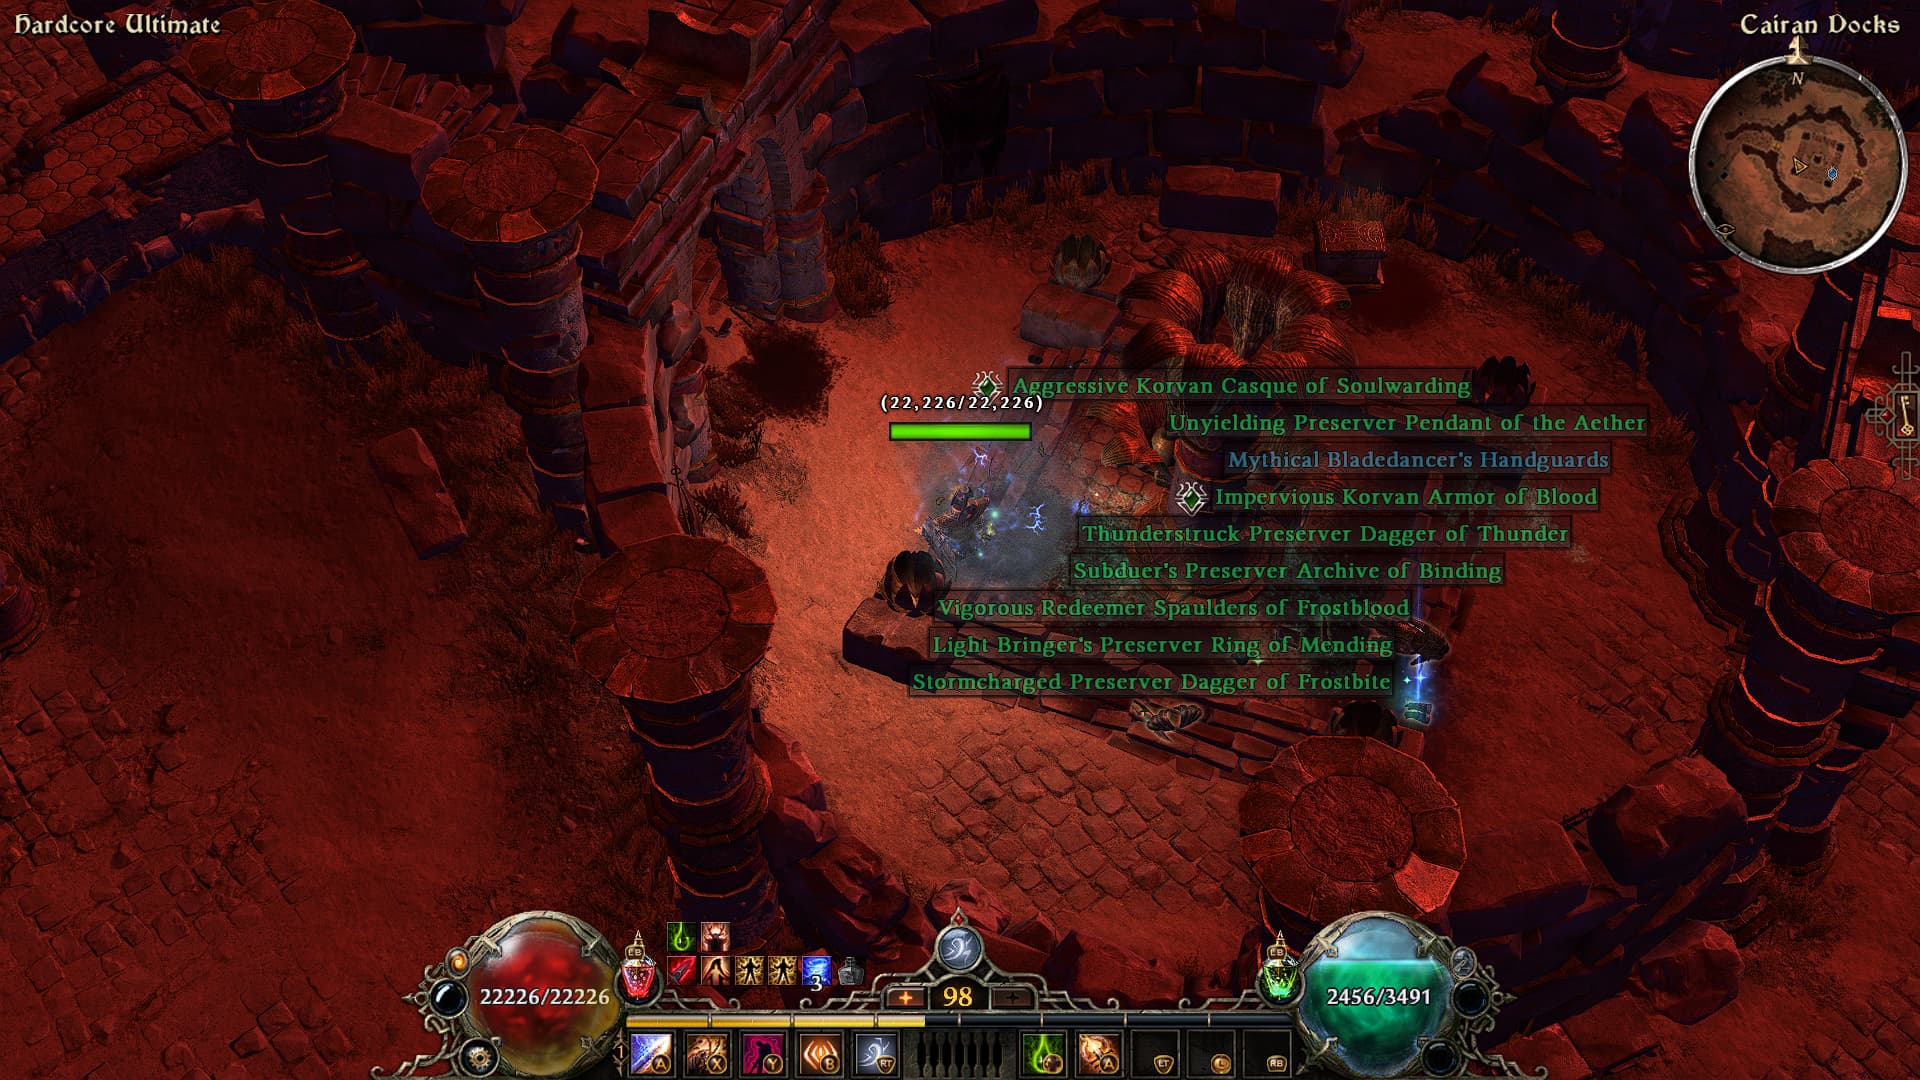
Do a few runs through the tombs and dungeons in the Forgotten Gods DLC to farm better versions of your helm and shoulders.
For the belt, I made a trip to Port Valbury to farm Chains of Brandis from the enemy of the same name there. I recorded the run as well. Look for the mythical guthook belt for the final endgame spec.

Your medal and amulet should also be upgraded at this point. For the amulet, if you happen to have a Rah’Zin gem available, it can be an interesting alternative. Don’t worry too much with the medal, since we’re gonna use the jarldin’s medal on the endgame final version.
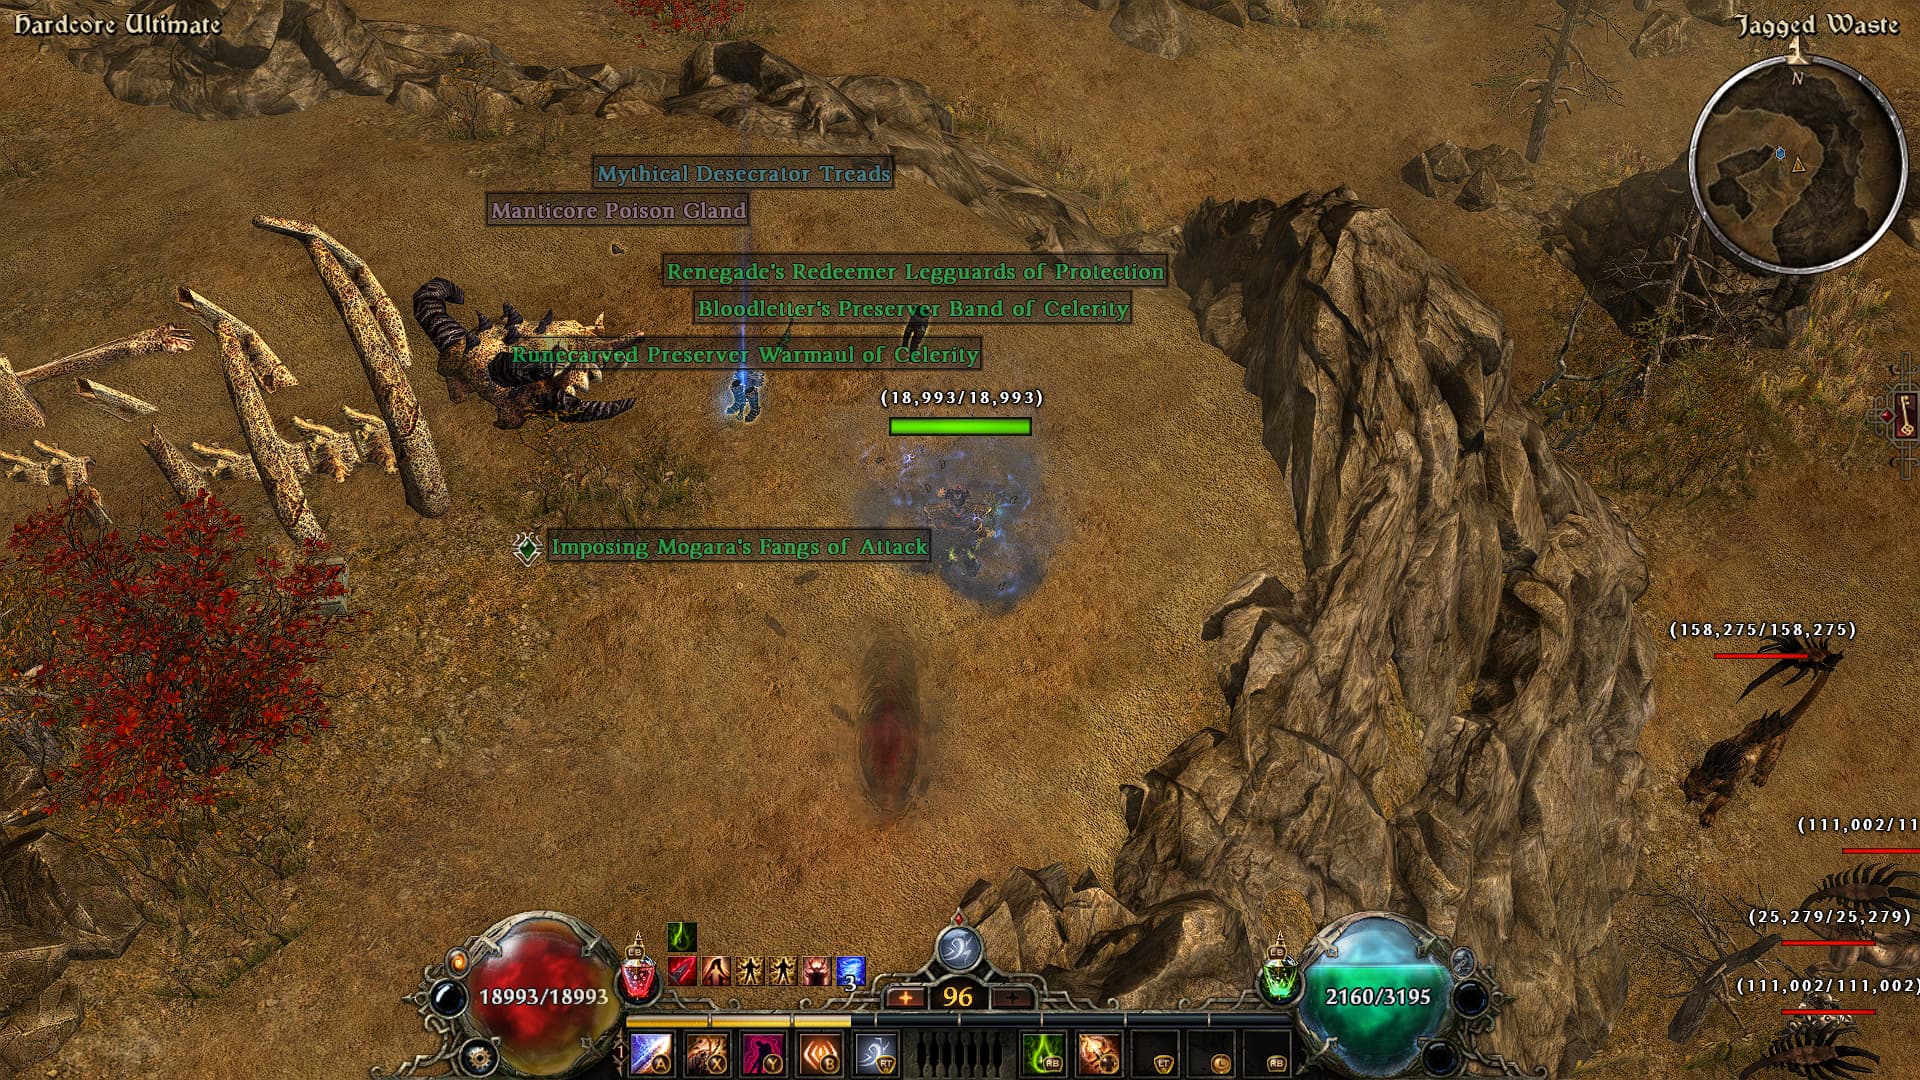
Used the great and cheap elite legion greaves for thu budget version, but look for the mythical earthshatter treads.
Build when i hit Lvl 100:
I recorded a few videos showcasing the build in its budget version:
Budget physical conjurer X Korvaak

Budget physical conjurer X Theodin Marcell

Budget physical conjurer X Rashalga

Budget physical conjurer X Kra’vall
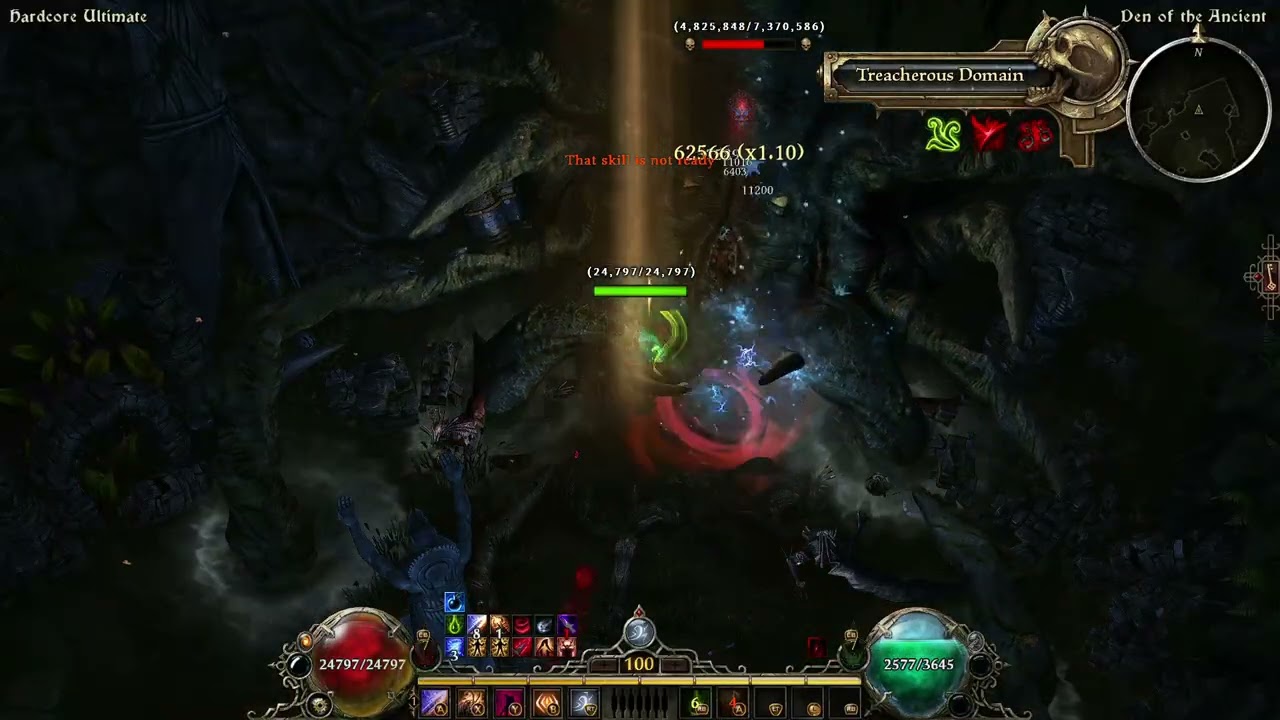
Budget physical conjurer X SR26

After some testing, I upgraded it to the final endgame version:
This version uses the Jarldin’s fury set, so I ended up removing Devouring Swarm, since we no longer have the Physical Resistance debuff associated with that skill.
You can make the build even tankier and improve its facetanking potential by taking points from wind devils and investing more into Wendigo Totem and replacing the relic with Aurora or Serenity.
I spent practically all my ashes of awakening trying to improve my rings affixes, these were the best I could afford 
One downside of this version is that the Crowd Control Resistances ended up being fairly low. You can compensate for this to some extent by using the Geliodis potion modifier, which should help you most of the time.
I only remembered about that after fighting Mogdrogen, though… hahaha.
Celestial fights so far:
Phsyical conjurer X Mogdrogen
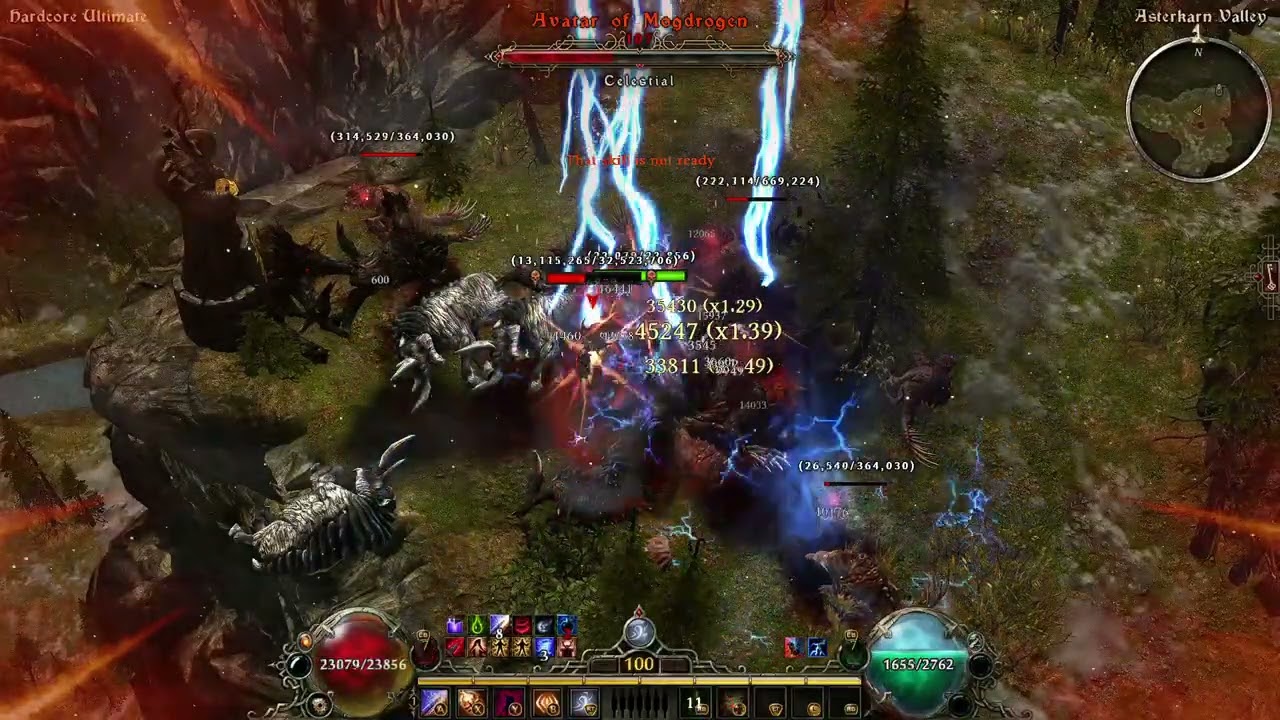
Physical conjurer X Callagadra (just dodge the sunder debuff and you will facetank it all the time safely)
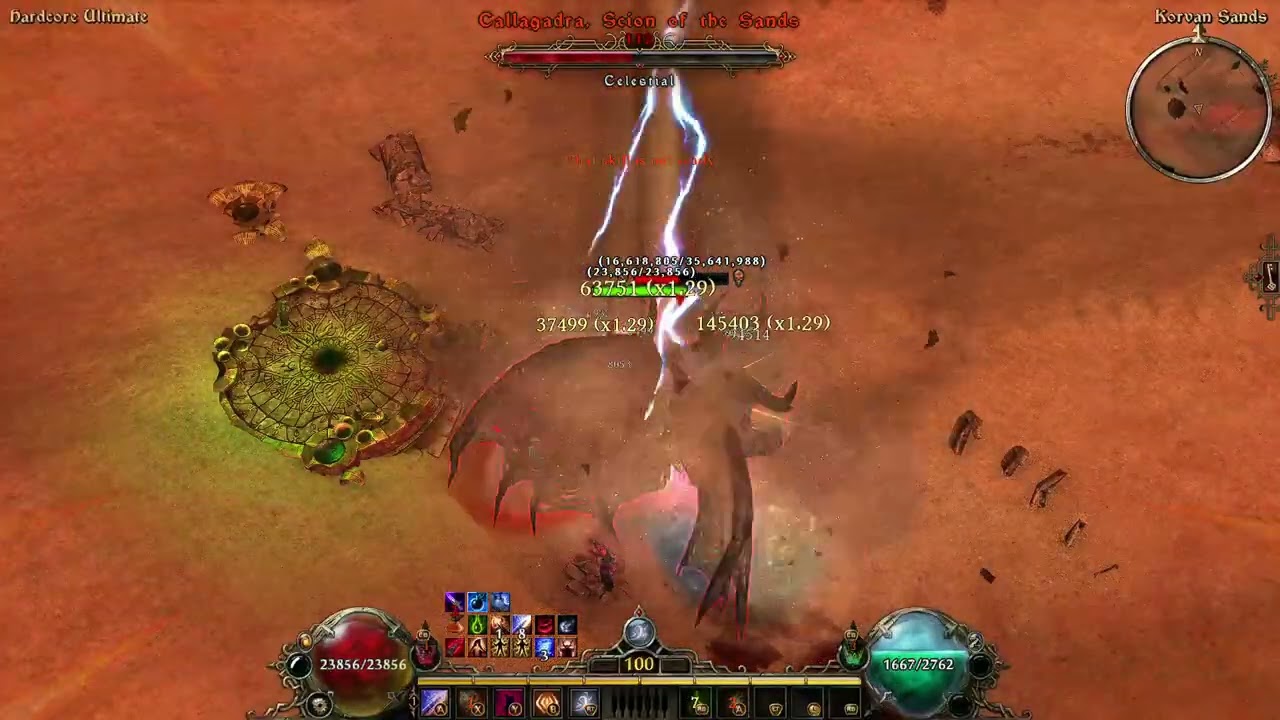
Physical conjurer X FoA Mogdrogen (long battle, but full facetank)

I haven’t had much time to play lately, so I ended up not fighting the other Celestials. Still, this build can definitely appeal to players who enjoy a simple playstyle, want something safe for Hardcore, and aren’t in too much of a hurry 
 A very important update: gotta thank @TheNex for reminding me that only feral hunger is modified by the shield, I’m not 100% sure, but upheaval may not be triggered , so you can try switching the Jarldin’s set for the mythical bloodrager set and take a look about the changes in performance, also taking the points from upheaval and using it to improve char’s damage and defenses is a good idea.
Greetings to everyone, and thanks for reading this far!