Format: Numeric list
Font: Font Face
Colors: limegreen, teal, orange, red, blue
Language: AE
Parts Index
- World Editor Tools I
- World Editor Tools II
- World Editor Tools III
- World Editor Tools IV
- World Editor Tools V
- World Editor Tools VI
Index
1.0 Editor Mode
1.1 Preparation
1.2 Placement Tool
1.3 Group Link Tool
1.3.1 Respawns
1.3.2 Unified Entities
1.3.3 ProxyPatrollers
1.3.4 Unique Entities
1.3.5 Inverse Unique Entities
1.3.6 Any Entity
1.3.7 Decorations
1.3.8 Patrol Points
1.3.9 Monsters And Weapons
1.3.10 Patrollers
1.3.11 Wander Points
1.3.12 Npc Wanderers
1.3.13 Riftgates
1.3.14 Dungeon Entrances
1.3.15 Devotion Shrines
1.4 Hill (Raise/Lower) Tool
1.5 Noise Tool
1.6 Smooth Tool
1.7 Plateau Tool
1.8 Raise Plateau Tool
1.9 Copy Terrain Tool
1.10 Ramp Tool
1.11 Brush Tool
1.12 No Pathing Tool
1.13 Sector Paint Tool
1.13.1 Fog/Lightning Layer
1.13.2 Name Layer
1.13.3 Sound Layer
1.13.4 Boss Layer
1.13.5 Day/Night Cycle Layer
1.13.6 Bloom Layer
1.13.7 Climate Layer
1.13.8 Damage Layer
1.13.9 Adjustment Layer
1.13.10 Level Limit Layer
1.13.11 Riftgate Disable Layer
1.13.12 View Distance Layer
1.13.13 PvP Layer
1.14 Water Tool
1.15 River Tool
1.16 Wave Tool
1.17 Zoom Tool
1.18 Undo/Redo Tool
1.19 Ingame Zoom
1.20 Ingame Camera Angle
1.21 Map Selecting Tool
[/COLOR]
1.3.4 Unique Entities
A group of the type “Unique Entities” will always only spawn one random object out of it’s group.
Adding objects to the group works as with all other groups, too: Simply create a group of the type “Unique Entities”, select it (if it isn’t already) and click the objects that you want to be part of the group.
1.3.5 Inverse Unique Entities
This is the pretty much opposide of a group of the type “Unique Entities”: It will spawn all but one random objects from it’s group which can be used for randomized barriers.
Adding objects to the group works as with all other groups, too: Simply create a group of the type “Inverse unique Entities”, select if (if is isn’t already) and click the objects that you want to be part of the group.
1.3.6 Any Entity
This works the same way as Unique Entities since it only spawns one of it’s member objects (see 1.3.4) just that it it used to create randomized rifts.
Adding objects to the group works as with all other groups, too: Simply create a group of the type “Any Entity”, select if (if is isn’t already) and click the objects that you want to be part of the group.
1.3.7 Decorations
This type of group allows grouping together decoration type objects though it’s kinda redundant since the SetPiece system pretty much takes care of that already, combined with Unified Entities type groups.
Adding objects to the group works as with all other groups, too: Simply create a group of the type “Decorations”, select if (if is isn’t already) and click the objects that you want to be part of the group.
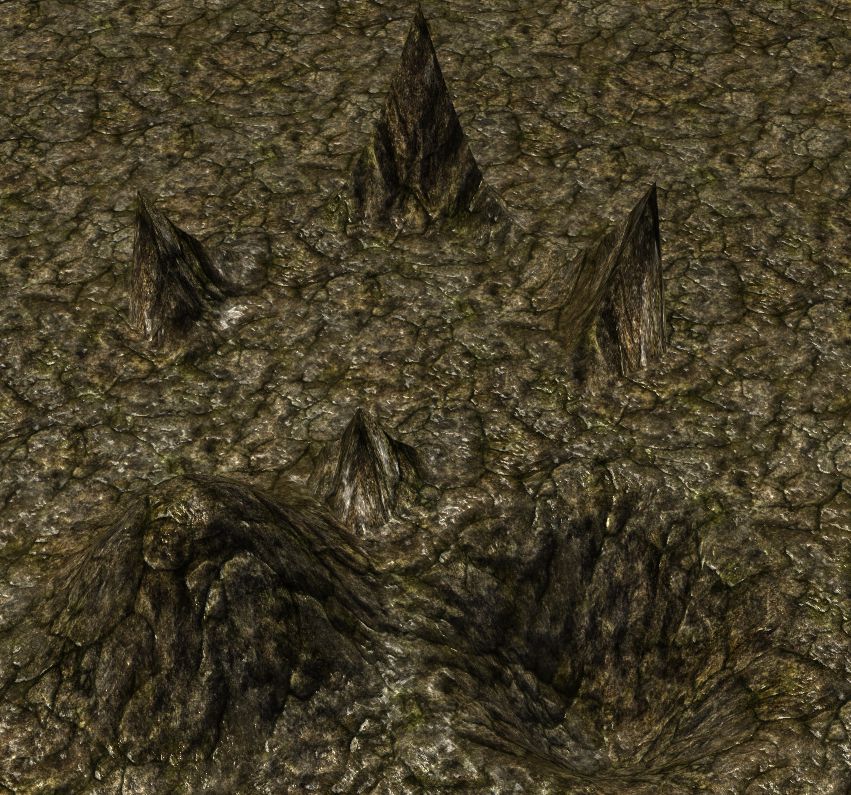
1.3.8 Patrol Points
This type of group is used to group together patrol points.*
The row in which patrol points get grouped together in such a group sets the sequence in which connected Patrollers or ProxyPatrollers will patrol between these points.*
The sequence can be influenced in the “Current Group” window using the “Up” and “Down” button, which will move the selected entry up or down.
When linking a Patrol Points group to a group of Patrollers or ProxyPatrollers, the patrollers of that group will first walk from where they are put in the editor to the first patrol point that is part of the Patrol Points type group.
Warning: This does not apply when the Patrollers or ProxyPatrollers group is further away from the first point then 250-500 ingame measure dependant on if the player is next to either patrol point / Patrollers or ProxyPatrollers or in the middle of both (about 2-4 .lvl files next to each other) since this is the distance that the game loads in every direction from the player’s current point. Can be changed in records/game/gameengine.dbr if needed. Might require hard modding though.
1.3.9 Monsters And Weapons
This used to be an old group type which is not used anymore since there are Proxies and SetPieces instead.
1.3.10 Patrollers
This type of group does basically the same then ProxyPatrollers just for single entities that are not spawned through a proxy but directly placed in the editor. Linking to a Patrol Points type group and adding objects to this group also works the same way.
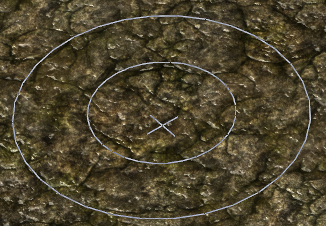
1.3.11 Wander Points
This is similar to Patrol Points type groups, just that it uses wander points instead. Also Wander Points can be used to make npcs wander, which is not implemented in the original game but functional in the editor.
Wander Points can be found in the Placement Tool in records/controllers/controlobjects/…
Grouping wander points also works the same way as grouping any type of object.
1.3.12 Npc Wanderers
This is similar to Patrollers just with npcs and needs to be linked to a Wander Points type group. Linking works the same way as ProxyPatrollers and adding npcs to the group also works as usually.
1.3.13 Riftgates
This type of group can be used to group riftgates together so that they build a network and recognize each other. If a riftgate is not part of the riftgates group it also won’t be saved in the player character save.
1.3.14 Dungeon Entrances
This can be used to put together the entrances of dungeon so that they know where to put the player when clicking them. There needs to be an entrance in the main map and in the map of the cave to group them together.
Adding entrances to this type of group works as with all other objects, too.
1.3.15 Devotion Shrines
This type of group can be used to group devotion shrines together. If a shrine is not grouped this way, it won’t be saved in the player character’s save.
Adding shrines to this type of group works as with all other objects, too.