Format: Numeric list
Font: Font Face
Colors: limegreen, teal, orange, red, blue
Language: AE
Parts Index
- World Editor Tools I
- World Editor Tools II
- World Editor Tools III
- World Editor Tools IV
- World Editor Tools V
- World Editor Tools VI
Index
1.0 Editor Mode
1.1 Preparation
1.2 Placement Tool
1.3 Group Link Tool
1.3.1 Respawns
1.3.2 Unified Entities
1.3.3 ProxyPatrollers
1.3.4 Unique Entities
1.3.5 Inverse Unique Entities
1.3.6 Any Entity
1.3.7 Decorations
1.3.8 Patrol Points
1.3.9 Monsters And Weapons
1.3.10 Patrollers
1.3.11 Wander Points
1.3.12 Npc Wanderers
1.3.13 Riftgates
1.3.14 Dungeon Entrances
1.3.15 Devotion Shrines
1.4 Hill (Raise/Lower) Tool
1.5 Noise Tool
1.6 Smooth Tool
1.7 Plateau Tool
1.8 Raise Plateau Tool
1.9 Copy Terrain Tool
1.10 Ramp Tool
1.11 Brush Tool
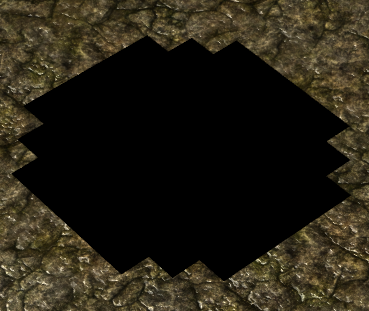
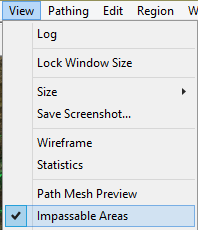
1.12 No Pathing Tool
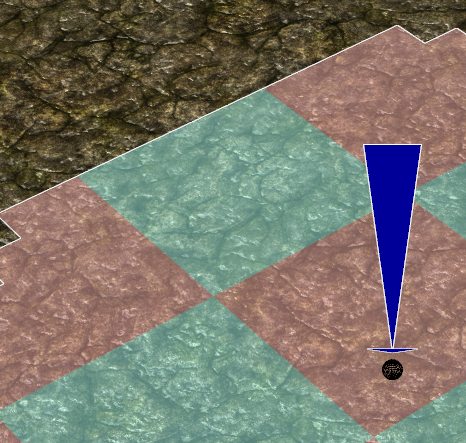
1.13 Sector Paint Tool
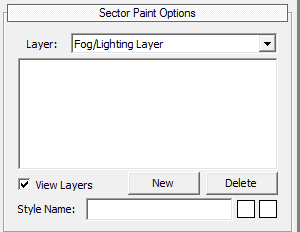
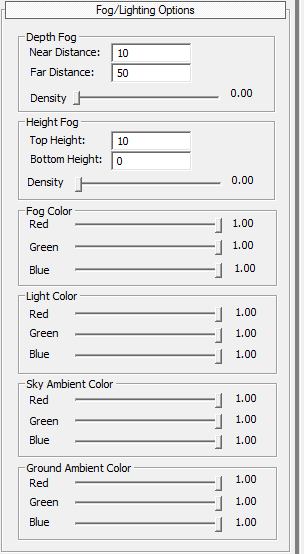
1.13.1 Fog/Lightning Layer
1.13.2 Name Layer
1.13.3 Sound Layer
1.13.4 Boss Layer
1.13.5 Day/Night Cycle Layer
1.13.6 Bloom Layer
1.13.7 Climate Layer
1.13.8 Damage Layer
1.13.9 Adjustment Layer
1.13.10 Level Limit Layer
1.13.11 Riftgate Disable Layer
1.13.12 View Distance Layer
1.13.13 PvP Layer
1.14 Water Tool
1.15 River Tool
1.16 Wave Tool
1.17 Zoom Tool
1.18 Undo/Redo Tool
1.19 Ingame Zoom
1.20 Ingame Camera Angle
1.21 Map Selecting Tool
1.11 Brush Tool
The Brush Tool is used to create different terrain colors and mixing these:
It can be found here:
![]()
If you click it, a window should appear on the right that looks like this:
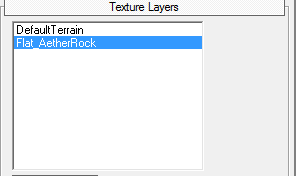
To use a new texture, you first have to create a new layer by clicking “Add Layer”. If you do so, a window will open that looks like this:

This is, as the headline says, the Texture Picker, from which you can choose which texture you want by looking at them in the preview window in the right lower corner of the window (texture will be previewed when getting selected in the list above).
You need to pick a texture from here which will be for me now
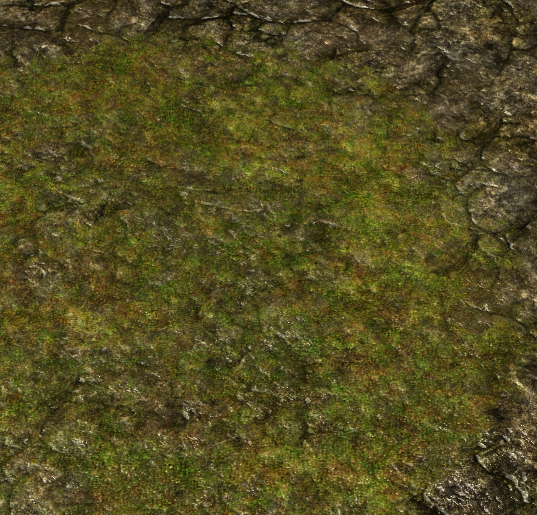
records/terraintextures/earth/flat_aetherrock.dbr
When you press ok, the Texture Picker window should close and a new layer should have appeared in the list in the Texture Layers window:
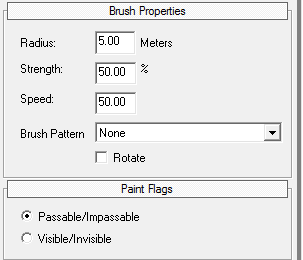
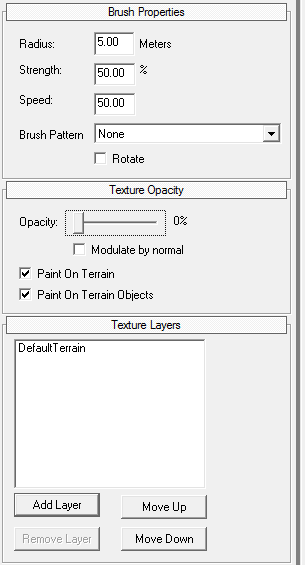
When you select this layer, you can change a few properties in the Brush Properties and Texture Opacity window:
-
Radius will change the paint radius when hovering the editor with the mouse. A round brush will appear as usually.
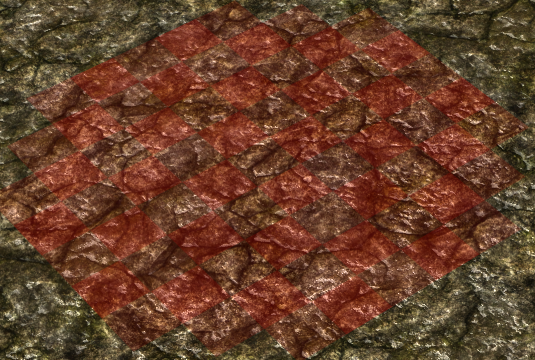
[li]Strength defines the extremity with which the texture will be drawn. Changing it to 1 will enable you to paint single texture parts such as rifts with the currently used texture:[/li]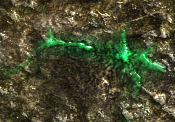
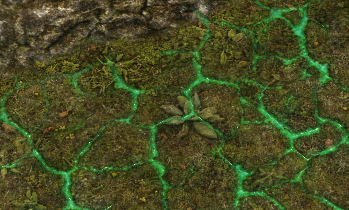
Changing it to something like 5 will enable you to draw it in a way that will slowly fade at it’s border. - Speed is not used in this tool.
-
Brush Pattern is not used in this tool.
[li]Rotate is not used in this tool.[/li]Opacity will determine how much percent of the texture will be drawn. At a high percentage, the underlaying texture will be fully overdrawn while at a low percentage there will be a mix of both:
The row in which the textures are in the list in the Texture Layers window also describes their powerlevel: The topmost texture will be painted beneath every other, lesser positioned texture. You can change the row any time by selecting a layer and clicking “Move Up” or “Move Down”. - Modulate by normal seems to have no effect, at least I couldn’t discover one.
-
Paint On Terrain determines whether you can paint over existing layers or not. If checked, you can paint over textures that are in a highter position than your current in the Layers list.
[li]Paint On Terrain Objects determines whether textures get drawn on such called TerrainDecorations (found in records/level art/terrain/):[/li]
Attachment: terrain1.jpg
Attachment: terrain2.jpg
Attachment: terrain3.jpg
Attachment: terrain4.jpg