Build Intro:

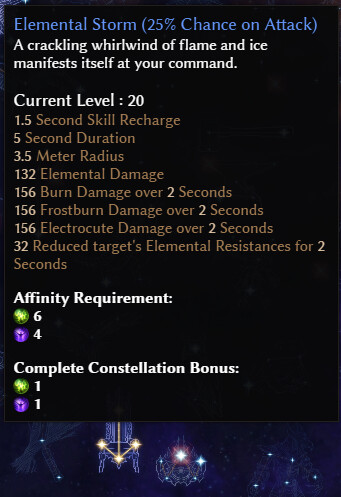
Came up with an interesting build while viewing the Mythical Codex of Eternal Storms. I was always curious about how the Mortar Trap skill performed, especially when paired with Storm Totem, so I decided to give it a shot.
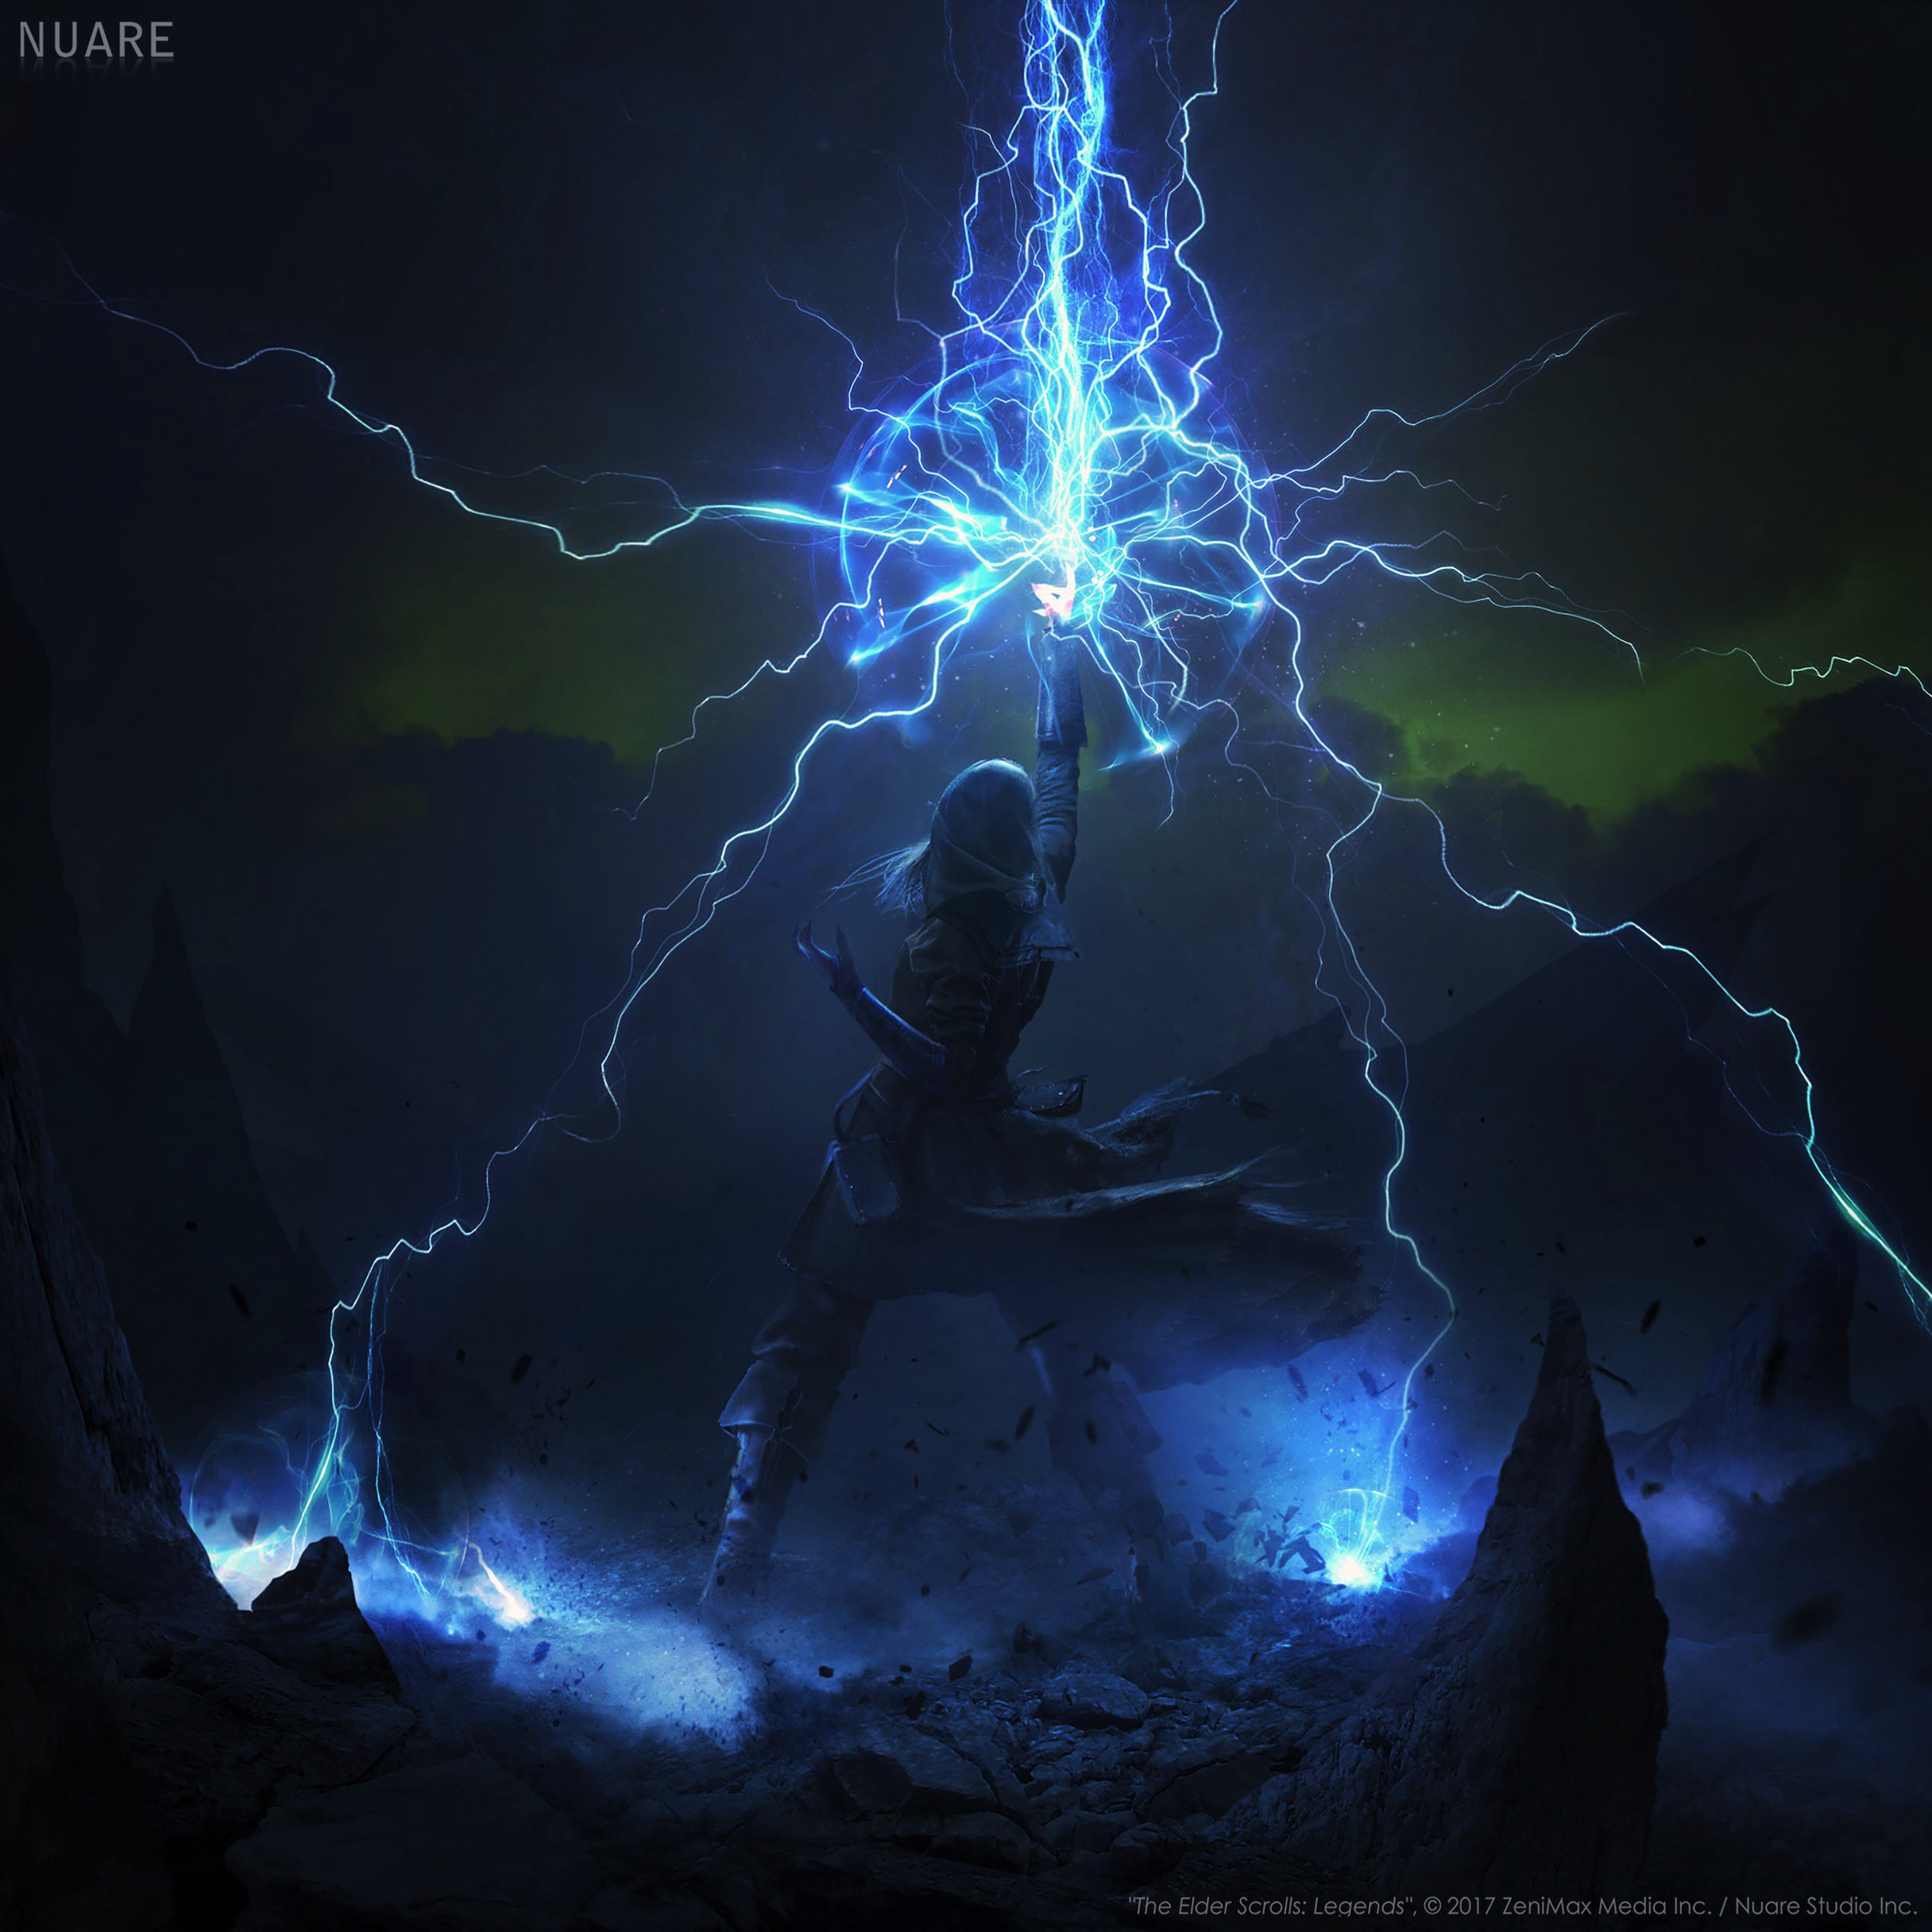
Source: https://twitter.com/nuarestudio/status/1191773965083193346
Pros & Cons
PROS
- Extremely good damage output
- Can kite while dishing out huge amounts of damage effortlessly
- Encourages medium to long range playstyles which tend to be safer
- Has decent offensive and defensive skills vs. mobs who get into close range
- One of the best builds for totem farming
CONS
- Glass Canon with low physical resistance ; Reliant on kiting and gaining distance for survival
- Deploying totems and mortar traps can take time
Leveling
In terms of leveling from level 1 - 94, the only important piece of gear we need is the Ugdenbog Sparkthrower as we will be leveling as a two-handed ranged, primal strike character. Every other piece of gear can be any item you pick up along the way ; emphasize on stats that boost your eight resistances primarily, with +lightning damage as a secondary consideration.
However, Ugdenbog Sparkthrowers only drop from level 40 onwards, so from level 1 - 40, you can use any melee, 2-handed weapons that you find. Personally, I was using a magic (Yellow) 2-handed weapon with +Lightning damage. I would check back at a vendor every 10 - 15 levels for a better weapon until I hit level 40. After that, it is highly recommended to switch to ranged, as Elementalists will become way too squishy to function as a melee character especially past level 50.
Here is how I recommend distributing our skill points following each Level Up:
Our first priority would be to max out the Primal Strike line, along with its modifiers- Torrent, Storm Surge & Thunderous Strike. We will then pump the Shaman mastery bar to 50 and max out Stormcaller’s Pact as well. For this part, we will ignore the Demolitionist skill tree: Shaman, Level 100 (GD 1.1.9.7) - Grim Dawn Build Calculator
Next, we will begin with our Demolitionist Mastery. We will only spend one skill point per level up to raise the Demolitionist Mastery bar purely for the attribute points, while developing the Shaman tree further. Put one point into Wendigo Totem & two points into Blood Pact. This should give us some life steal, which will help somewhat in sustaining our health: Elementalist, Level 100 (GD 1.1.9.7) - Grim Dawn Build Calculator
Place one point into Mogdrogen’s Pact, one point into Brute Force & raise the Demolitionist Mastery bar by one point: Elementalist, Level 100 (GD 1.1.9.7) - Grim Dawn Build Calculator
Place five points into Feral Hunger, max Heart of the Wild & keep raising the Demolitionist Mastery bar by one point per level up: Elementalist, Level 100 (GD 1.1.9.7) - Grim Dawn Build Calculator
Max out Upheaval, place six points into Oak Skin & keep raising the Demolitionist Mastery bar by one point per level up: Elementalist, Level 100 (GD 1.1.9.7) - Grim Dawn Build Calculator
Max out Brute Force & keep raising the Demolitionist Mastery bar by one point per level up. We will no longer be touching the Shaman skill tree until we hit Level 94, so we can focus our remaining skill ups into the Demolitionist tree: Elementalist, Level 100 (GD 1.1.9.7) - Grim Dawn Build Calculator
Switch over to the Demolitionist tree, max out Flame touched & keep raising the Demolitionist Mastery bar by one point per level up: Elementalist, Level 100 (GD 1.1.9.7) - Grim Dawn Build Calculator
Finally, We will now Raise the Demolitionist Mastery bar all the way to level 32 to unlock Blast Shield. Place 6 points into Blast Shield: Elementalist, Level 100 (GD 1.1.9.7) - Grim Dawn Build Calculator
From this point on, skill point placements can be more flexible. Just remember to raise the Demolitionist Mastery bar by one point per level up until it hits level 50. The remaining two skills I can recommend investing in are Thermite mines (for more AoE damage and Resist Reduction) & Flashbang (Only if you need the survivability, but personally I did not need it because I was always able to keep my distance for the most part). Here is a sample of what my skill trees look like at level 90-ish: Elementalist, Level 100 (GD 1.1.9.7) - Grim Dawn Build Calculator
Rare / MI weapons
Epic Gear
-Salt-core Bolter (Only if you don’t have a leveled Ugdenbog Sparkthrower)
-Thunderclap (Only if you don’t have a leveled Ugdenbog Sparkthrower)
-Eastern Gloves
-Shellshock Epaulets
Devotion pathing is listed further down. Pre-level 94 and Post-level 94 devotion choices are exactly the same.
Build
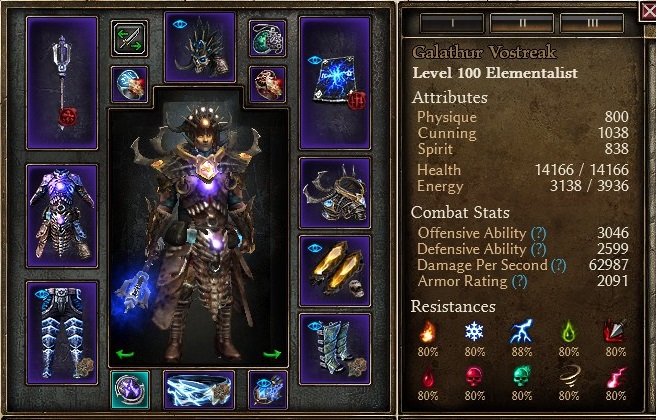
Elementalist, Level 100 (GD 1.1.9.7) - Grim Dawn Build Calculator : Final Build
Attribute points- Physique / 27 Cunning / 65 Spirit / 15
Seeing as this is a kite heavy build, playstyle feels relatively streamlined and simple. Chain Lightning, Wind Devils and Thermite Mines are sufficient for trash mobs. Throw out one storm totem and mortar trap each if you need to speed up your kills.
For uniques / heroes and bosses, you pretty much just throw down 4 storm totems, 3 Mortar Traps and Thermite Mines (Remember to recast if needed to keep your enemies within the effective radius) while running around until the threat is eliminated. Of course, if you feel safe enough, feel free to get a bit closer to use chain lightning and utilize your wind devils for even more damage. Just understand that the build is frail even with the three big celestial powers in effect, namely Giant’s Blood, Wayward Soul and Ghoulish Hunger. Even one hit is enough to justify backing off in plenty of scenarios.
One good survival tip is to always be on the lookout for when the “Blast Shield” icon lights up at the bottom left side of your screen. Whenever it activates, fall back as fast as you can and prepare to consume a health potion or aether cluster, because it means that you have taken a fatal blow and will most likely die if you don’t take evasive action.
Devotion
- Green Crossroads
- Spider
- Blue Crossroads
- Sailor’s Guide
- Widow (Bind to Chain Lightning)
- Purple Crossroads
- Empty Throne
- Tempest (Bind to Storm Totem)
- Red Crossroads
- Vulture
- Behemoth (3 nodes, Bind to Mogdrogen’s Pact)
- Chariot of the Dead (Bind to Stormcaller’s Pact)
- Ultos, Shepard of the Storm (Bind to Wind Devil)
- Jackal
- Refund Red, Green and Purple Crossroads
- Ghoul (4 nodes, Bind to Blast Shield)
Final Words:
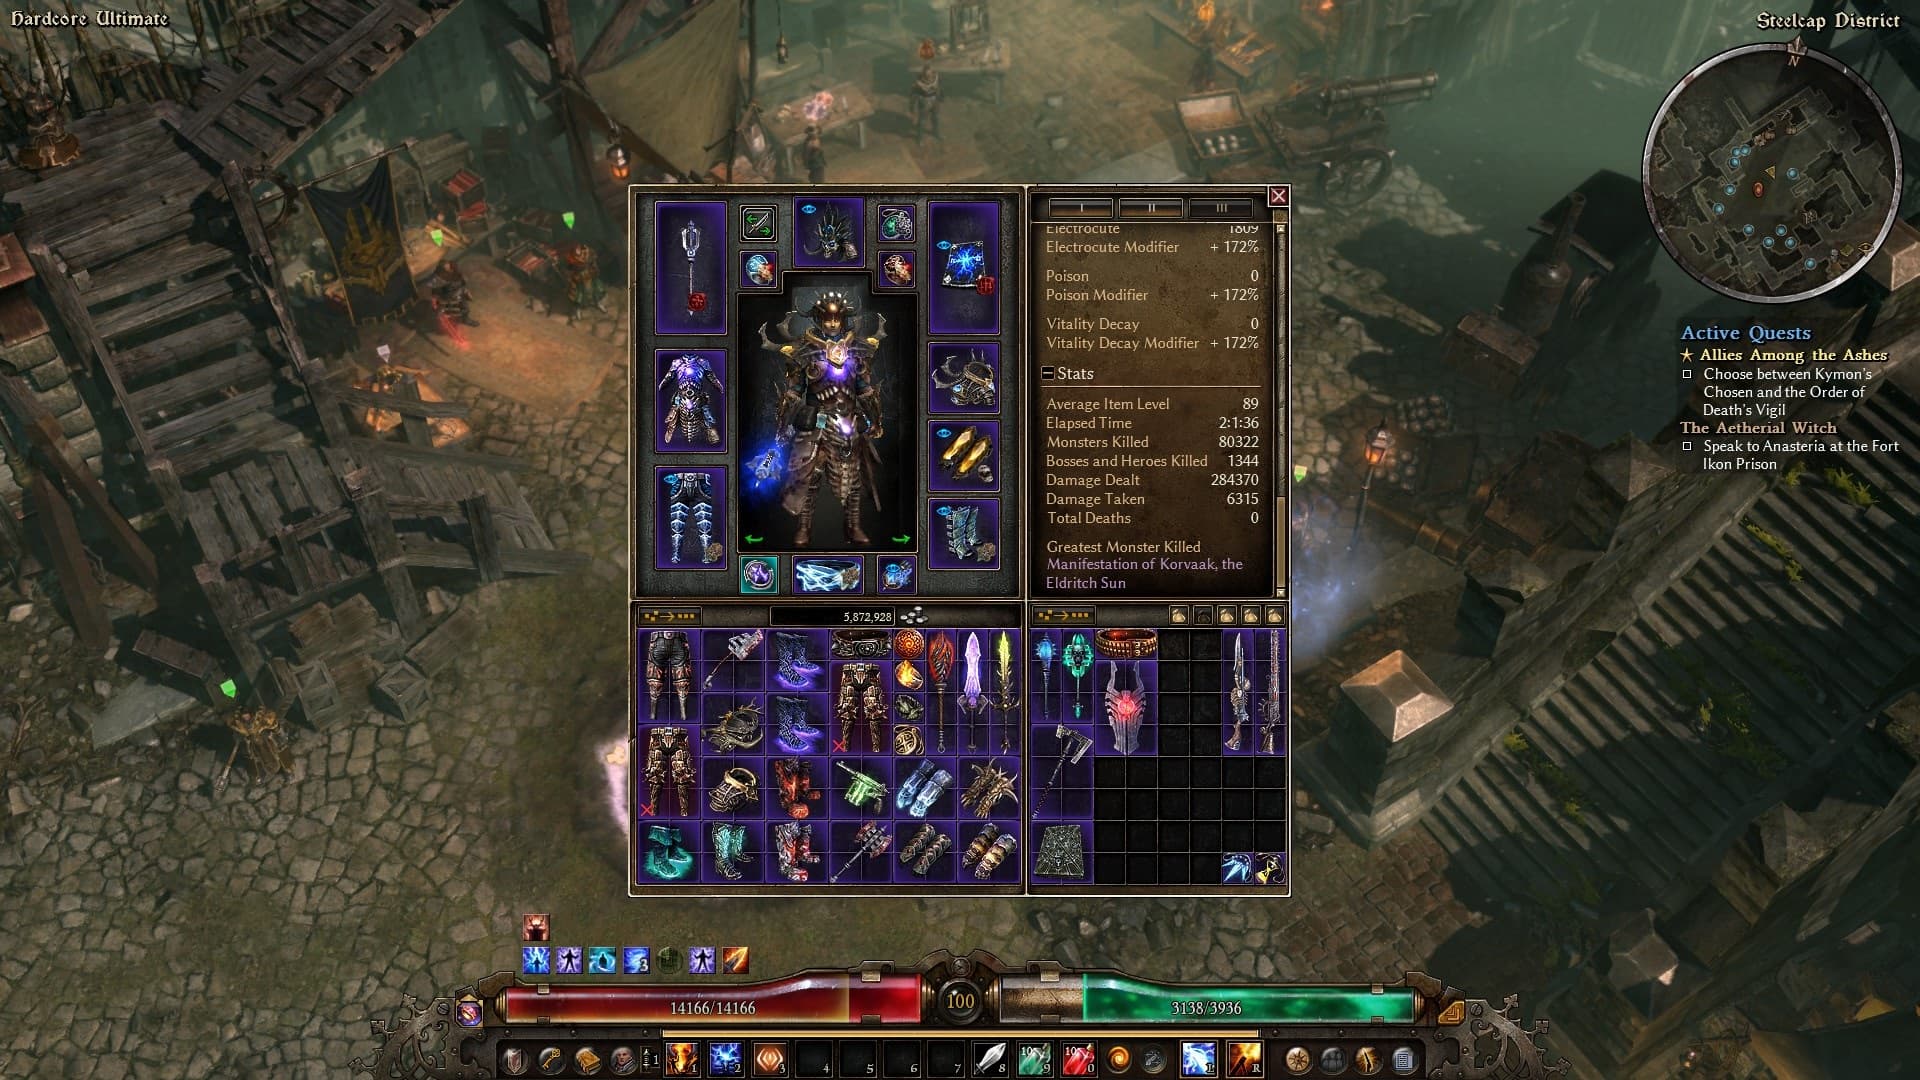
Pretty interesting build for sure- It exists within that middle ground between Retaliation/Pet builds and all your other regular builds that need more input- I need to activate all of my totems, mines and Mortar Traps, but then I can run a screen away, loop back, and be greeted by a sea of corpses. There’s just a bit of setup each time I want to ramp up my damage, but then I spend the other half of my time watching every hostile in front me getting nuked. It might just be me, but I have this weird cathartic feeling because I get to solve my problems by literally running away from them for once.
As far as performance goes, I’ve only completed the campaign on Hardcore Ultimate (for now). Not sure if this is a good benchmark at all, but worth noting that the kill speed for Korvaak at the end of FG was only 1 minute, 56 seconds ish. That’s kind of surprising to me, since I have a little over 30 alts and none of them come close to that time.