You can find the thread of the community’s discovery of this secret quest here:
What follows is a thorough guide compiled during playtesting. This guide has awaited the community’s discovery of its contents on their own before being published.
Strap in lads, this secret quest is the longest one yet. Spoilers below, obviously. You’ve been warned.
From what I can tell, all of the quest’s steps can safely be done in Ultimate - which is to say, Ascendant is not required. (Still doable in Asc., though)
Google Drive Link - Containing Images for Quest Objective Locations:
Got Wood? - Google Drive
Special Thanks to basically the entire Praetorian team. Nearly everyone Chipped in on this, regardless of whether they were intentionally pursuing the secret quest.
Step -1.
Farm up 250 Wood Chips. Not an exagerration. These have a chance to drop from any beaver (Kastorran) so…get to genociding. This can be done concurrently with any of the earlier steps. You technically need these in increments of 50 if you want to space it out.
This is at the beginning of the guide to let you know ASAP, but I don’t recommend trying to do this all at once unless you really hate beavers. This is a marathon, not a sprint. You do not need these Wood Chips until Step 5.
Step 0.
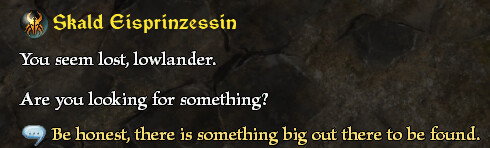
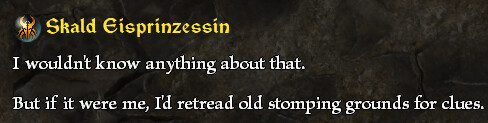
(Optional Hint) - Talk to Skald Eisprinzessin in Kurnhold in Ultimate+. This should let you get the following dialog:
Step 1.
Reach Revered Status with Elder Noktukari in Elderveil. Elderveil can be accessed in a semi-hidden area due south of Guardian’s Sorrow rift (you need to go west first, then south). Without modifiers, this will require doing about 25 of Noktu’s quests (the rep rewards vary per quest type). If you Mandate at Honored, you can knock that down to ~18. A Writ would take this down to 13 for subsequent characters. (Note: There is effectively no reason to max Noktukari on subsequent characters at this time.)
Once you are Revered, buy the Occularis and Primordis potion modifiers. (As well as everything else, as it’s all goated) Slot the Occularis into either your health or energy potions (doesn’t seem to matter). Occularis gives you a 6-second buff that reveals hidden content. This buff can be dispelled by Nullification effects.
Primordis will see use later.
Step 2.
Hunt down 17 Mushroom Circles scattered around the entire world of Cairn. See the Google Drive’s “Mushroom Circles” folder. I STRONGLY recommend keeping your own checklist of circles you know you’ve visited/received loot from. To facilitate that, the following is a list of the areas you can find them in:
🍄 Mush 🍄
- Frostveil Highlands
- Mammoth Burial Ground
- Ulo’s Springs
- Foggy Bank
- Gryver’s Mill
- East Marsh
- Burrwitch Cathedral
- Port Valbury Outskirts
- Rotting Cropland
- Mountain Deeps
- Asterkarn Valley (Act 4, not FoA!!)
- Gloomwald
- Ugdenbog 1
- Ugdenbog 2
- Mourndale
- Arkovian Foothills
- Shaded Basin
When you find a Mushroom Circle, activate your potion with Occularis to spawn a bonus loot chest. Yippee! Though that’s not really why we’re here, we just need to hone our vision to be able to see through the veil better.
When you’ve collected all 17, you can find and open the chest at the 18th (the final three images in the above Google Drive) to get your all-powerful relic.
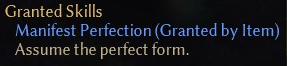
You can probably guess what this means, but I’ll let you see firsthand for yourself.
Step 2.5
Also farm up 50 Tainted Meat and shove them into the Primordial Altar East Southeast of the Black Citadel rift.
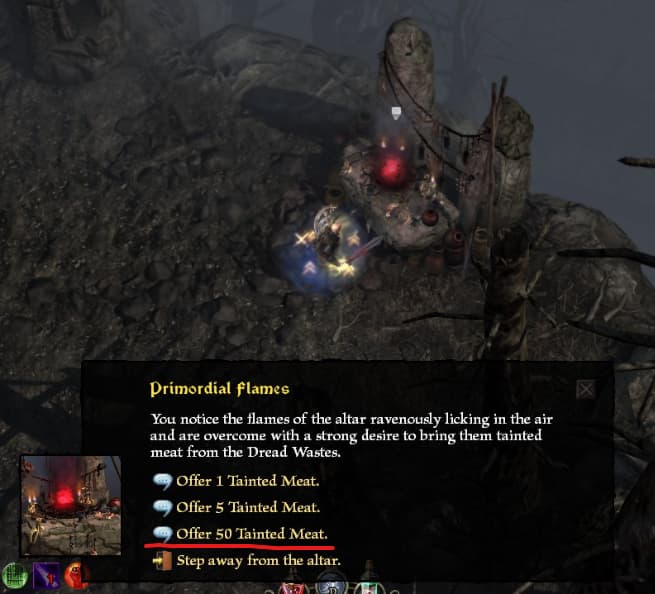
When you offer 50 Tainted Meat to the Altar, it will glow more brightly and “Recognize” you from then on:
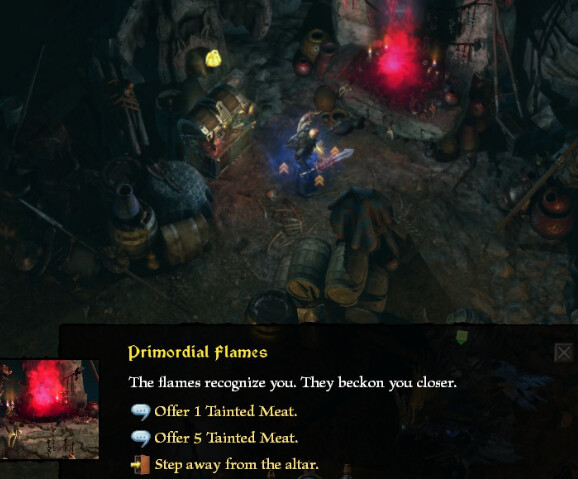
(Note: Screenshot from a playtesting build that had a duplicate Altar in Elderveil; it is no longer there.)
Step 3
Rerun the Black Lodge (or run it twice across two sessions if you haven’t done the quest yet). Your second time through, the reward chest should spawn on the righthand side of the final room, rather than the lefthand side. This alternate chest should give you the Patched Notes quest item.
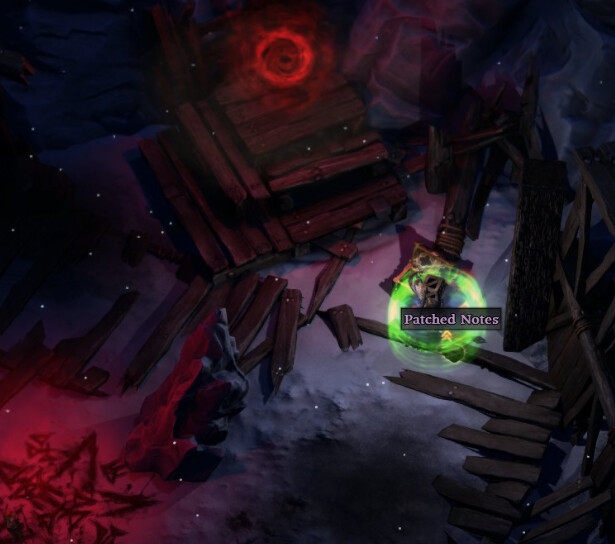
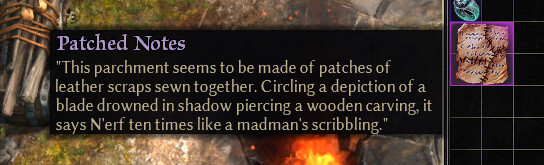
Hmm…what could that be referring to? 
Step 4
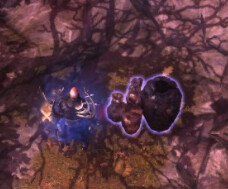
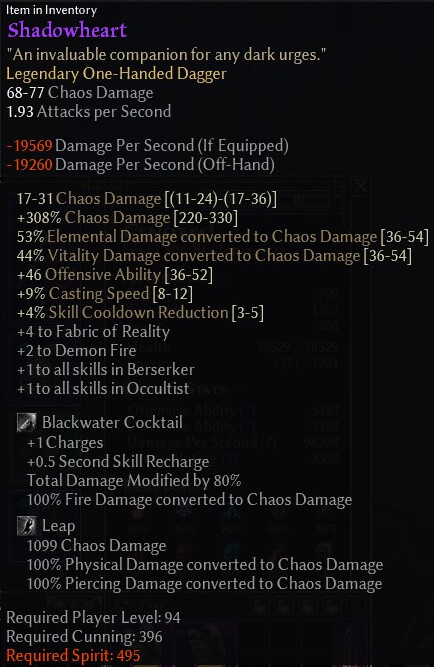
Scattered around the world are 5 Urn Clusters. Opening these Urn Clusters drops a misspelled Shadowheart dagger. They use the same model and name as the Urn Cluster that first dropped Stormheart:
There is also something sussy going on in Port Valbury. It seems the merchant Agarrad has a fanclub, and has also brought on an Intern to help peddle his wares. A sixth misspelled dagger can be purchased from the Intern.
See the Google Drive’s “Shadowheart” folder. Forewarning, I recommend having an Aether Cluster or other defensive measures for some of these locations!
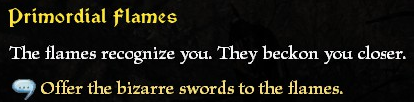
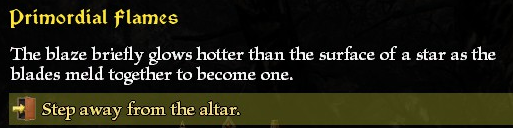
Bringing all six fake daggers to a Purifying Altar that has been fed 50 Tainted Meat will allow you to merge the fakes into the real thing.
Step 5
While transformed via the relic skill from Step 2, bring 250 Wood Chips (or 50 Wood Chips 5 times) to Rik’Rik south of Kurnhold to exchange them for 5 Wood Logs.
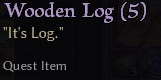
(Should’ve been Logh)
Bring these 5 Wood Logs to Muk’Luk in Frostveil Highlands to exchange them for a Wood Carving.
See the Google Drive’s “Beavers” folder for their exact locations. The images in the google drive have been renamed/ordered for ease of use.
Step 6
Return to the area that previously held the final Mushroom Circle near the Pilgrim’s Rest waypoint; further up the hill, you’ll find a passage that opens if you have the Wooden Carving, Shadowheart, and the Patched Notes in your inventory!
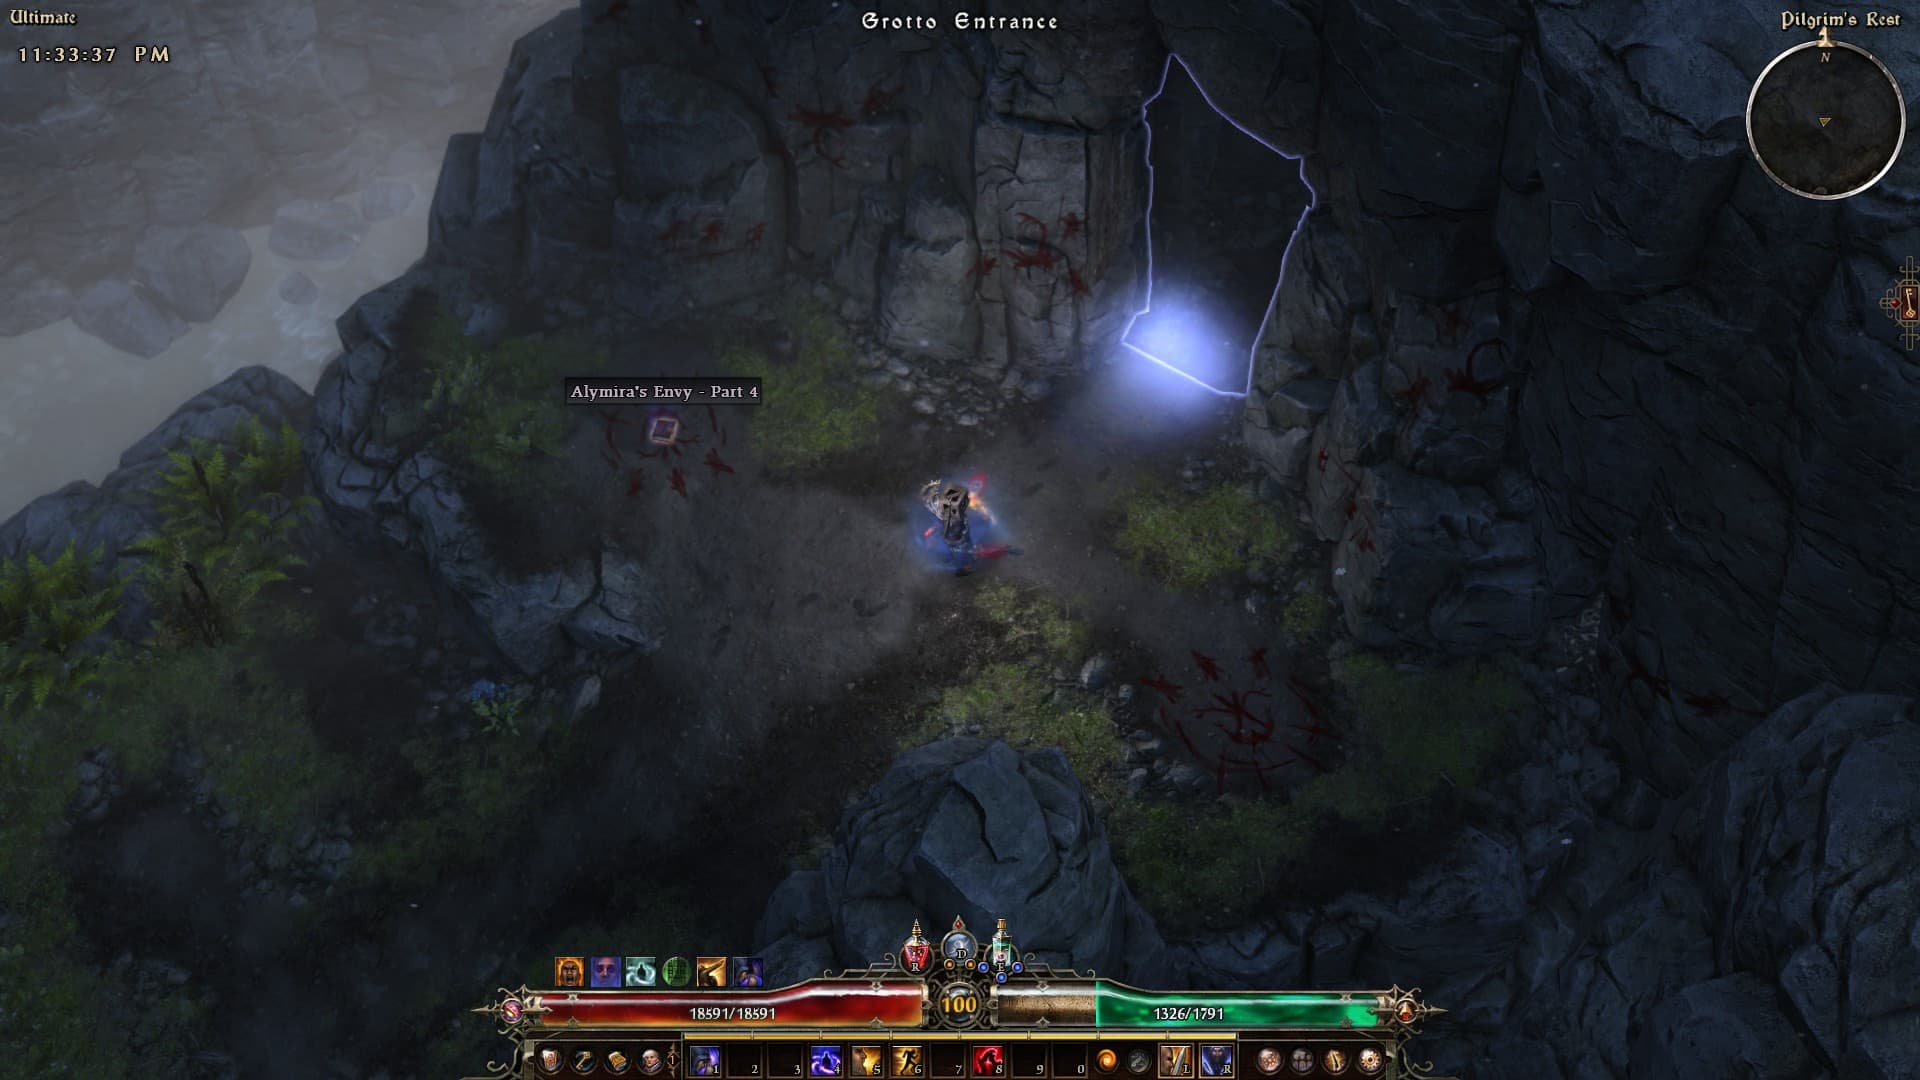
Location added to the Google Drive under the “The Threshold/River” folder.
Step 7
SUFFER
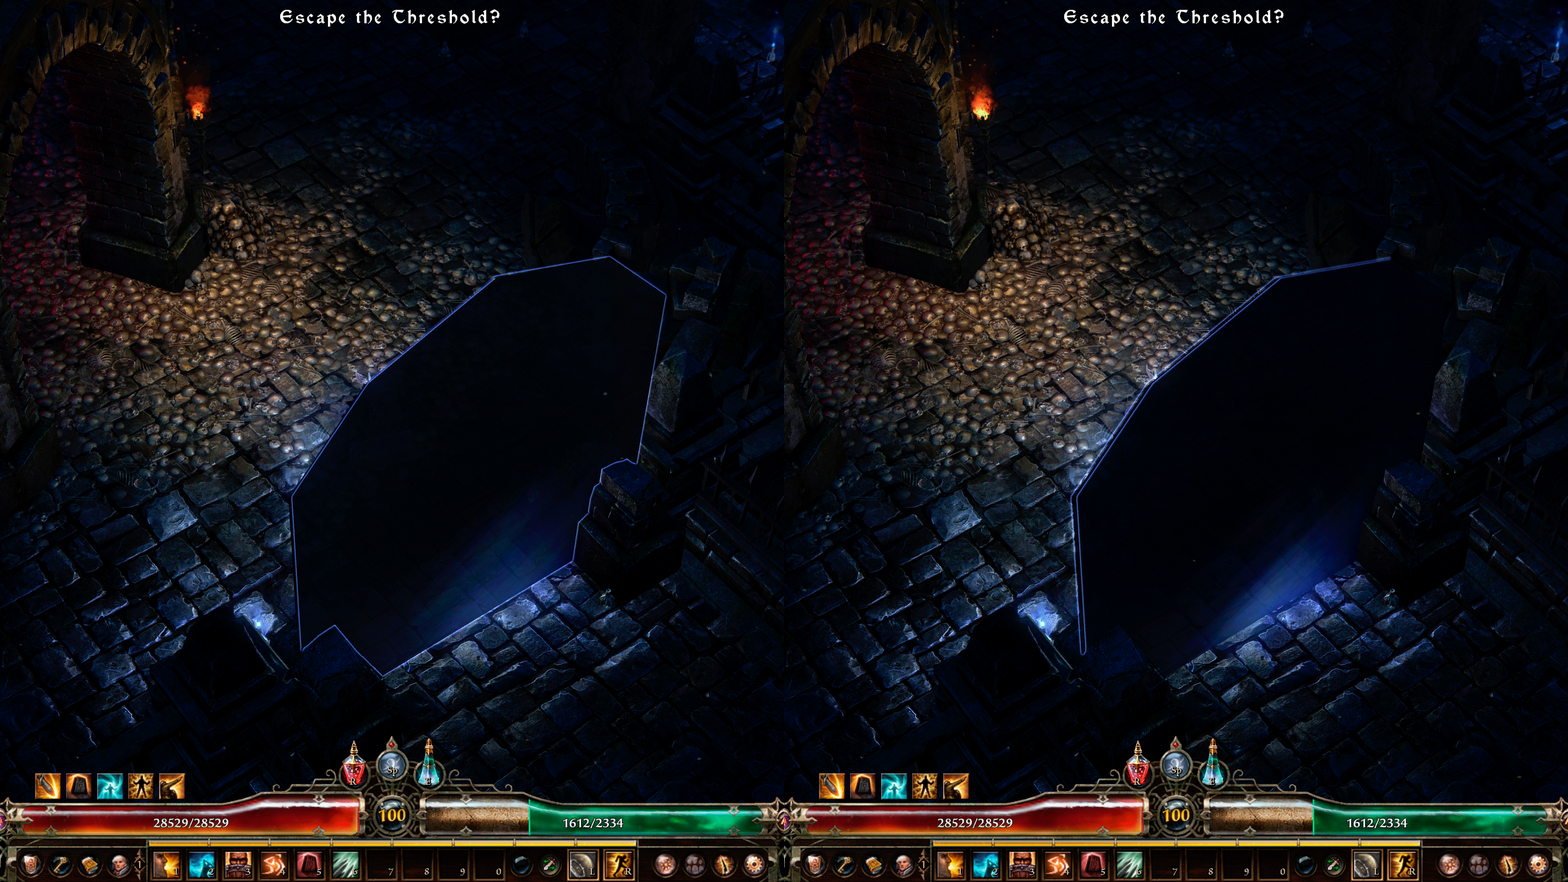
In the initial room of the Grotto, “The Threshold Between,” you’ll find a Devotion Shrine asking for a Skeleton Key, as akin to secret quests of the past. Behind the Devotion Shrine, you’ll find a passage that leads to a T-intersection. Straight on is a closed gate, but there is an accessible path to your left that asks you to “Cross the Threshold.” Proceed through there.
Welcome to hell.
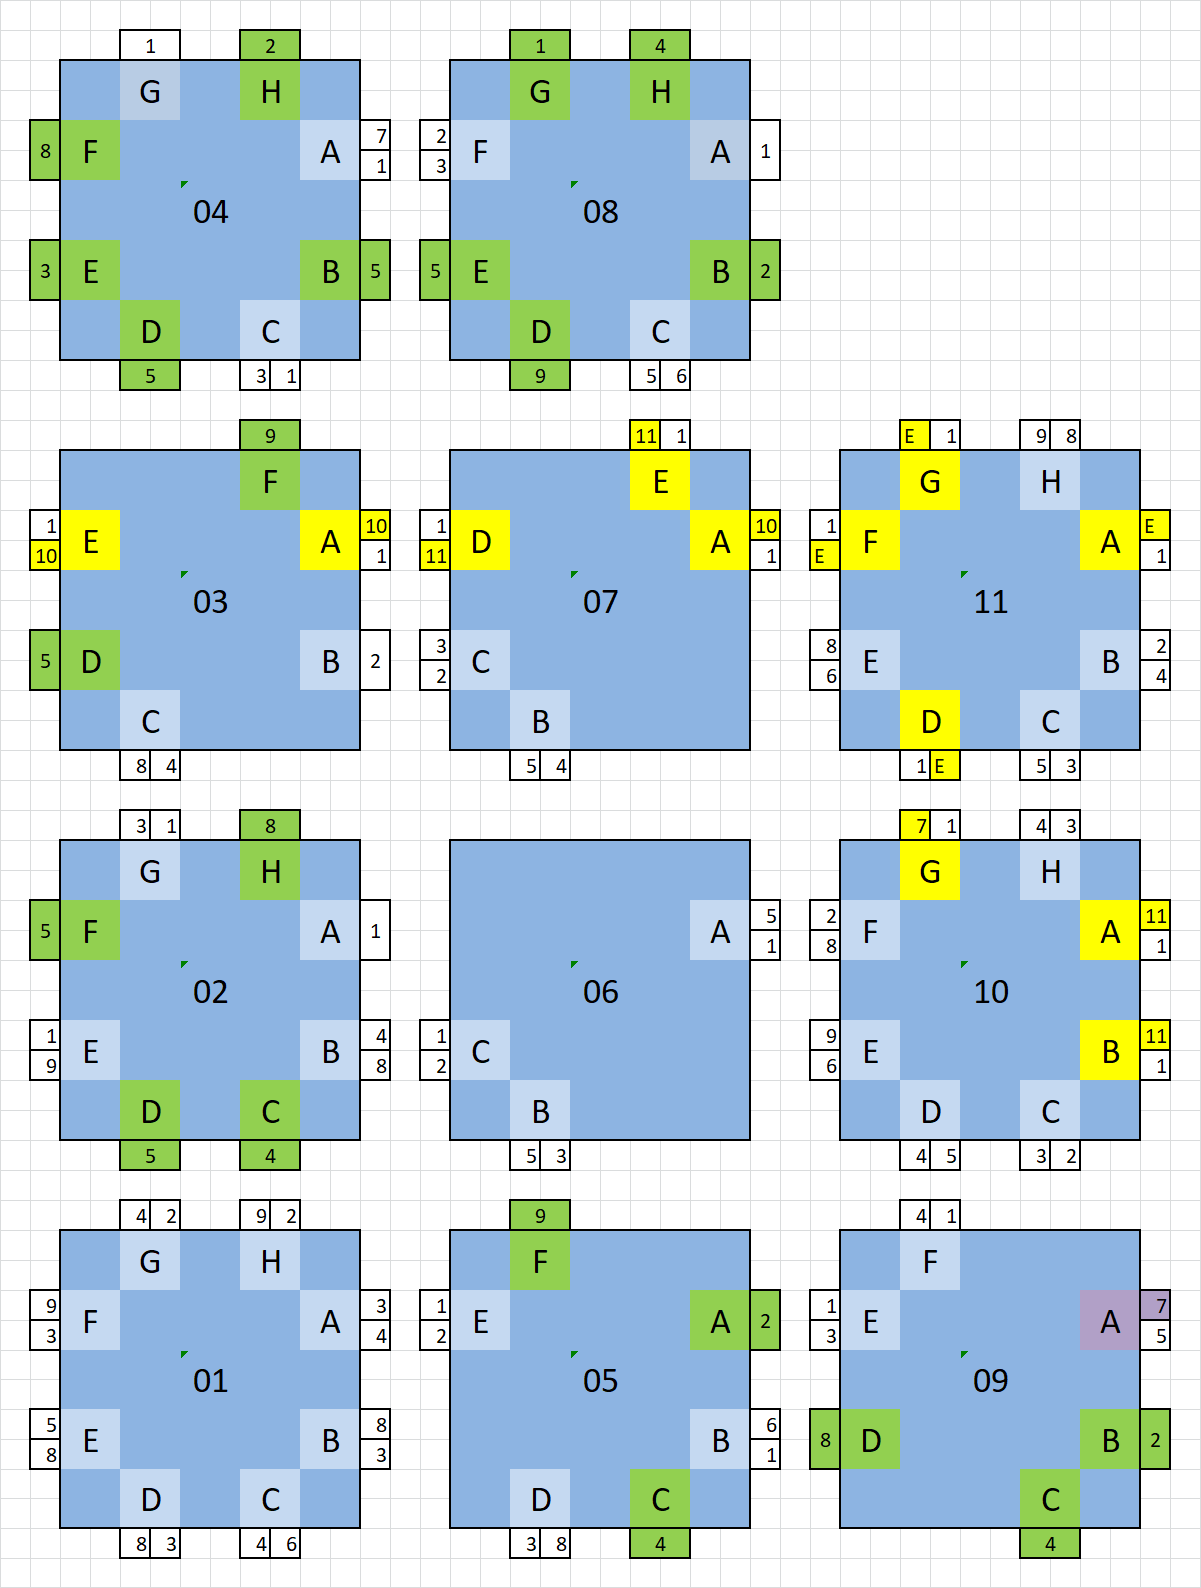
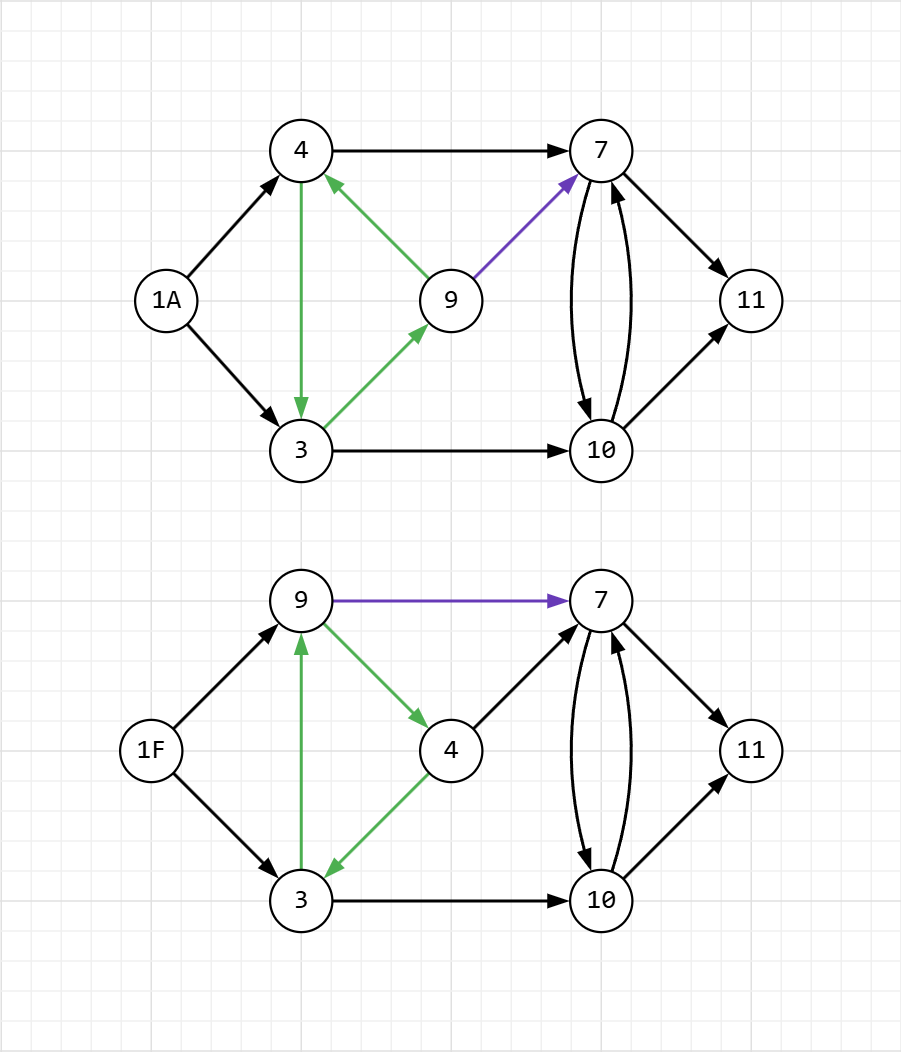
The Threshold presents as eleven rooms with up to 8 doors connecting them. This labyrinthine arrangement of doors also seems to be relatively unique per-person (and possibly changes per unit-time?), meaning a strict “guide” of how to get through here may prove fruitless. Oh no!
Worry not, dear fellows, we’ve come prepared…with some nudging from Zantai.
If one uses Occularis in the first room of the Threshold, where the Devotion Shrine is, one will be greeted with the mad scribblings of a truly insane individual:
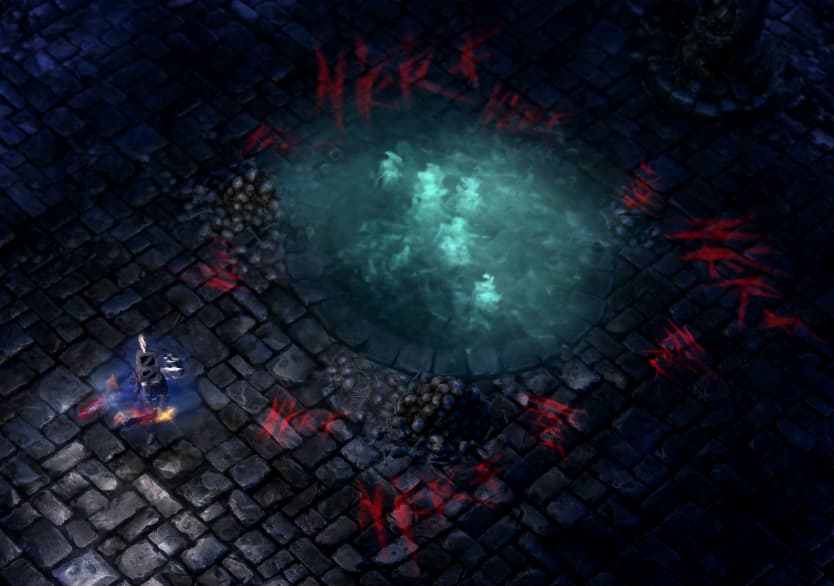
What does it all mean? N’erf? What is that?
Don’t worry about that for now. Instead, note that there are 10 such carvings. Didn’t the Patched Notes mention something about 10?
When one dives into the labyrinth of the Threshold, one may note some lit candles next to all of the doors. Now, it’s entirely viable to ignore this little puzzle and brute force your way through the Threshold (that’s what…everyone who contributed to this guide did…), but if you want the real solution to this hellish maze, zoom in with your camera and start counting.
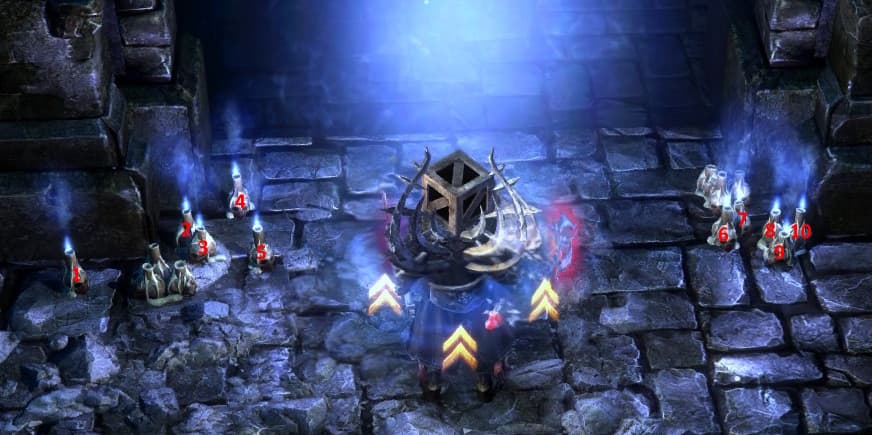
That’s right, you’re looking for any door that has exactly ten lit candles in front of it. This will require some camera rotation and a keen eye.
In any case, exiting this hellscape takes the player behind the aforementioned locked gate of The Threshold Between; that gate also opens, and on subsequent sessions remains so, meaning you do not need to re-explore the many rooms of the Threshold. Zantai has also confirmed that there is nothing of material gain to be had by fully exploring the rooms.

Continue on down the newly-accessible path.
Step 8
Past the Threshold lies the “Endless River”.
Wait, you didn’t think you were done with your war on Beaverdom, did you?
This is a linear area that, like all secret quests before it, leads to a Devil’s Crossing remake. While you’re here, you will be affected by the “Nerfed!” debuff UNLESS you have the Primordis Potion Modifier active. Nerfed is a substantial negative effect, so this is heavily recommended.
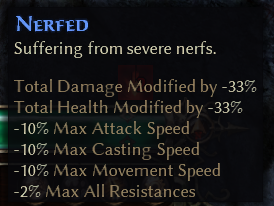
Inside DC, now called Beaver’s Crossing, are a number of uninteractible NPCs with interesting names, as well as a giant pit in the ground where one would normally go to get to DC’s basement. Head inside.
Welcome to The Dumps.
This area seems to do a small amount of environmental damage regardless of where you are. It also features our first boss of this secret quest - Nuktuk, First of the Chosen!
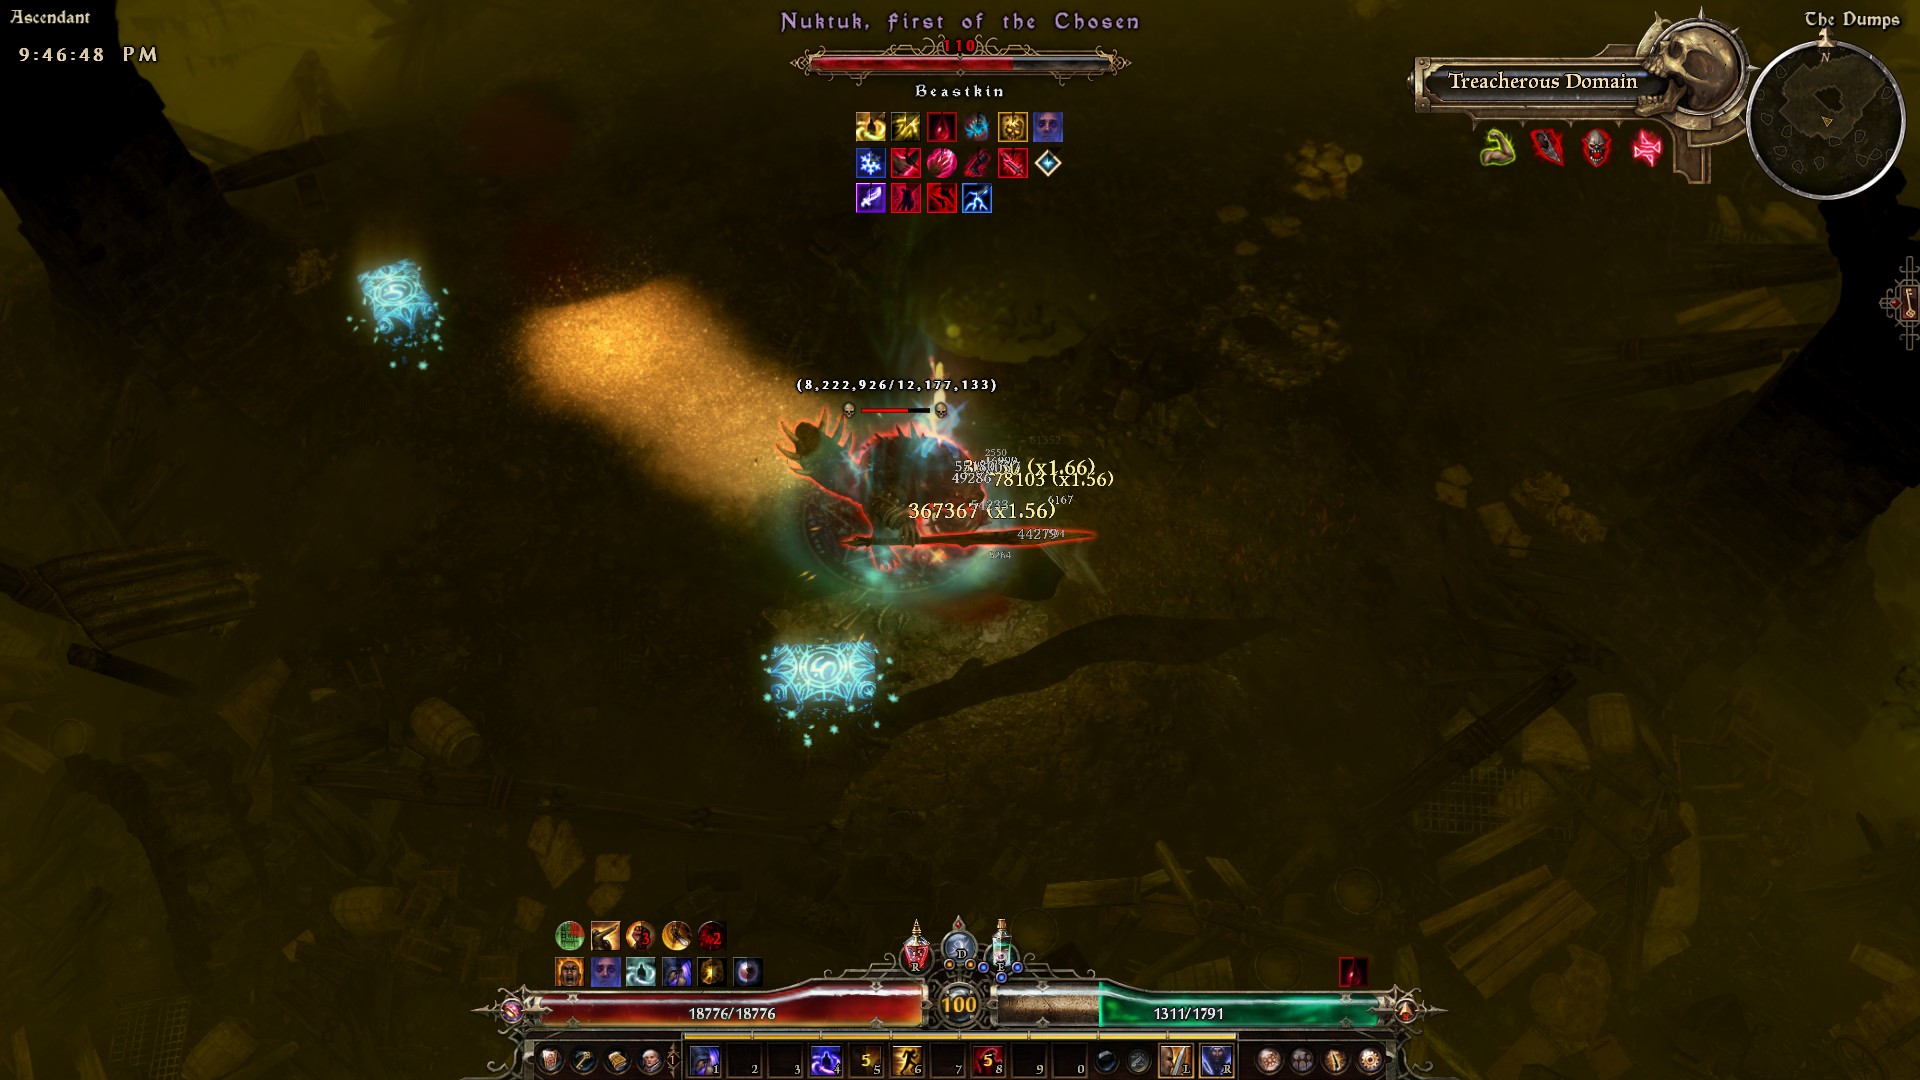
Slaying Nuktuk gives us access to the N’erfed Loot chests, which barely drop anything. But more importantly, he also drops the Extremely Epic Item Dung Divider!
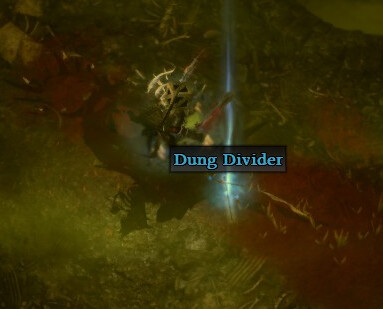
Grab that Shit!
Step 9
When the Dung Divider drops, players will also receive a message at the top of the screen (“A tool worthy of a throne…”).
The Obsidian Throne?
The Eldritch Throne?
You think too highly of this quest.
Head on over to the real Devil’s Crossing for a rather stinky surprise, and our second boss of this secret quest, Excremental.
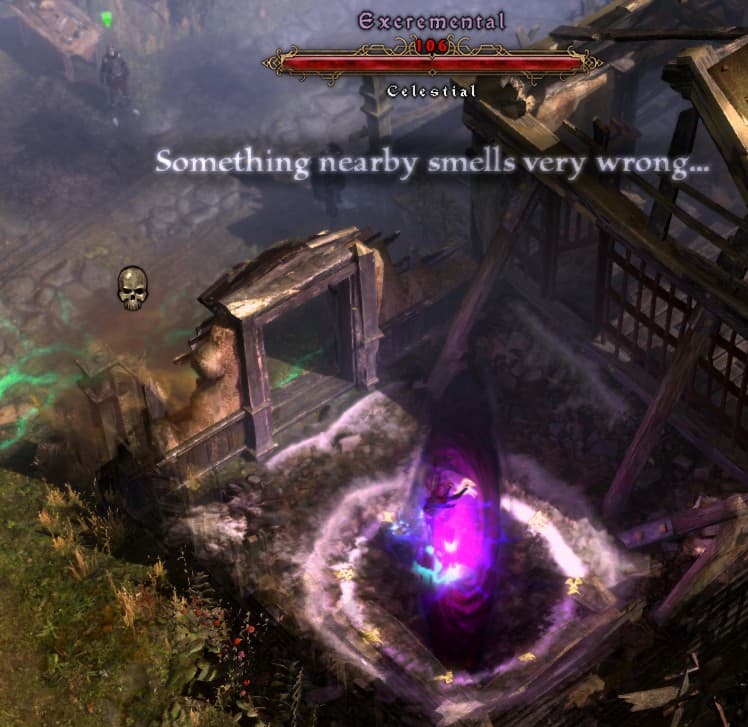
This boss is kind of mean, in that it will dodge/deflect most attacks and give you a substantial Fumble/Impaired Aim debuff when it’s close. Thankfully, the guards of DC are good at keeping it occupied, and it seems to take a lot of damage when you do hit it (Veil of Shadows alone did a lot of work on taking it down).
Excrementus emerged from the Outhouse next to the Devil’s Crossing riftgate, which has been identified as a Portable Throne! Which is to say, a Blacksmith!
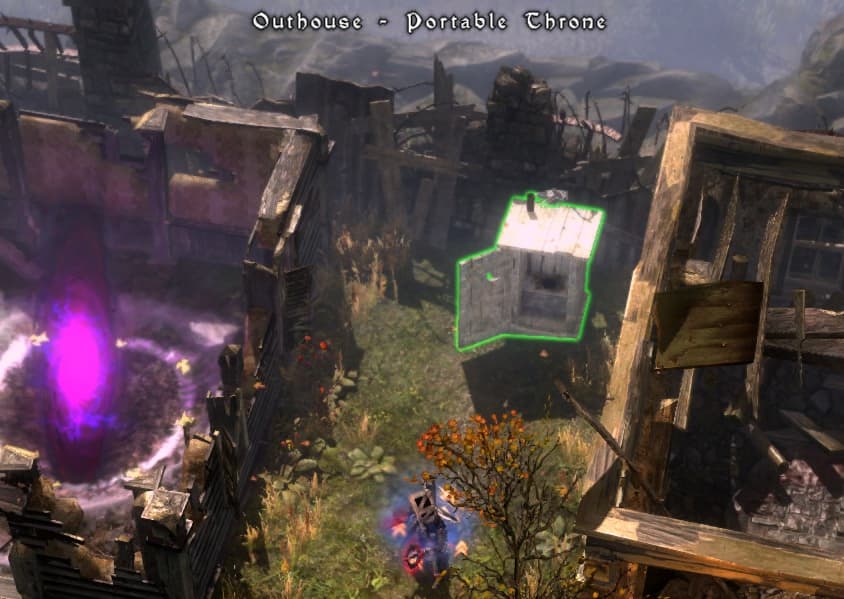
Here you can awaken the Epics of prior secret quests, alongside Soiled Trousers, the Cauldron of Excitement, and your new Dung Divider, to complete the Armorum Excrementis Legendary set!
And that concludes this secret quest…
…
…right?
Step 10
When you finish marveling at the splendorous effluvium, check out the final tab of the Portable Throne’s crafts to see that you can also make the Mark of N’erf. This is a Medal that will grant future characters access to the Threshold of Steps 6+, and also open the gate allowing one to bypass much of Step 7. It cannot be dropped on the ground or traded, but it can be placed in the transfer stash. You do not need the Medal equipped to receive these benefits.
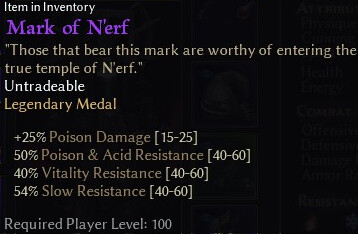
More importantly, however, the Mark of N’erf grants access to the finale of this quest, as its flavor text suggests.
Head back to Beaver’s Crossing with the Mark of N’erf in your inventory and receive the following message:
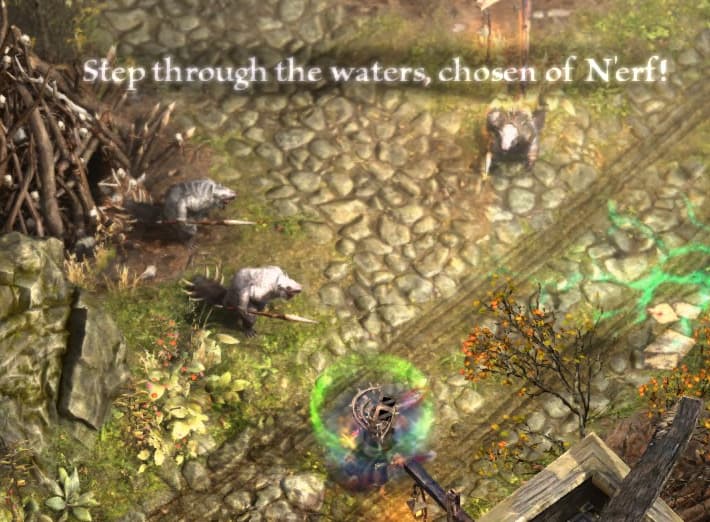
Well, you heard the man. Continue east through Beaver’s Crossing, as though approaching the introduction of the game. With the Mark of N’erf in your inventory, you will be able to interact with and pass through the waterfall:
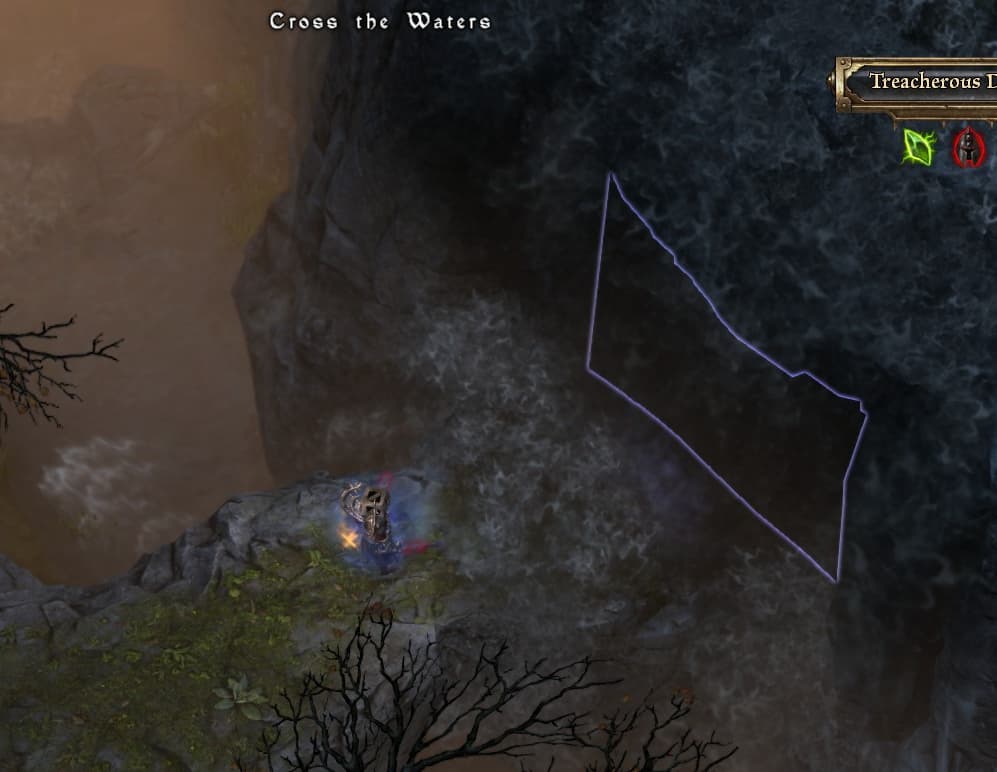
Past this point, you’re on your own.
Good luck, Taken.
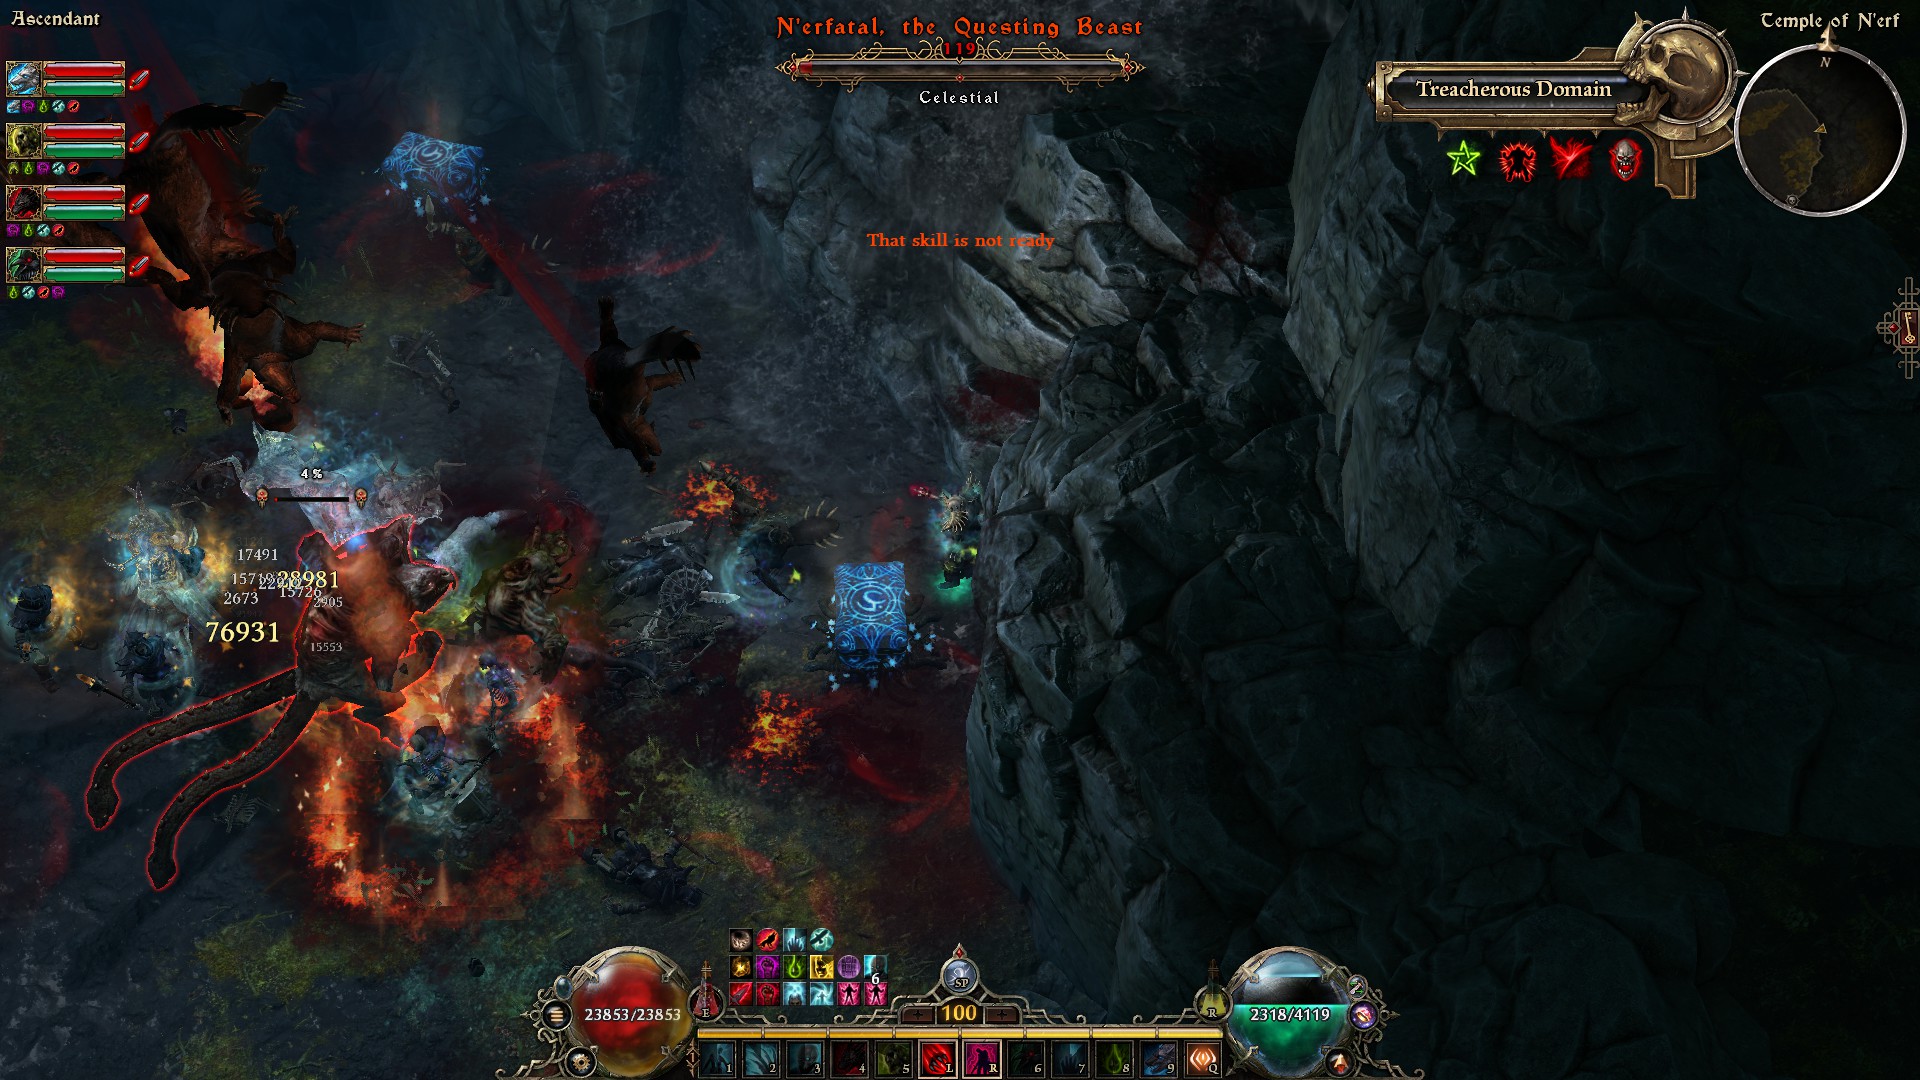
If you survive your encounter with the loathsome beast, you can return and challenge an Uber version too, featuring nearly doubled health and more intense attacks!
 Will correct.


 - or i’m missing something “obvious”