If some of the models have too much lightning you could try different textures, sometimes it’s because of the Normal map texture, maybe try with the \system\normalizer.tex or the system\textures\flatnmlspc.tex I don’t remember.
Also maybe you should investigate , I think the Normal (or specular ?) texture use the transparent channel and it could make it appear way more bright ingame.
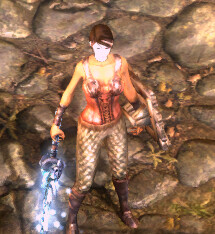
I also feel like it’s a problem with the texture channel, assuming I use the original game’s texture on my model, the color is normal. Once I put on the map corresponding to the new model, it will be very bright, and I don’t set the normal map to the concave and convex surface, it is also bright, I don’t know where to start…
我想如果你能发表一个试玩版,肯定会有高手能帮你解决问题。 ![]()
I think if you can publish a trial version, there will definitely be experts who can help you solve the problem.
1 Like
For me what helps sometimes is copying the alpha map from the normal and adding it into a new, specular map. If it doesn’t have one - make one. Also there is a setting in the materials for 3dsmax that affects the reflectivity and reflective color, you can play with those too.
There are a lot of things that could potentially be causing your model to be too bright in-game. Without knowing your exact setup, I can only offer you some possible causes:
-
The most obvious one would be the diffuse is just too bright, but based on your comment here, it sounds like that is only a problem with the “new” model, suggesting another cause.
-
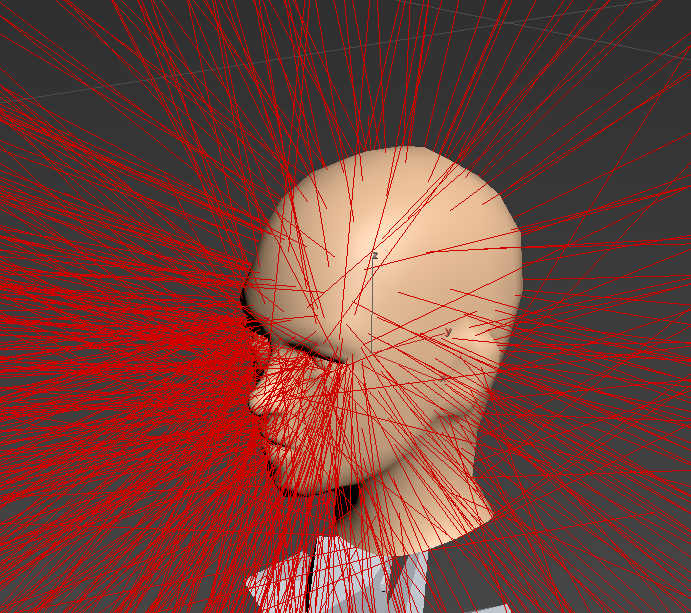
It’s possible the mesh normals are importing incorrectly, if the normals are for instance, pointing upwards instead of averaged, it can result in models looking brighter than they should. You can test this by applying an “Edit Normals” modifier to your mesh in max. If the modifier shows the normals in green, potentially at unexpected angles, then your normals have been modified. If that is the case, simply select all the normals and choose the “reset” button. Then collapse the modifier (move it below the skin modifier first, of course).
2B: Grim dawn also uses smoothing groups, typically a creature with baked normals will have just one smoothing group for all the faces, unless specifically baked with hard edges.
2C: if the model’s transforms were not zeroed out, this can also cause strange mesh normal issues. Check to make sure the model doesn’t have any rotations applied (anything non-0). If it does, you will need to reset the xform on the model. To do this with a skin modifier, you can usually turn off the skin modifier by clicking the eye on the modifier and also uncheck “always deform” under the “advanced parameters” tab. Then apply the reset xform and collapse below the skin. Turn your skin modifier back on by reversing the previous steps and you should be good.
2D: Depending on what program this model was authored in, the mesh normals used for baking the normal maps may differ from the mesh normals imported into GD. Hopefully this is not the case because if so, you might be out of luck unless you have access to the high res source files.
3: As some of the other commenters have mentioned, normal map issues can also cause brightness/darkness problems, but from the screenshot at least, I’m not seeing the usual signs. That being said, you can check a couple of things to make sure. First of all, in case you’re not aware, GD uses DX normal format (-Y). If the green shading is facing “up” you need to invert the green channel.
3B: spec/spec power issues. This has also been mentioned, but if your spec map is very hot (white) and your spec power is very low (1-3) you may see models blowing out, but usually it will result in hot spots on the model, which I’m not seeing here.
4: make sure your assets in the AM are set correctly (normal maps must be DTX5 (spec in alpha) and 8 bits per channel. If they are not, bad things happen.
5: Depending on what shader you’re using, you could be seeing some lighting issues from that. I assume you’re just using “StandardSkinned” but if it’s a specialty shader, perhaps there is something else going on there. Seems unlikely, just thought I’d add it in here.
I hope that helps!
3 Likes
Thanks a lot for answering questions, I think I know what to do, I’ll try to see

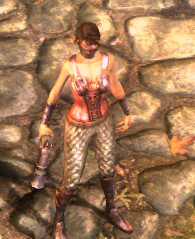
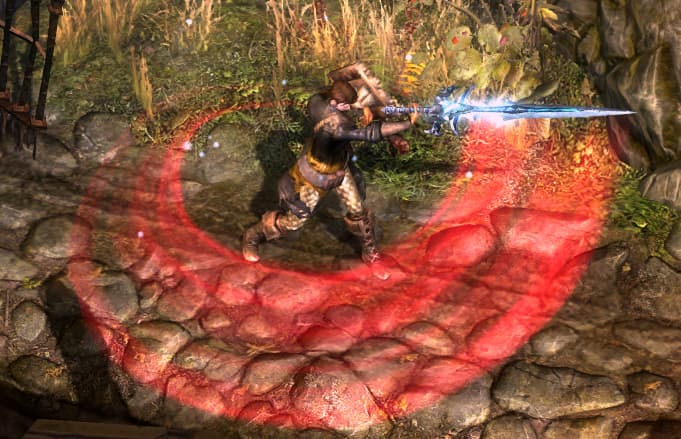
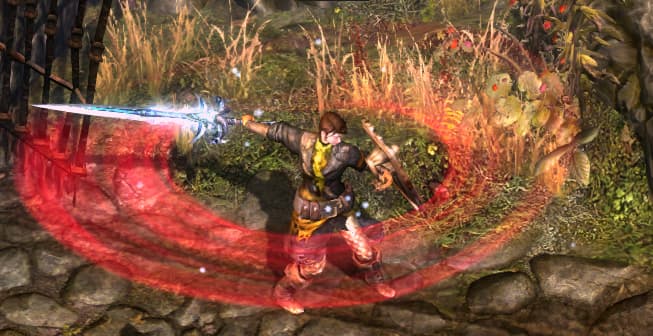
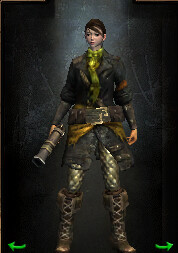
This is the new model used, the original texture, and it just looks normal. Is it a problem with the DDS format?
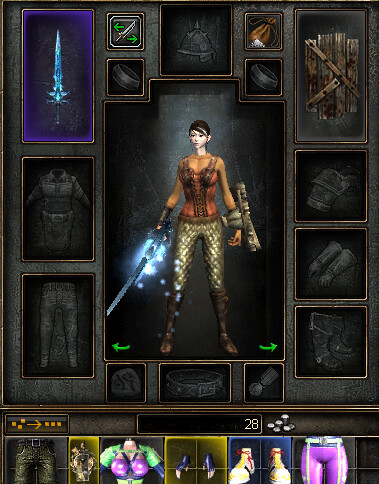
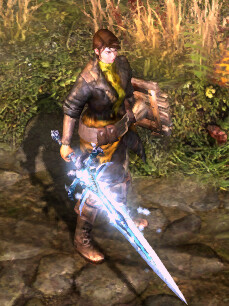
The texture corresponding to the new model is very white, but the properties screen looks normal
jianghong,
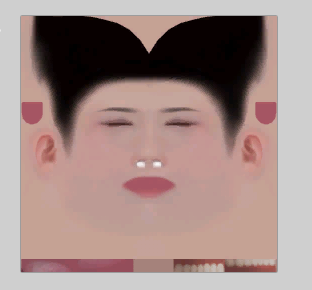
try comparing the diffuse of your new face to the existing female’s diffuse texture. It looks a bit lighter so what you’re experiencing could just be diffuse blowout.


you can’t really trust the Viewer to give you accurate results though. In-game is DX11 and viewer is DX9, plus all sorts of lighting effects/bloom/etc. Your best bet is to compare the diffuse of one texture to another. It definitely looks like you have modified mesh normals as well, resetting those might help, but again, compare the diffuses to see if there’s a discrepancy.
Another reason is that the number of faces in my new model is too much, which will also lead to this

I tested the normals and it didn’t change anything, I adjusted the gloss of the texture and it worked.


1 Like
Hey, @Allminoxy , could you please give some tips how to create new pathable objects.
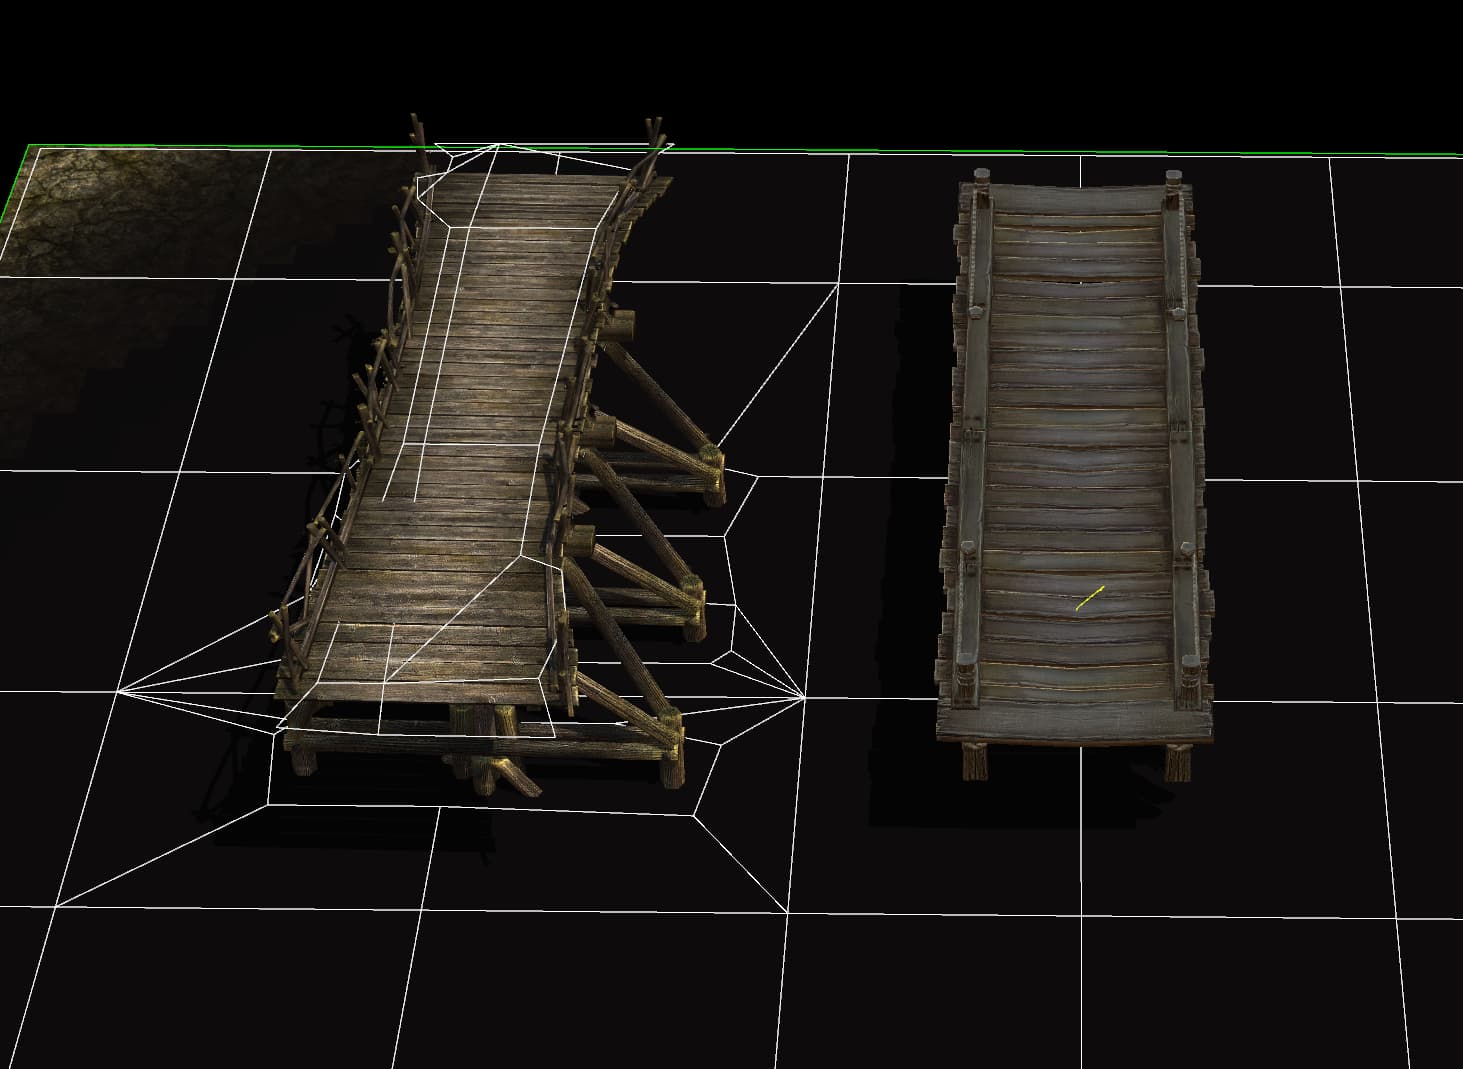
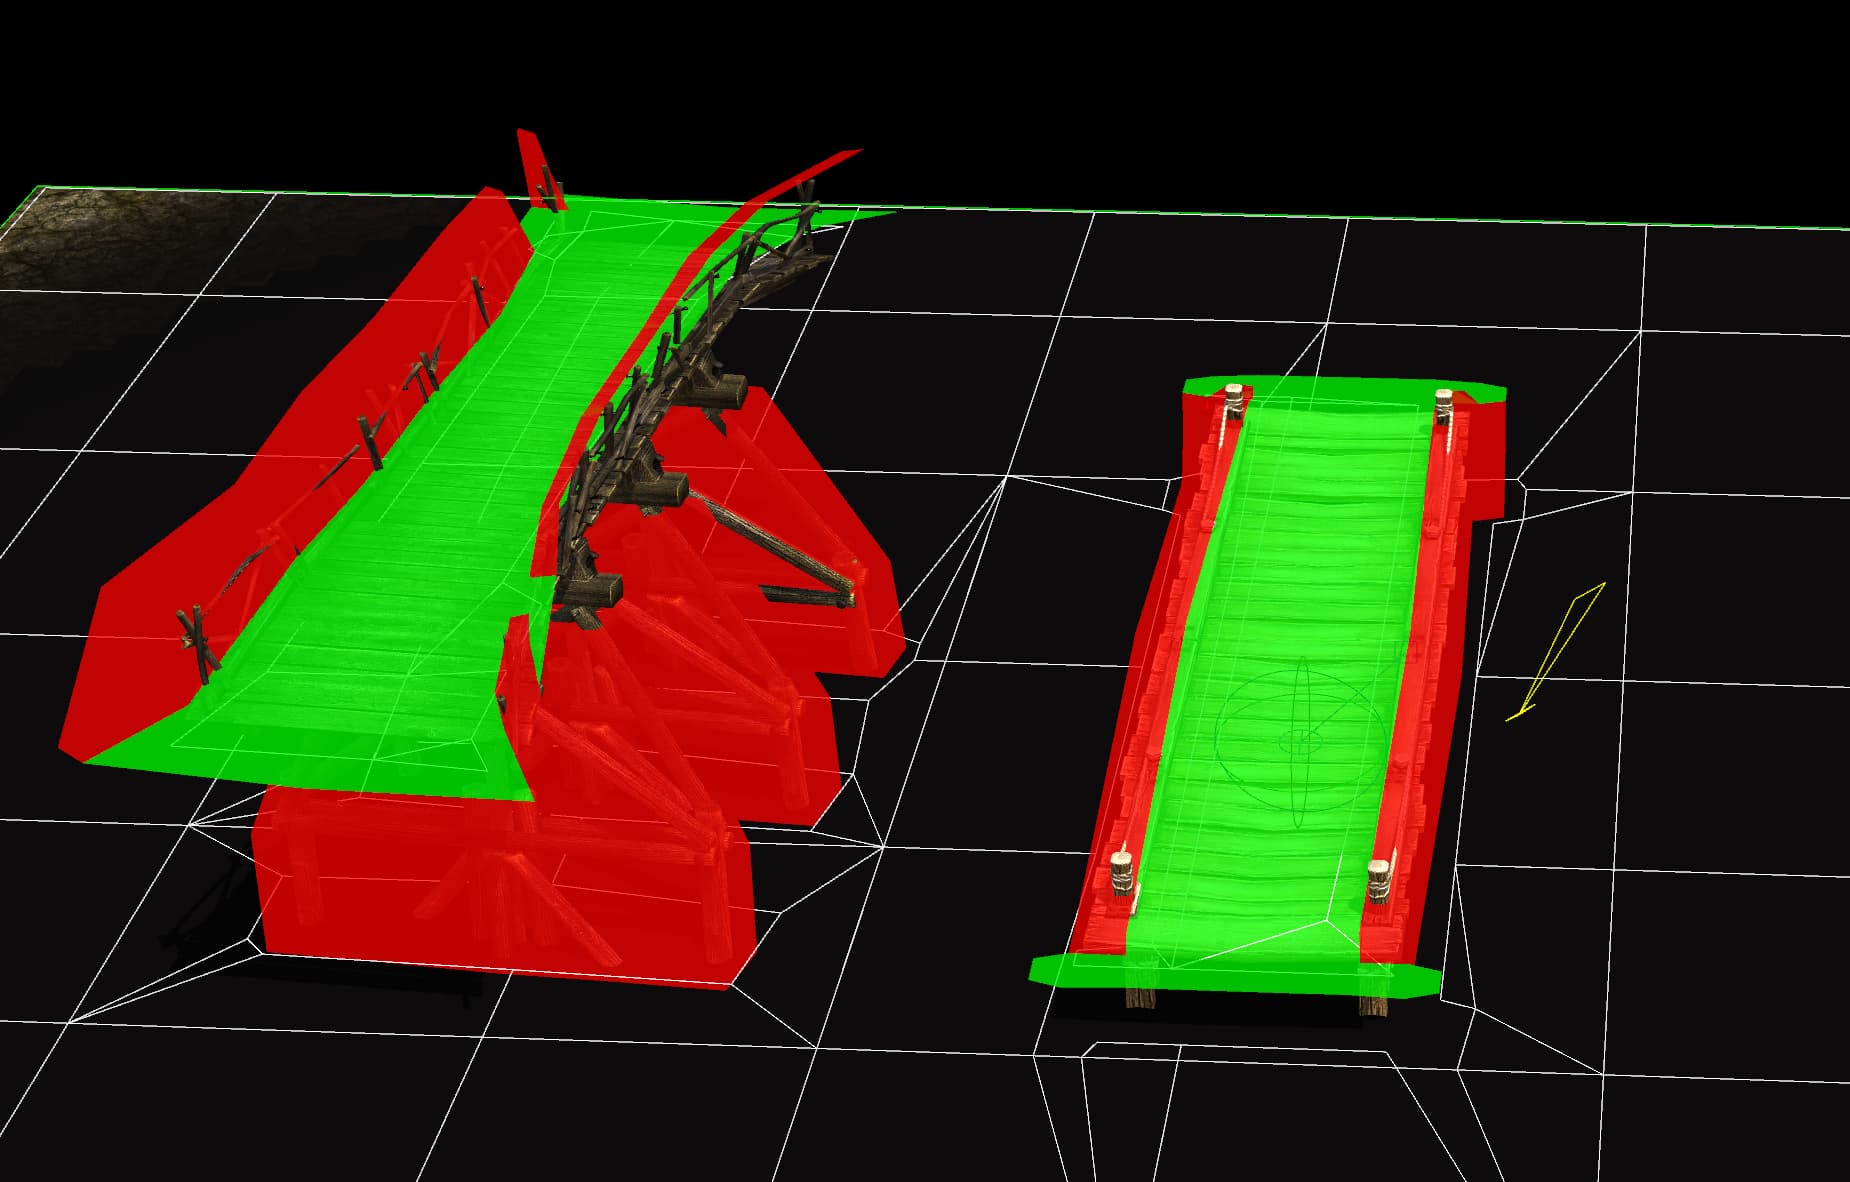
Here for example GD bridge vs. TQ bridge: when I select rebuild pathing/rebuild path mesh, only first one become pathable, while second one stay intangible.
Hi Denis, does your TQ bridge have any physics objects in the max file? Physics objects can be hit boxes or complex collision via a physics mesh. All bridges require a complex physics mesh in order build pathing in the engine. If your object does not have a physics mesh, you need to make one. Bridges have pathable mesh on the walkable areas and unpathable on the underside/supports to block where appropriate, see scaffolding below:
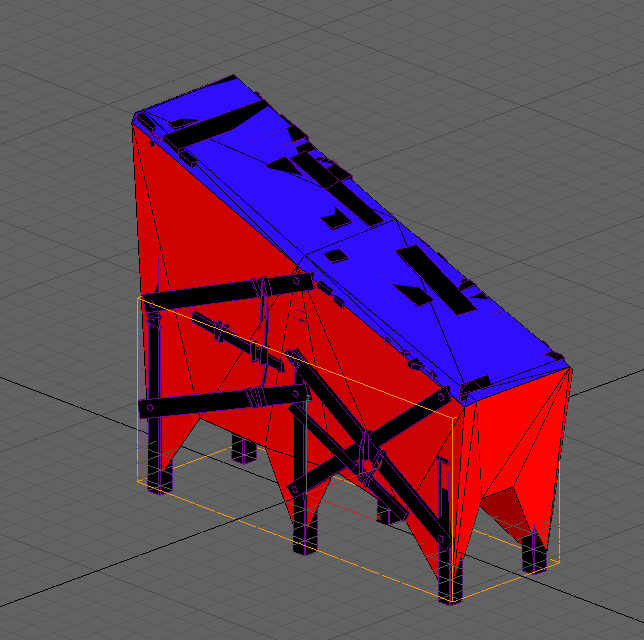
Note the hitbox here doesn’t block pathing on objects with complex physics; in these cases, the hitbox is only used for calculating transparency and selection in-editor. To ensure your physics mesh is working correctly, your material(s) applied need to be named in max’s material editor with the following naming conventions:
Physics_Unwalkable - use this for blocking pathing (we color ours red, but you can make it any color)
Physics_Grass
Physics_Dirt
Physics_Sand
Physics_Stone
Physics_Wood
Physics_Water
note that these different material names are only for the purpose of playing different footstep sounds in-game.
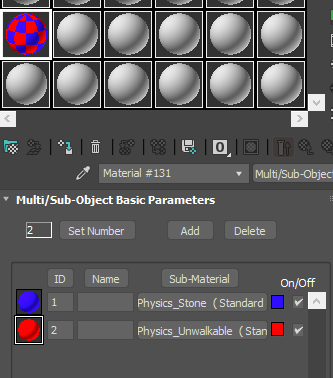
Example of how we set up our physics materials in max.
Your physics material(s) do not need to be anything special and can be just any default max material. Simply model your physics mesh around your bridge (lower poly is better) and assign a physics material to the correct faces, as seen in the scaffolding example.
Edit: Once you are done, make sure to name your physics mesh “Physics” or the engine will not be able to read it properly.
Once you have your physics mesh, you can try rebuilding pathing again in the editor. If it’s still not building, you can show physics via View > Physics Meshes. If your physics mesh is showing up but not building, you might just have too much distance from the ground to the pathable area of the bridge.
Hope that helps!
Thanks. I followed your guide. I uses plugin to import TQ models, it says my model have Collision Mesh. I took it and apply material as you showed above. But is not worked at first, then I found this object also must have name Physics. So at last it worked.

Another one question, does Tile type objects and autostitching to ground points works in GD?
Oh sorry, forgot that important step, I’ll edit the post in case anyone else runs into that issue. Glad you figured it out. As for your other questions, I’m honestly not sure. There were some TQ tools that didn’t work for a number of reasons so they were scrapped from the GD version. For “autostitching” we usually use the ramp tool or the raise terrain tool with the eye-dropper to move terrain to a physics object’s ground point.
I would love to download trial version of this mod if possible please.