Hi all
In today’s tutorial we will talk about how base things to modify equipment models that use skeletal animation of the game character, in other words, reintegrate player based equipment models for subsequent modding.
And we’re not talking about simple things like weapons and shields (they don’t use a skeleton) or helmets (which actually only need one bone to work correctly).
For what? To create new cool armor for your mods if you don’t have practice in rigging 3rd party models and animations.
Here are a couple of examples inspired by Community League:
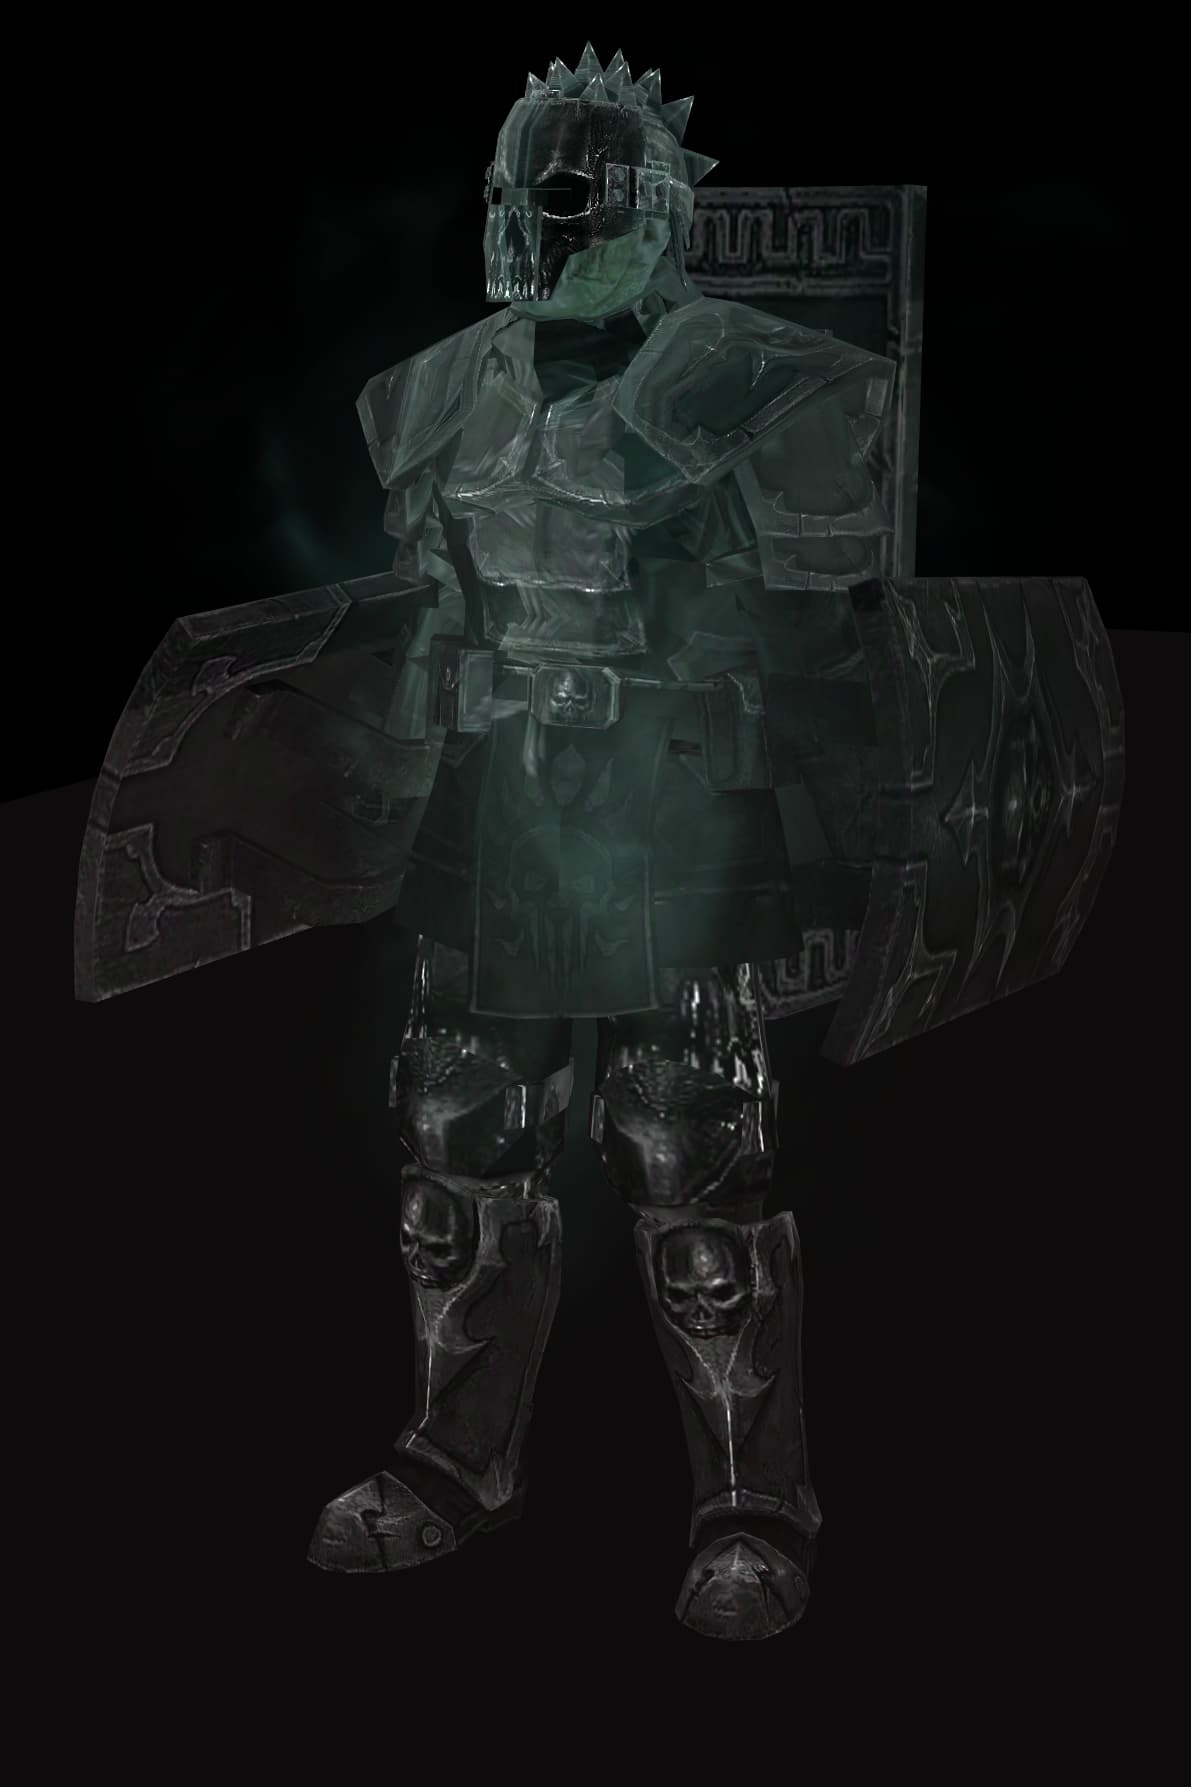
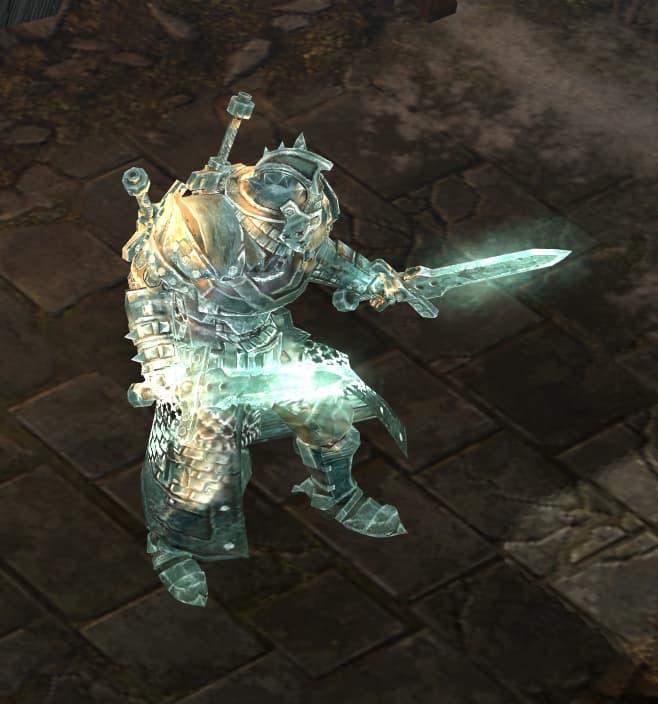
-
Preparation.
1.1 First of all, you need 3Dmax, pre-configured according to this tutorial: GUIDE: Installing & Using 3DS Max Plugins:
I could recommend using 3Dmax2011, if not as the main one, then at least as an auxiliary one, because…
1.2 The next item is the Titan Quest MSH Tool (MSH_Tools_v1.0.8.3.mcr — Яндекс Диск). As far as I know, it only works in 3Dmax 2011, but I haven’t personally tested other versions.
1.3 And lastly, skeleton templates shared by developers (pinned)
These templates were saved in the 2012 version, so I’ll share mine saved in 2011 and all other files. (GD Modding - Google Drive) -
Modding
2.1 Use “Import MSH” function. Select the model you want to change, select Model and Bones checkboxes, then click Import.
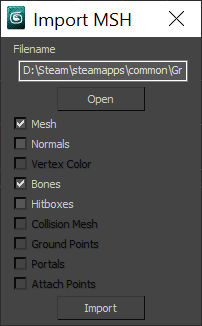
You’ll see something like this:
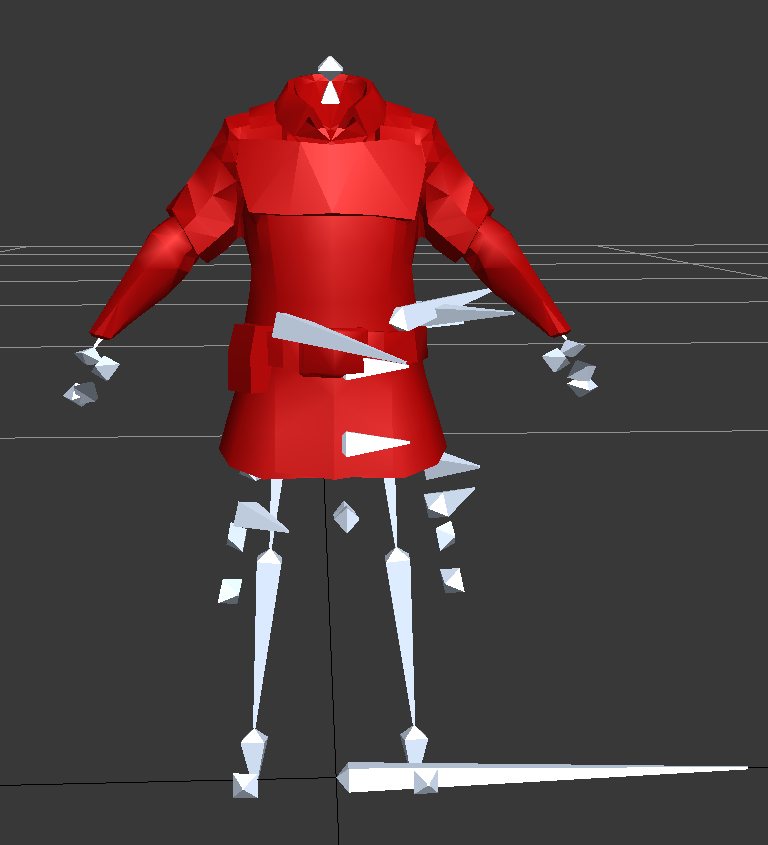
MSH Tool is not fully compatible with GD, so upon import it breaks the skeleton and reusing the model is not possible
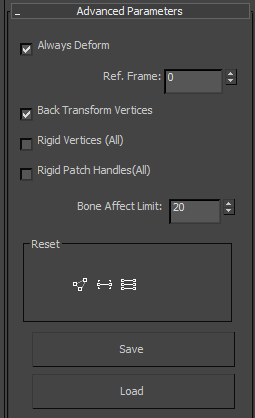
2.2 Click on the model, scroll down and expand Advanced Options. Here, click “Save” and save the *.env file with the envelopes weight table.
2.3 Go upper and record (or remember) the list of used bones.
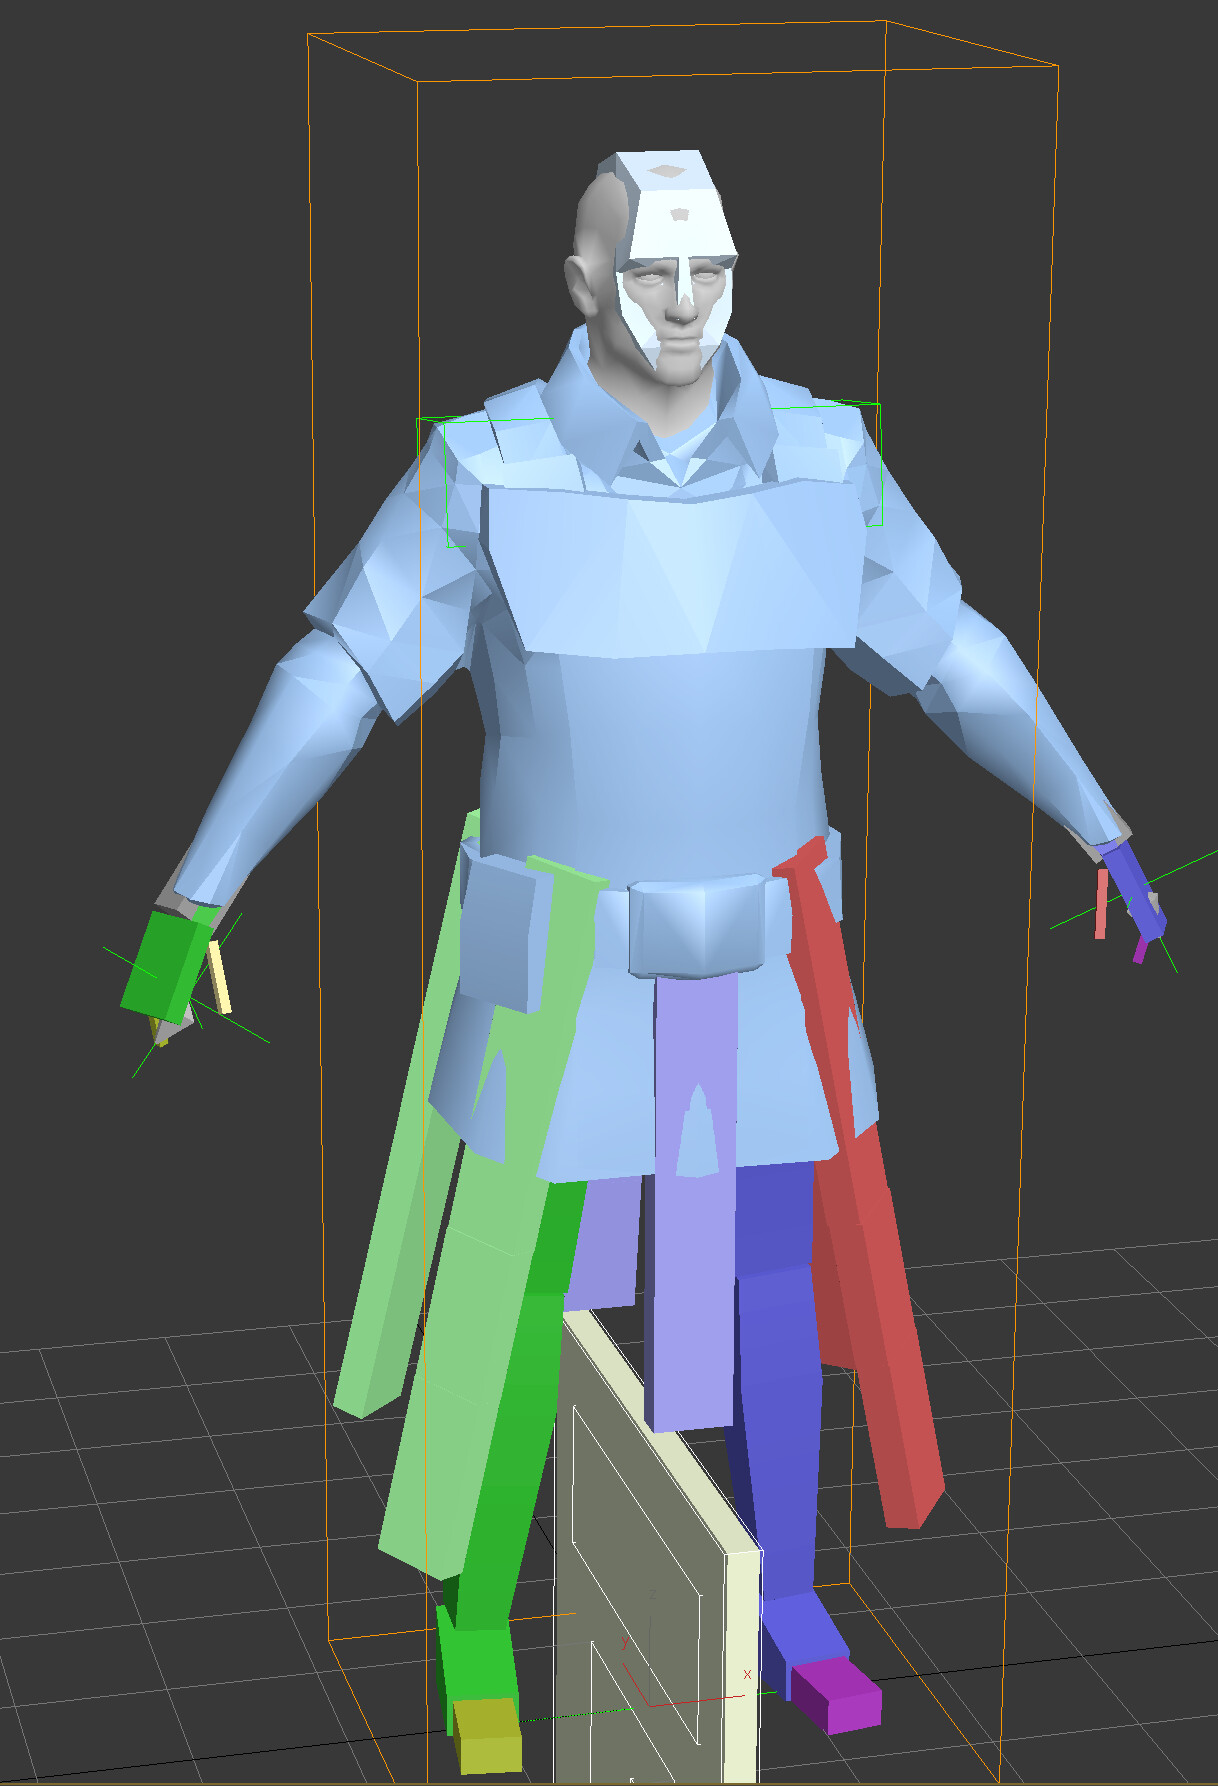
2.4 Create a new file and import the model again. This time select the Model and Normals. Select the model and scale it to 3940%, then save. This is your working model.
2.5 Open the skeleton file (hero_00.max or heroine_00.max) and Merge your working model from the previous step with it.
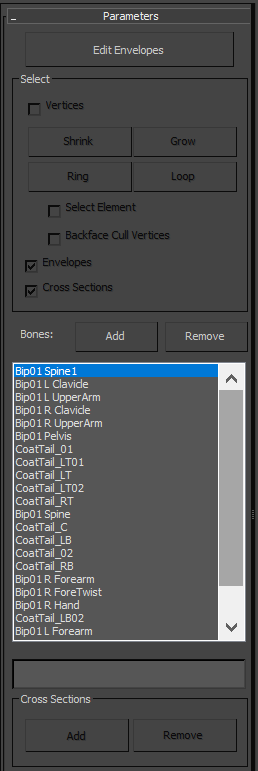
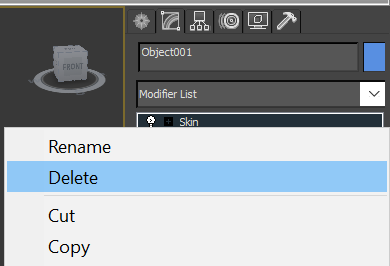
2.6 Remove the Skin modifier and then add a new one.
Scroll down and click Add. Then select all the bones you recorded in step 2.3 and click Select.

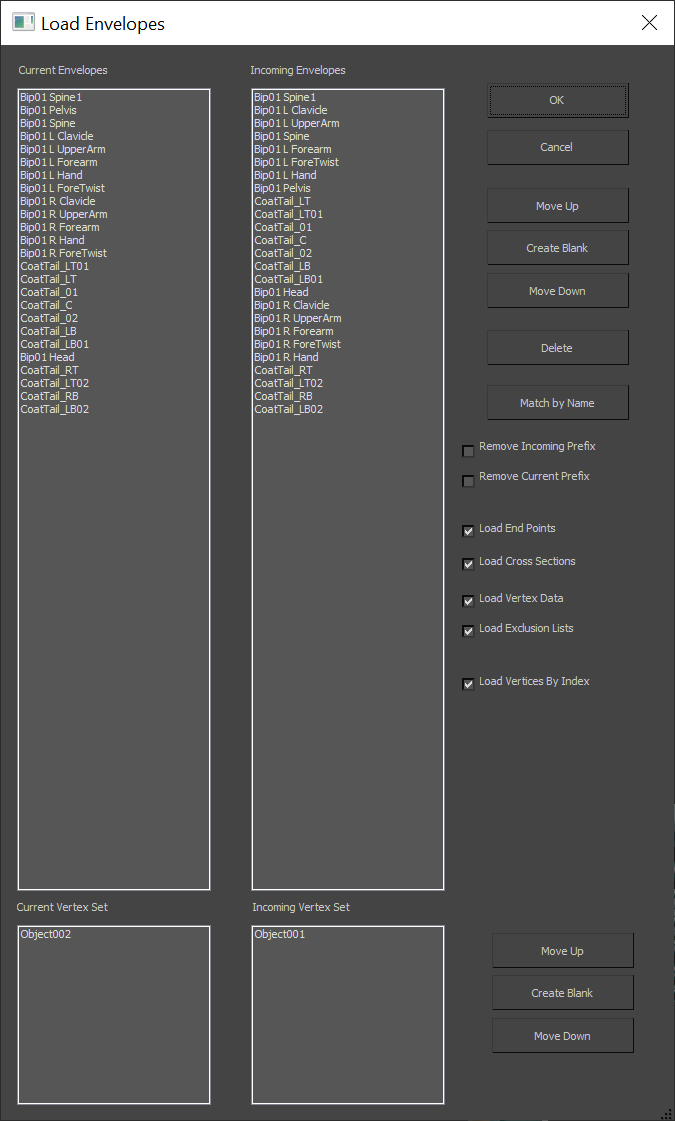
2.7 Scroll down and in the Advanced Options section click Load and select the *.evn file from step 2.2
In opened window, click “Match by Name” and make sure that the Incoming Envelopes list matches the Current Envelopes list and click “OK”.
2.8 That’s it, you have reintegrated the model. Save it and start modifying, shape model or add new details.
Here I also recommend immediately adding a texture to your model (use Tutorial from point 1.1)
Sometimes the animation of the reintegrated model does not work correctly, then add all bones to the list.
2.9 As an example, I added swords to the back. They also need to be animated. In this case, only one bone is needed, bip01spine. Click the “Weights Table” and make sure that a weights set to 1.0 for all vertexes in the model.
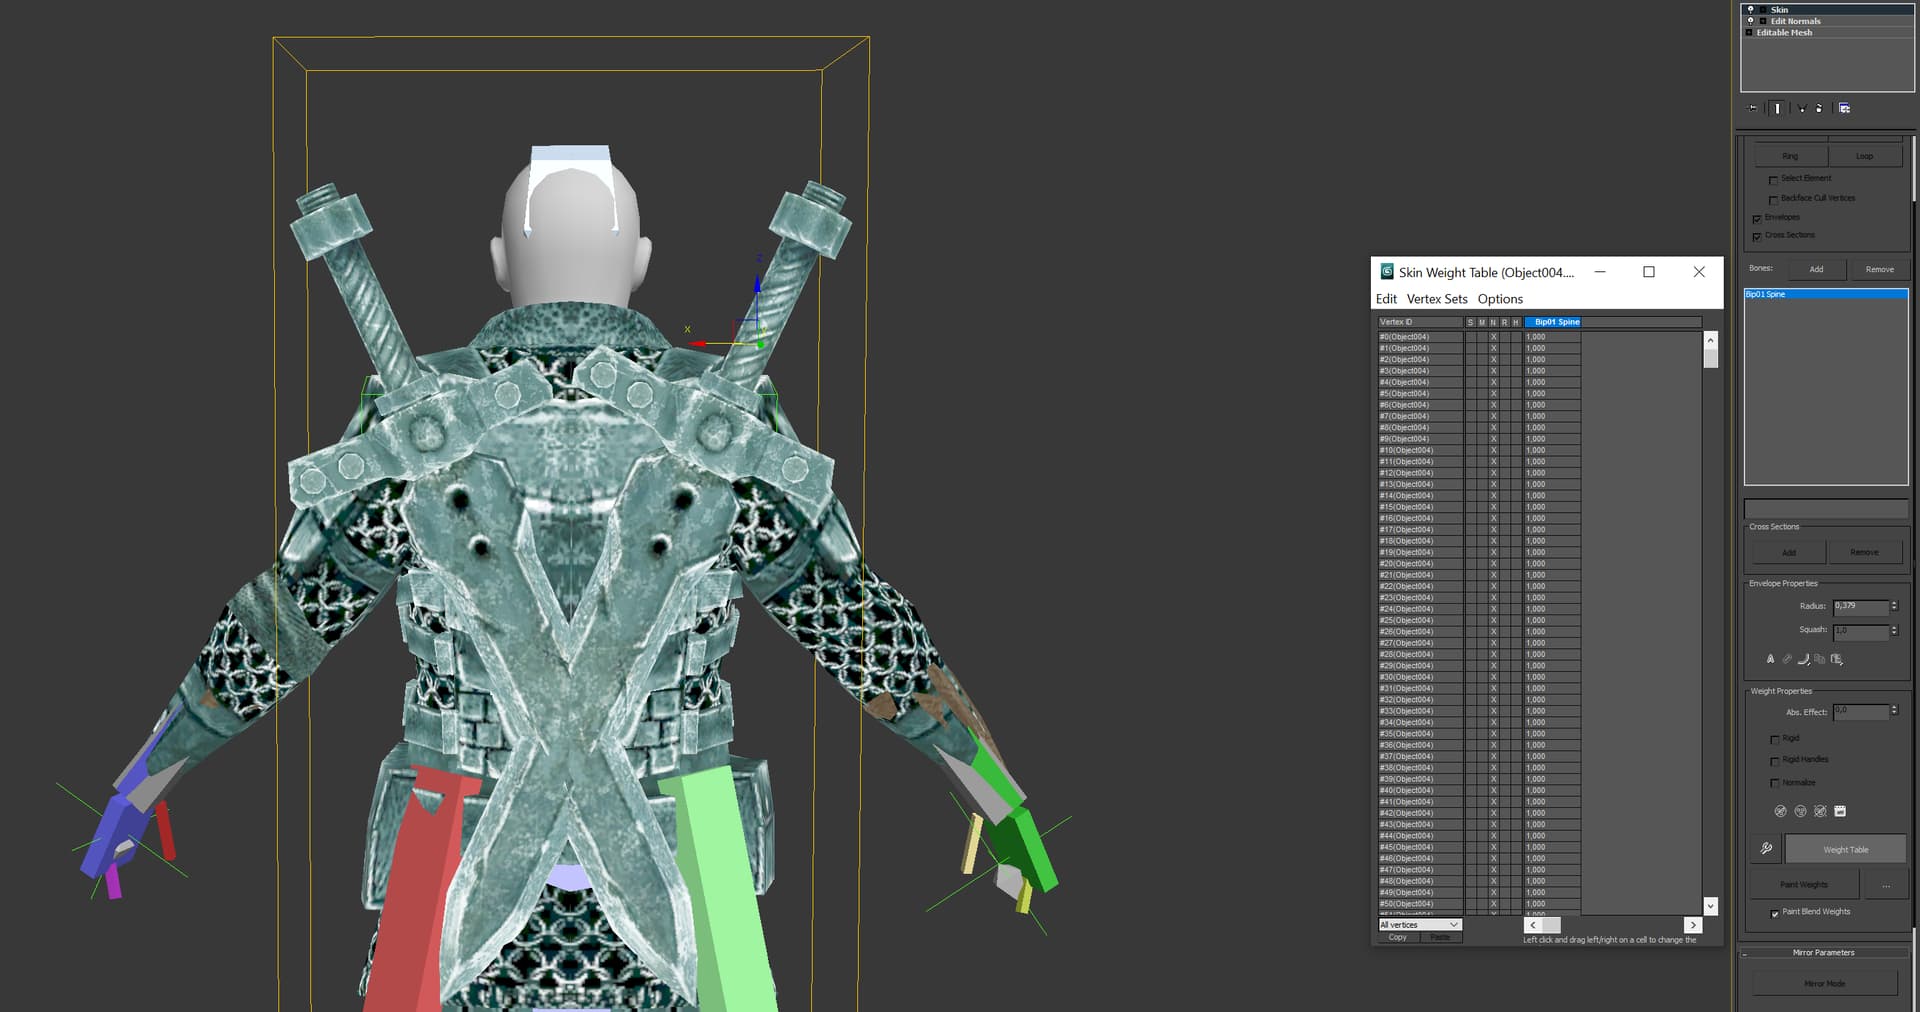
If you plan to add elements elsewhere in the model you will need to use different bones and possibly different weights. See the weights for the nearest vetexes of working model.