Not a Step Back!
With the 1.2.1 physical resistance update this build has lost its signature facetanking capability. I made a new build similar to this one but based on birds instead of the Hellhound - I am not sure it is possible to optimize the Hellhound build for a true facetanking experience at the moment. Check out my new facetanking build for a build that retains this ability!
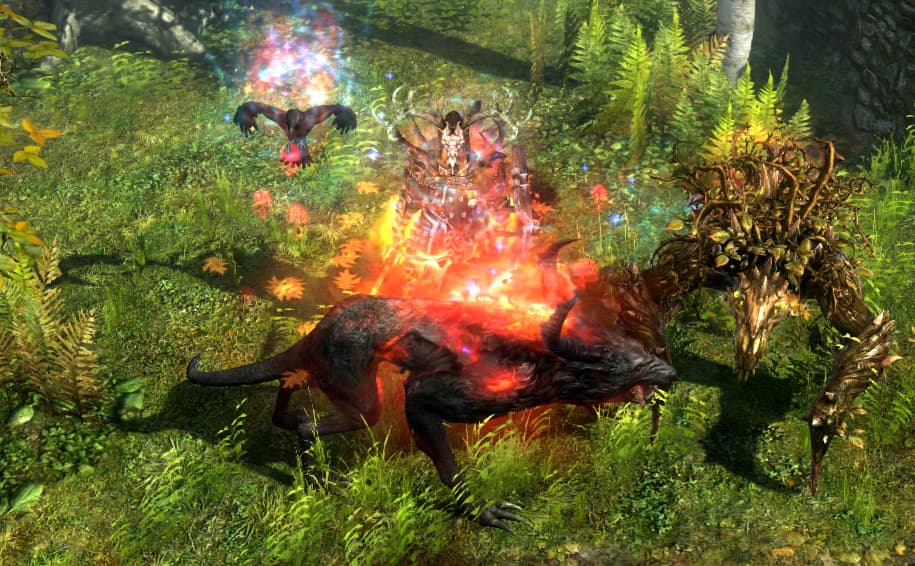
Greetings! Following the completion of my facetank Beastcaller build I sought to find another build that could tank in a similar way. Seeing as the Beastcaller build didn’t have any green items I felt it was suitable for me to exploit green items to the fullest extent this time. This fiery green build is the outcome and features similar tanking capabilities while dishing out considerably more damage with the aid of a fully boosted Hellhound and a swarm of bugs summoned by the Primal Instinct relic. Though I abused triple rare items in my tests most of the suffixes on the green items are extras and mostly contribute to bolstering the build’s damage output.

-
- [Pet] [1.2.0.2] (vid) Not a Step Back! – Fire Pet Conjurer Facetank
- Damage: Pets (Fire)
- Active Skills: Summon Briarthorn, Summon Familiar, Summon Hellhound, Conjure Primal Spirit, Curse of Frailty, Ravager’s Deathgaze, Wendigo Totem, Wind Devil, Blood of Dreeg, Savagery, (Upon Rylok Wings)
- Passive Skills: Mogdrogen’s Pact, Primal Bond, Bonds of Bysmiel, Azragorian Tactics, Presence of Might (x2)
Celestials
Callagadra
Time - 2:20. Callagadra collapses in half the time compared the Beastcaller build. However, she is harder to deal with because of how much your survival depends on your pets. You only have one Briarthorn and he gives you a big boost to your physical resistance while your Hellhound provides a consistent reduction to Callagadra's damage with its Infernal Breath. If your pets die you are vulnerable to death once Callagadra falls below half health and gets her buff. Due to this it is not safe to put points into Ember Claw which causes the Hellhound to taunt Callagadra which brings about its untimely demise. Without proper pet positioning to maintain pet safety the Fire Conjurer cannot facetank Callagadra.Avatar of Mogdrogen
Time - 3:40. Because the Fire Conjurer uses more abilities there is no room for all of them. The time could have been better if there was an additional button available so there would be room to control your pets. The pets got quite distracted by all the summoned goons and took their time attacking them instead just letting them die over time to all the area of effect abilities being consistently fired. The Fire Conjurer did feel quite safe when fighting this so called 'god' and a flawless facetanking technique could be achieved.Ravager of Flesh
Time - 1:20. The Ravager of Flesh collapses before the wrath of the Fire Conjurer. Though perhaps I could have earned a slightly better time with the Beastcaller if I didn't get hit with the energy leech so much.Manifestation of Korvaak
Time - 0:50. There isn't much to say about Korvaak. He is a bit annoying because for half the fight he wiggles around in his immortal animation.Loghorrean
Time - 0:55. I tried taking this tentacle monster on and was surprised he survived longer than Korvaak did. Though I believe this was because there was room for my pets to become distracted by other enemies in the area.Secret Bosses
Clone of John Bourbon
Time - 2:40. This imposter is easy to take out and offers no threat or challenge. Compared to the Cellestial bosses he's a joke.Lokarr
Time - 0:20. Lokarr offers considerable damage output but it is not enough to threaten the Fire Conjurer. Either way he dies exceptionally quickly.Crate of Entertainment
Time - 3:30. Like with the Beastcaller this crate-creature offers a challenge to the Fire Conjurer. You cannot facetank against him for long as his hordes of crates can kill you once they build up in number. Your pets deal damage to him at lightning speed but unfortunately they die too quickly. The Hellhound is simply squishier than the Briarthorn. I needed to ignore using Savagery so I could use my pets to target the crate-creature. This is the only boss against which the Beastcaller build was more effective.Shattered Realm
Shard 80 Time - 5:45. It turns out that in my Beastcaller test I simply used the wrong waystone. Here I used the correct one which allowed me to test the 80th shard and I found that it was a breeze. At no point did the Fire Conjurer feel threatened and he completed the 80th Shard in a similar time to the Beastcaller's attempt at the 75th Shard.Crucible
Gladiator 150-170 Time - 6:50. For the Crucible run I used one fully buffed defensive banner and all of the blessings seeing as they are bestowed upon pets as well. The Fire Conjurer beat the time of the Beastcaller despite being unable to control his pets.Comparison
Evidently the Fire Conjurer dishes out more damage than the Beastcaller. However, this damage is mostly dished out by his Hellhound and if it's out of the fight or distracted, which is prone to happen, his damage output falls considerably. The Beastcaller on the other hand has two tankier Briarthorns and his ghosts appear more useful than the Fire Conjurer's swarmlings. The price the Fire Conjurer also has to pay is the tiresome grind to acquire all those double or triple rare items. Is it worth the hassle? On the other hand the Fire Conjure does transition more smoothly into the higher levels of the game since you would want to put many points into Blood of Dreeg and the Hellhound early on. It is also likely better to refrain from using Primal Spirit so you have enough buttons to control your pets.Combined Build
It is possible to combine both the Beastcaller and the Fire Conjurer builds into a single Fire Beastcaller build by simply switching out all the items that take up Beastcaller slots. The focus of this build would once again be the Briarthorns while the Hellhound would exist to mostly contribute with its powerful fire aura. With a Heart of the Mountain amulet you would also get a mighty Chillmane pet. The setup would look like this... Grimtools link! My time against Callagadra was 2:45 using the combined build... Perhaps this combined Fire Beastcaller is the best of both worlds as his damage output is higher, he doesn't rely too much on one single Hellhound, and he relies a little less on green items. A downside, however, is that you have even more skills to use and not enough buttons available if you choose the Winter King amulet. In essence this combined build is a variant of several already existing builds with a spin on tankiness... One such fire pet build!Greenless Version
After some testing it is possible to use a completely greenless version of this build. This, however, will drastically decrease the build's damage. It will also change into a build more based on lightning and bleeding damage even though most of the items would remain the same. I am not sure what pet is the best for this greenless build and where most of the points should go... I think the outcome should be alright regardless if they go mostly into the Lightning Strike, the Hellhound or the Briarthorn. Greenless build! My favourite version out of all the Not a Step Back! facetanking builds so far must be this greenless variant which focuses on Briarthorn and employs the Heart of the Mountain amulet. I guess I just like that cute yeti and am happy to see him put to good use. I don't like bugs so I didn't use devouring swarm or Primal Instinct. I also enjoy seeing so many points in Wendigo Totem and Primal Bond. My time against Callagadra using this setup was around 4:45. My favourite build!
For Newer Players…
I have received several questions from newer players inquiring on how to advance in the game with this build in mind…
Classes and Skills
When you start you have no skills at all. This should change relatively quickly. After you bash some zombies to death you may want to first select the Occultist class as it can grant you pets faster than the Shaman class. You may want to put your points into the class itself until you unlock the Hellhound skill. You could also put a single point into the Familiar just to have it around. Once you have the Hellhound you can also put a point into Mend Flesh and turn the Familiar into a heal-bot. This will be quite helpful and will make you use potions rarely. Focus on the Hellhound and then go for Blood of Dreeg and try to put a point in Ember Claw. Later on you can put points into Shaman and put points into Mogdrogen’s Pact and then the Briarthorn. Once you unlock the Briarthorn you can refund the points in the Hellhound at the Spirit Guide who can be found in Devil’s Crossing or Coven’s Refuge. These points can then go to boosting the Briarthorn… Or you can just chill with your Hellhound.
Items
As you explore a lot of random items will drop from monsters and chests. Pick everything up and use the best things. Also check the shops from time to time to buy some items. You are looking for high armor values and high damage values for whatever melee weapons you find early on. Later on your standards can improve as your items become better and better. You can use the loot filter to see only weapons, jewelry, and medals that grant you pet bonuses. The Fleshwarped Bulwark monster infrequent shield is a uniquely good item that drops from Fleshwarped ethereals that can be met as early as in the Warden’s Cellar. If you find one you may want to use it over most other items until you find a better version. Once you find the necessary blueprints for relics, which happens randomly, make sure to craft a relic. It can be any relic at first but once you find those that give pet bonuses or entirely new pets you may want to go for those. The relics that really shine are Hysteria and Savage.
Components
The components you find can be useful. Just put them on your items and get stronger. You want any components that give you attributes (Polished Emerald) or defensive stats: resistances, health, and health regeneration. Chilled Steel and Searing Ember can be very good especially at the start of the game as they give you powerful spells that you can use to deal a lot more damage than just with your weapon. Abusing these spells can make the start of the game, the time before you have a lot of points in the Hellhound, a lot faster. There are also components for weapons and shields that boost your pets you can use once you find them such as Serrated Spike, Vicious Spike, Coldstone, Wrathstone, Riftstone, Vitriolic Gallstone, and Enchanted Flint.
Constellations
There are defensive and offensive constellations that you may want to take first. The Lizard is a solid starting one and will make you regenerate your health faster and buff your Familiar’s heals. You can then go for the Shepherd’s Crook as it greatly boosts your pets. You can activate it using a component skill like Ice Spike or Curse of Frailty. If you want to feel tougher go for the Behemoth after getting points for his requirement from the Toad and Nighttalon constellations. If you want to deal more damage sooner get Rhowan’s Crown after Toad and Scholar’s Light (which you can later refund). Remember that you can put points into Crossroads and then later refund them if a Constellation gifts you the points that it also requires (this way the Constellation will give you the points that it needs and becomes self-sustainable in a sense).
I hope you like this Grim Dawn build and I hope you have fun playing the game!
