
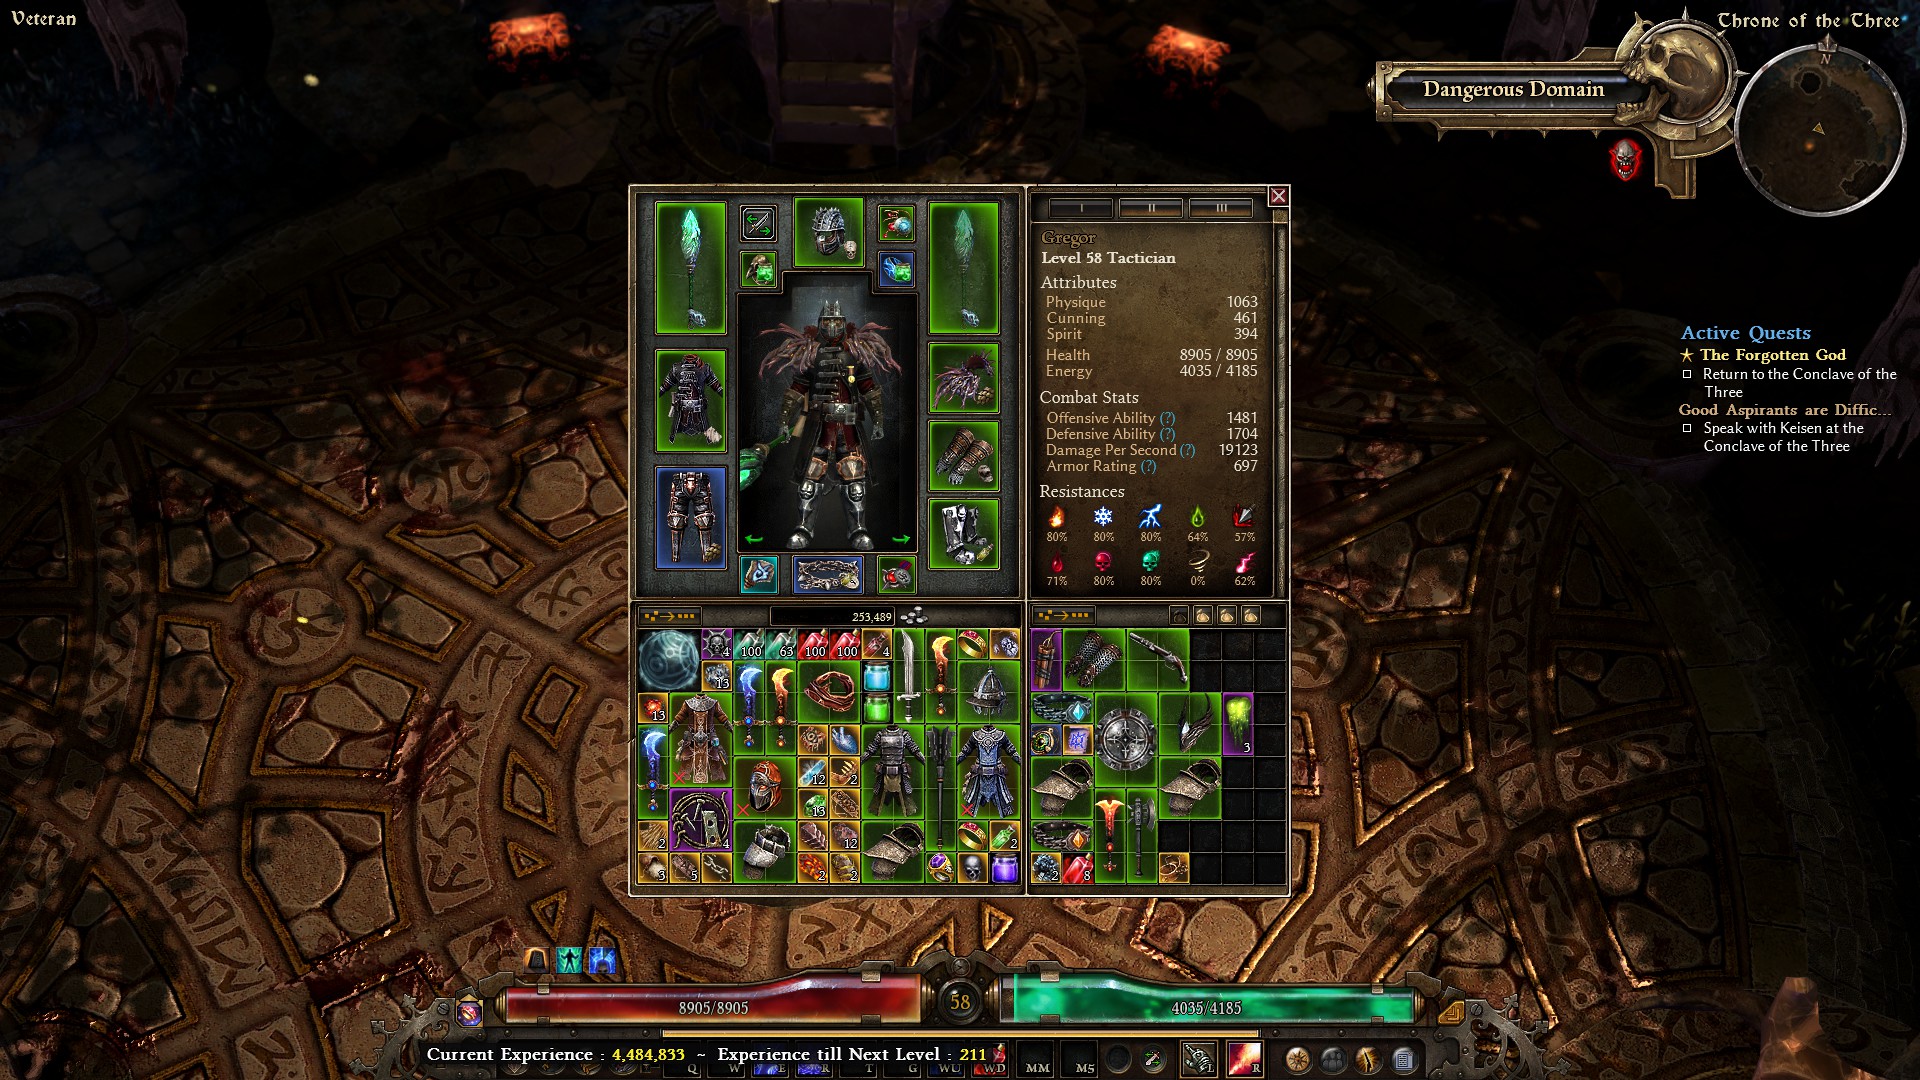
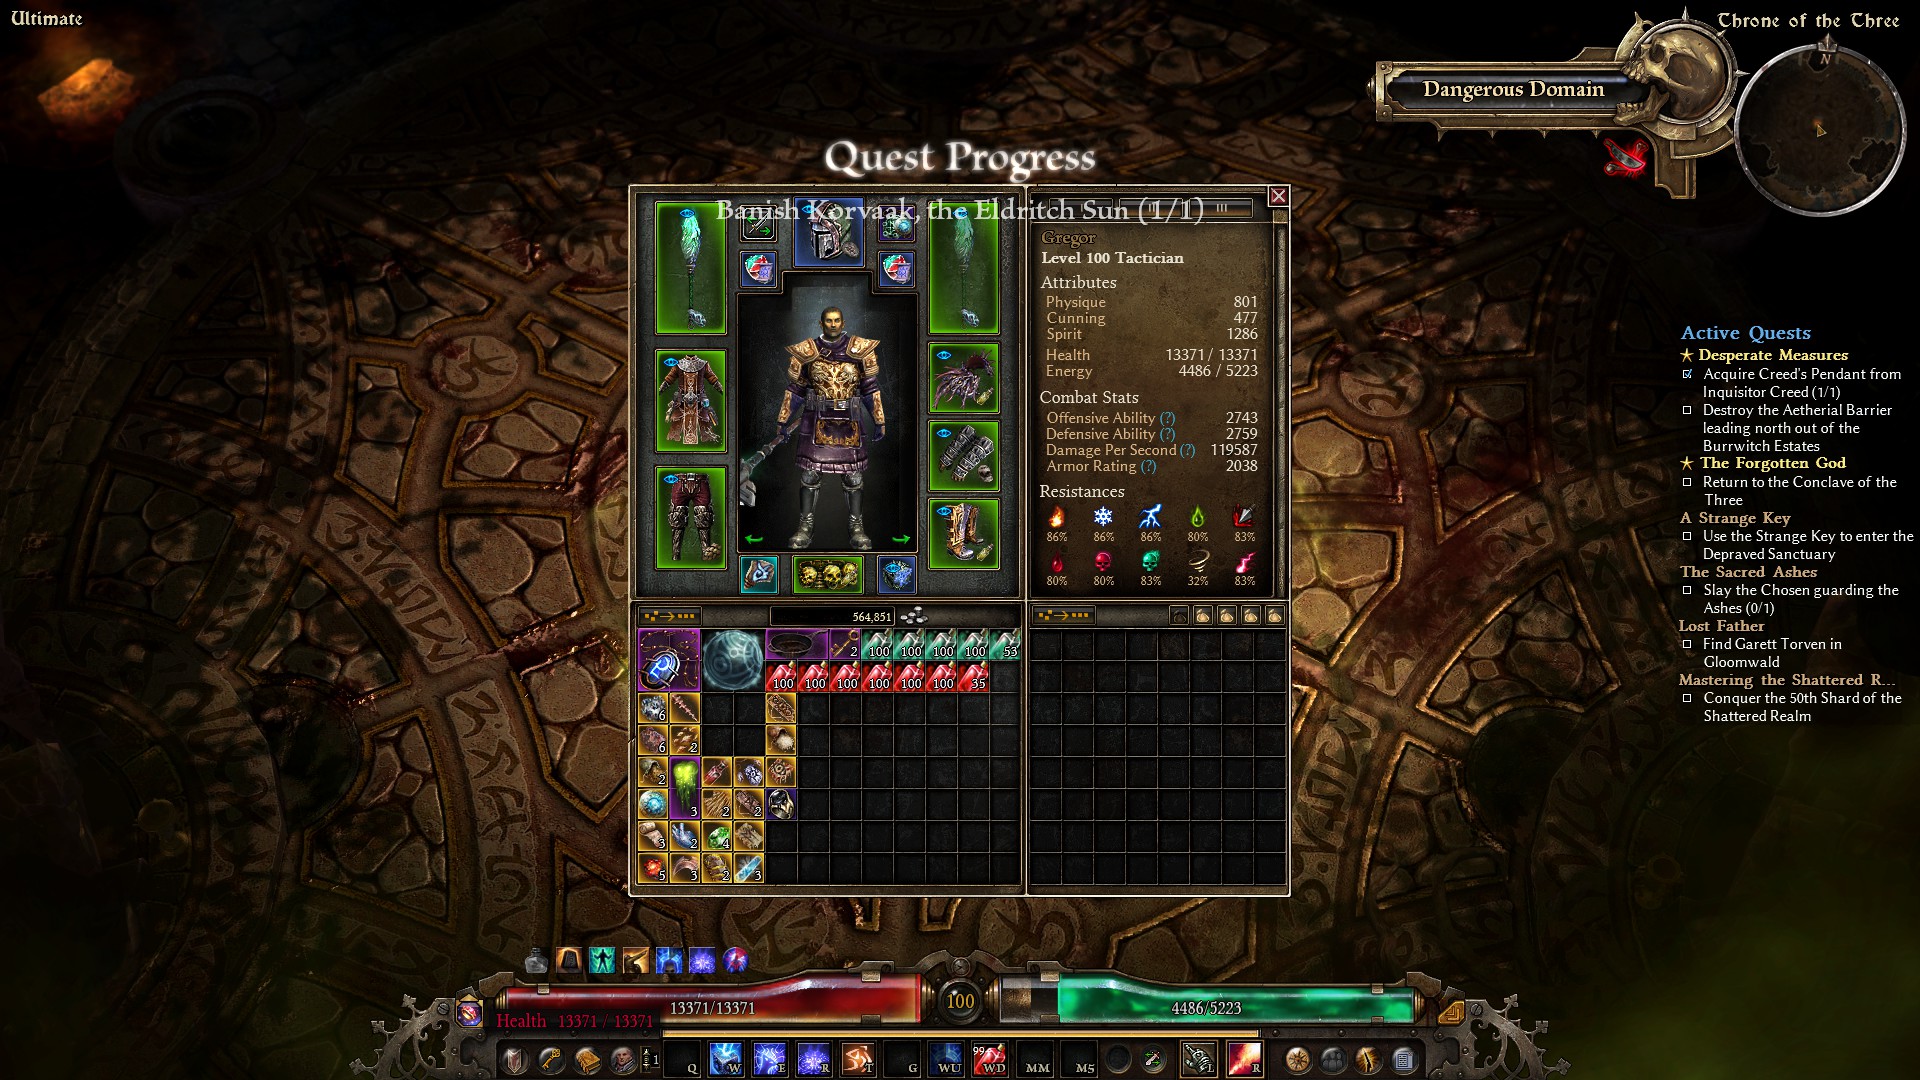
Stats shown with passives, Word of Renewal and Inquisitor Seal active. Sheet DPS is Flames of Ignaffar.
Grimtools
Affixes aren’t amazing but some aren’t awful either. Took about 2 days of farming to find everything and there still could be improvements made.
If you’re not familiar with Grim Dawn yet, don’t worry if it looks overwhelming. I will go through everything further down in the Levelling section.
Introduction
Introduction
This is a guide to playing a melee-range caster around Flames of Ignaffar - a flamethrower, for new players. While it is not a high DPS killer, it pushes enough to be sufficient, uses very few keys across the entire process so is easy to play and when it starts rolling with the intended playstyle is surprisingly tanky.
There is some start-up where we level with a different skillset for the first 30 levels so we have enough energy and damage to use Ignaffar comfortably when we transition because well, as much as I tried I couldn’t get it to feel “good” to play with before then. To this end, there is a respec of skills at ~Level 30 and somewhere around Level 50-70 - don’t worry, I’ve done everything I can to detail every change to be made during the transition in as simple of a way as possible with the levels after smoothing out how it feels to play until it is as strong as, if not stronger than before the swap.
I will assume that players reading and following have some prior experience or knowledge with the game already that I don’t need to explain core game mechanics like choosing masteries or the devotion system. For anyone uncertain, I would recommend perusing the official game guide and the Soldier and Inquisitor mastery skills first for a brief overview and to try the game out for sometime to get their feet wet.
Levelling Guide
Attributes
I’d recommend putting most of your attribute points into Physique for at least the first 30 levels and putting the rest into Spirit.
For me, I wasn’t certain when I’d swap over to Spirit (if you’re following the Character Snapshots) until somewhere around the middle levels where I required some Spirit to equip a Chosen Robes I’d picked up.
Don’t stress too much on getting attributes “perfect” as you can obtain 2 attribute resets every difficulty on every character by completing Lost Father at the beginning of Ashes of Malmouth and The Feast partway in.
Faction Choices
Kymon’s Chosen vs Order of Death’s Vigil
Either one works, go with whichever you feel more comfortable with.
The benefit to Kymon’s Chosen is their unique +9% Vitality + Chaos resistance armour augment and to a lesser extent their +18% Fire resistance augments. In my setup, I could actually replace the Outcast’s Elemental Scales augment on my chest and Solarstorm Powder augment on my head with a single 18% Fire resistance augment and have another slot left free as we already get plenty of Cold and Lightning resistance.
For reference, I personally went Death’s Vigil as I like them more.
The Outcast
Either one works, go with whichever you feel more comfortable with. I stayed friendly with her for a bit of extra XP from some of her quests but didn’t make extensive use of her wares.
Barrowholm
I recommend siding with Barrowholm as we use one of their medals at a minimum and can potentially make use of some of their armour augments.
If you really want to go against them for role-play purposes, I’d recommend siding with them for Normal/Veteran and Elite completing all of their side quests as you go and buying and using a Writ for the +50% rep as soon as you reach Honoured reputation to maximise your gains. Then grinding their reputation up to Revered in Elite by doing bounties. Buy a stock of their armour augments (e.g. at least 20 or 30 of each) and find a Wendigo Tainted Mark with stats you’re happy with and store them in your stash. Once done, you’re ready to go hostile with them on Ultimate reaping the benefits of both worlds for some more effort.
Keep in mind
…that once you’ve made your selection on whether to stay friendly or hostile with a faction like Barrowholm in all 3 difficulties that there is no changing your mind again. In the scenario I propose above of playing nice for Normal/Veteran + Elite and turning hostile in Ultimate, your status of turning hostile will update across all of the difficulties so you can’t just go back to the lower difficulties to stay friendly with them either.
While I’m only noting it for Barrowholm as it’s the only faction I recommend being friendly with instead of leaving it to player choice, the above method works for the Kymon’s Chosen/Death’s Vigil and the Outcast too if you want to go against them while keeping something from the faction before leaving (like those unique armour augments from Kymon’s Chosen I mentioned).
The Witch Gods
It does not matter which one you pick as you will build reputation with all of them. The one you do pick you will go through a unique series of quests and gain additional reputation for them from doing said quests.
The final character uses augments from the Cult of Bysmiel and Solael so those are the ones I recommend the most but if you’re a Dreegbro, go for Dreeg.
Level 1 to 30
General Overview
-
We’re going to be using Word of Pain and Storm Box of Elgoloth for the early period. We could jump into Flames of Ignaffar before Level 30 but there are some problems here and there plaguing it, some can be worked around but for anyone just starting out new, energy cost cannot be bypassed so easily for awhile.
-
Word of Pain and Storm Box are fantastic abilities early on, often used for quickly levelling Inquisitors due to their combined ability to clear crowds at a point where the health scaling on enemies isn’t high enough to outpace the damage fully invested AoE skills can put out while maintaining good single target damage and proccing capability primarily through Storm Box’s modifier, Lightning Tether. Being debuffs, they are also able to do this safely - simply cast them on a target and run around avoiding attacks while your enemies tick themselves to death, refresh the skills as necessary.
-
To that end, our goals early on are going to be using both skills and reaching Word of Agony and Lightning Tether without our damage output falling behind too much. Easy to do in Normal, trickier for any Veteran difficulty players. There’s a lot of careful point placement rather than “Go to x skill, drop points into it” so try to bear with me.
-
Minor note - I levelled the character through Veteran where enemies have just over twice the health values as enemies on Normal. So for anyone playing the former, you may find that you have “too much” damage with Word of Pain and Storm Box during the early levels at various moments. If this is the case, do not be afraid to shift some skill points in either skill into the mastery bar instead.
- For anyone that is intent on playing Veteran. I will warn you that the first 5-10 levels will feel a little weak at certain points (like Viloth) and heavily recommend going to a Blacksmith as soon as you have one available to craft some resistance-boosting components to use. Something I regret not doing for the Krieg/Darius fights. You don’t need to worry about components as much if playing Normal.
-
Do NOT try to fight/kill Rekt ByProtoss or Acedian Aldric in Four Hills. We’re not going to be even remotely ready until at least Level 35-ish when we have Inquisitor Seal and Censure.
-
I also recommend leaving Steps of Torment till later for the same reason as above.
Skills
-
Start as Inquisitor. Put 1 point into your mastery bar, 2 points into Storm Box for your first level. It should kill enemies in a few ticks for now while you run circles around them while they are effected.
-
Continue to put 1 point in Storm Box and 2 points in your mastery bar until it’s at 5/16. Put your next 3 points into your mastery bar, this should open Word of Agony.
-
Put 1 point in Word of Pain and 2 points into Word of Agony. For the next 5 levels, put 2 points into Word of Agony and 1 point into your mastery bar. This will supplement Storm Box and serve as your main source of AoE.
-
Following the last steps, Lightning Tether show now be open. Move 4 points out of Storm Box into it to begin with and use your next 4 levels to put 2 points into it and 1 point into Word of Pain to keep up on AoE. Lightning Tether should help on Bosses significantly.
-
Drop 2 points into Word of Renewal and 1 point into your mastery bar for the next 2 levels. It’ll give us a nice, albeit small heal to use.
-
Work your way through the Inquisitor mastery bar putting a point into Death Sentence as you pass by. Once you reach Aura of Censure, start putting points into it. If you feel you need or want some damage or health recovery, don’t feel bad dropping extra points into Word of Renewal or Death Sentence as you go along instead.
At Level 30 your skills should look something like this: Inquisitor, Level 100 (GD 1.1.9.0) - Grim Dawn Build Calculator.
Equipment
-
At the beginning, I recommend picking up Hevill’s Greatsword for an easy and guaranteed boost to your Lightning damage.
-
Afterwards, start looking for an off-hand with cooldown reduction and preferably +% Lightning/Elemental damage (though don’t worry about it this early on, any off-hand will do).
-
After Level 12, the ideal off-hand to pick up is an Overseer’s Eye from Overseers and Overminds that can appear at high enough levels around the Burrwitch area until the Act 1 Boss as it has both of the above and +2 to Lightning Tether as a base. Normal enemies have a low chance so hope for it to drop from the Heroes like Mesmer.
-
As soon as you reach the Spined Cove in Old Arkovia, kill some ghosts inside and try to get 2 - 4 Ectoplasms for later.
-
Look out for “The Lost Elder” quest as if you lie during the epilogue and opt to keep the Talisman, it becomes a relic with some nice stats and a temporary buff that increases all damage dealt and your energy regeneration by a large amount. Nice to pickup but not necessary unless you want to roleplay a bad guy. I did not take it and still did fine while levelling for reference.
-
If you can craft either, Fervor and Inferno should make fine relics to use for offense. Sanctuary if you want something defensive.
-
Otherwise, look for any equipment with +% Lightning/Elemental damage, casting speed and resistances as appropriate.
-
Don’t neglect your armour either. Always look for gear pieces with the above and just as much or more armour whenever possible.
Devotion
Our goal here is going to be rushing for Tip the Scales which we can accomplish with 12 devotion points by taking Crane and Lion. These are also great to pickup early for some resistances and generally good stats like health, a little damage and a little movement speed.
-
Put a point into the Crossroads Order (Yellow) node on the right and fill out Crane first, then Lion. Remove the Crossroads Order node after either constellation is complete.
-
Put 4 points into Scales of Ulcama taking the right branch to Tip the Scales. Bind it to Aura of Censure or Word of Renewal if you do not have Censure yet.
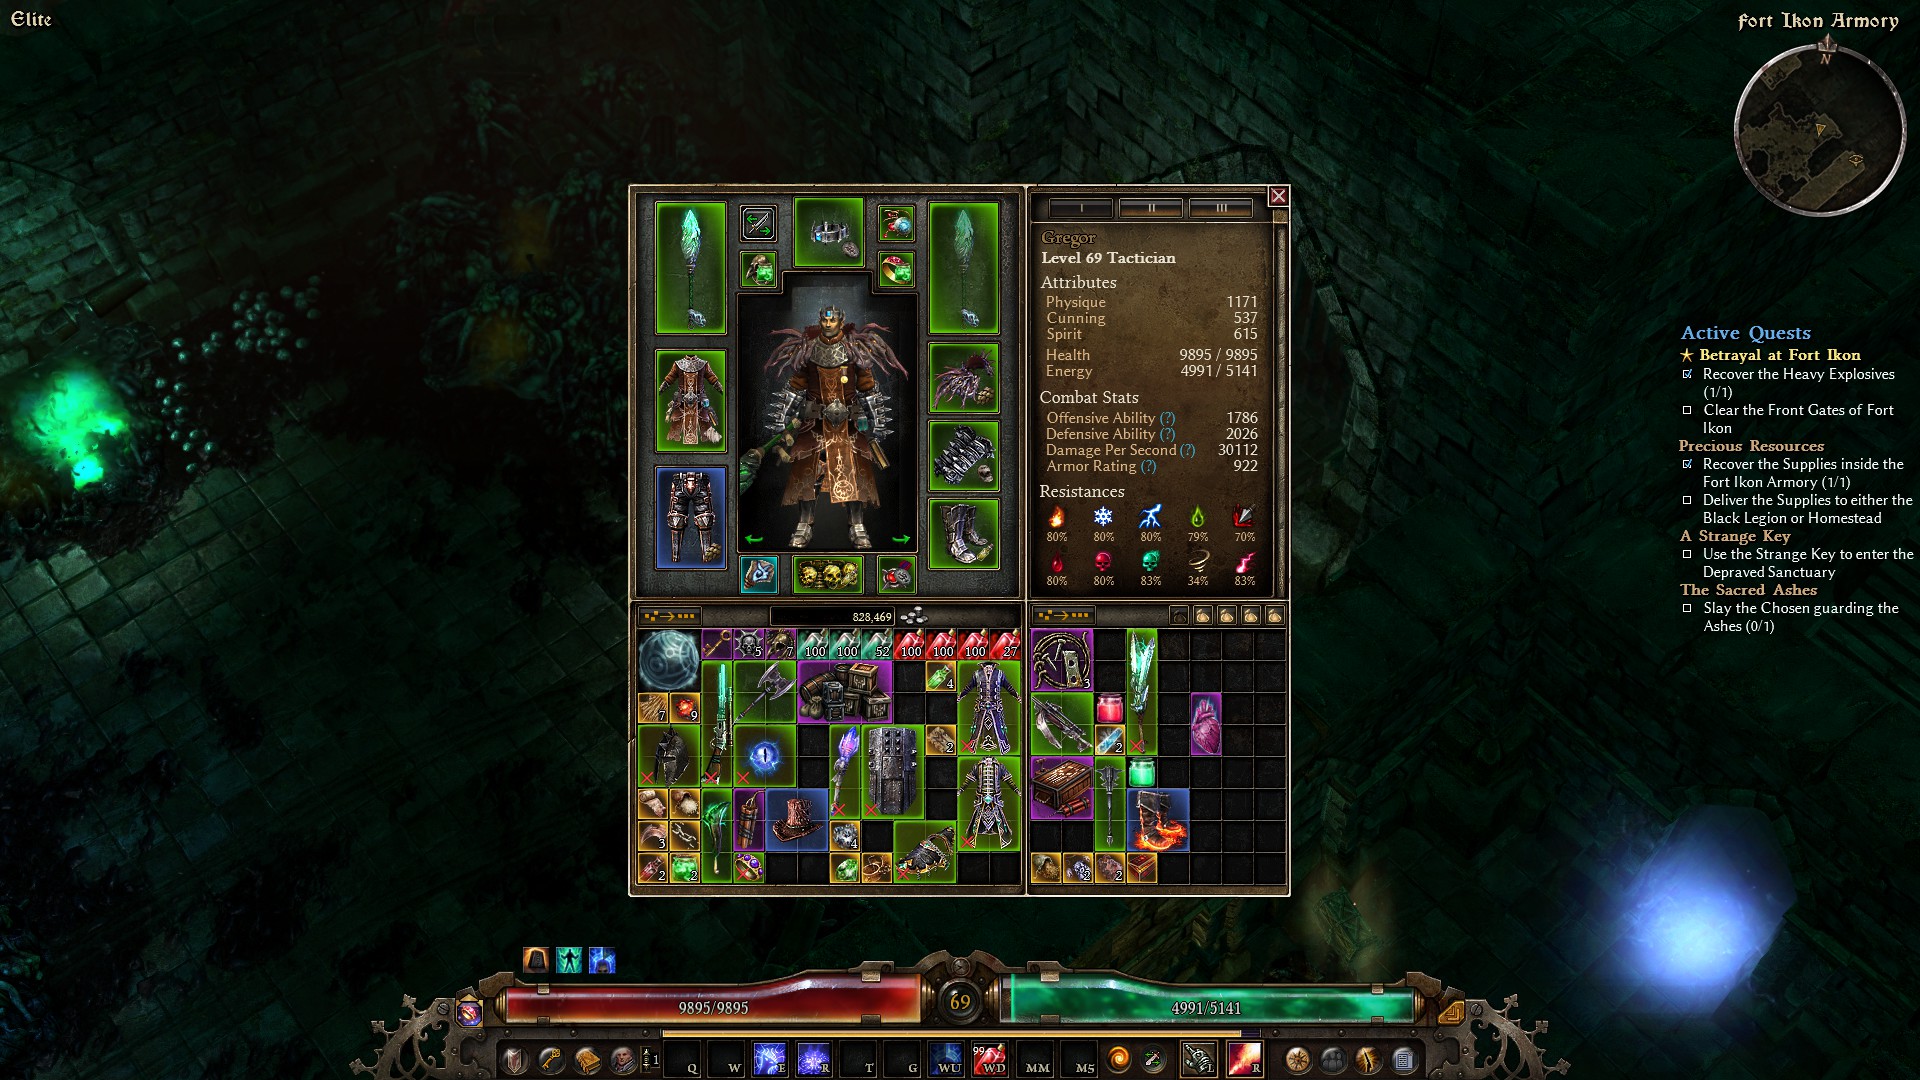
Character Snapshots
Veteran Krieg
Veteran Krieg: Inquisitor, Level 21 (GD 1.1.9.0) - Grim Dawn Build Calculator
Despite not using components for the fight, i regret not using some for Veteran as I took some pretty glancing blows that kept me on my toes. For Normal, you won’t need to worry.
Veteran Darius
Veteran Cronley: Inquisitor, Level 26 (GD 1.1.9.0) - Grim Dawn Build Calculator
Like with the Krieg fight, I regret not using some resistance components for Veteran to feel a little safer.
Level 31 to 50
General Overview
It’s time to make the jump over to Flames of Ignaffar and for now to pick up the rest of what we want out of Inquisitor. Afterwards, we can make a start on progressing Soldier returning to Inquisitor if and when we need a damage boost on our main damage dealer.
Small note on Flames of Ignaffar. From my experience levelling with it, it is a skill that starts low in terms of power and only gets better as key items come into play later during the end of the Necropolis and partway through Ugdenbog. I do not joke when I say the first 5-10 levels after swapping into it are where I felt it was at it’s weakest. If you don’t feel like it’s melting stuff right now, I urge you to keep going. Give it a chance as it will improve substantially later on.
Skills
-
At level 30-31, make sure you have unlocked Tip the Scales in devotion and have a couple Ectoplasm before proceeding.
-
To move over to Flames of Ignaffar successfully, make the following changes:
-
Cut your number of points in Word of Renewal down to 4. Remove all of your points in the Word of Pain and Storm Box lines. Redistribute them as follows: max the Inquisitor mastery bar, 10 points into Flames of Ignaffar, 12 points into Intensify, rest into Aura of Censure.
-
Put an Ectoplasm onto both of your rings.
-
Go to a Blacksmith and craft 2 Hollowed Fangs. Place these on your main-hand weapon and caster off-hand. The passive life steal and Bloodthirster skills will help with staying alive a little.
-
This is what my character and skill point line-up looks like after the above changes: Inquisitor, Level 30 (GD 1.1.9.0) - Grim Dawn Build Calculator.
-
-
Afterwards, max Aura of Censure if not done already. Spend the next 8 levels maxing Endless Flame and Inquisitor Seal.
- Between Seal and Censure, you should have the defense to take hits and stand your ground very well for basically the rest of Normal. With some resistances on your back, you’ll be pretty hard to kill for the rest of Normal, expansions included.
-
Put 6 points into Steel Resolve to help with the Aetherials and Ch’thonics that you’ll likely be seeing a ton of at this point.
-
Start investing in the Soldier mastery bar for the rest of your levels up until 50. If your energy can handle it, feel free to drop a few more points into Flames of Ignaffar for a bit more damage in the meantime.
At Level 50 your skills should look similar to this: Tactician, Level 100 (GD 1.1.9.0) - Grim Dawn Build Calculator.
Equipment
-
When you reach Bloodlord Thalonis right before the final base game Boss, try to get a Bloodsworn Sigil to drop. It’ll allow us to recover even more health and free up our Hollowed Fangs for more damage (e.g. Enchanted Flints) or resistances (e.g. Purified Salt/Imbued Silver) instead.
-
Getting a Loghorrean’s Corruption is also nice for more damage and should be kept going forward. Only replace it with a higher level version in Elite/Ultimate.
-
As before, keep an eye out for any gear with +% Fire/Lightning/Elemental/Cold damage bonuses, casting speed and resistances to use.
-
You can also think about looking for 2-handed weapons with the above stats too as Flames of Ignaffar scales on weapon damage, these can potentially be a damage increase over a caster implement + off-hand provided you can sustain the energy without either. For example, i used Death’s Scythe for awhile in the 40-50s. If you do find a good 2-hander, don’t forget to drop a point into Word of Arms. Unfortunately, we won’t be able to take Kraken for an even bigger DPS increase at this stage.
-
Once again, keep the armour rating in mind as well and always look for upgrades with just as much or more when possible.
Devotion
Our next major goals are going to be Imp and Widow. My plan was to have Scales, Aetherfire and Arcane Bomb by the base game Boss in Normal/Veteran difficulty which requires 27 devotion points. Doable but may require scrounging around and grabbing 2 or 3 from Steps of Torment/Bastion of Chaos/Port Valbury close to end. That said, don’t worry if you can’t find enough shrines.
Aetherfire and Widow this early on might come off as odd choices to a lot of experienced players being as we’re currently an Elemental caster, have yet to move in on Aether and could just respec them in later. For me though, i will always prefer picking up devotion abilities sooner rather than later so I can begin levelling them ASAP if I can.
-
Finish off the other branch of Scales of Ulcama.
-
Fill out the Lotus and remove the Lion afterwards.
-
Put a point into the Crossroads Primordial node and fill out the Imp. Bind Aetherfire to Flames of Ignaffar.
-
Fill out the Widow. When complete, put a point into Storm Box and Lightning Tether and bind it to Arcane Bomb.
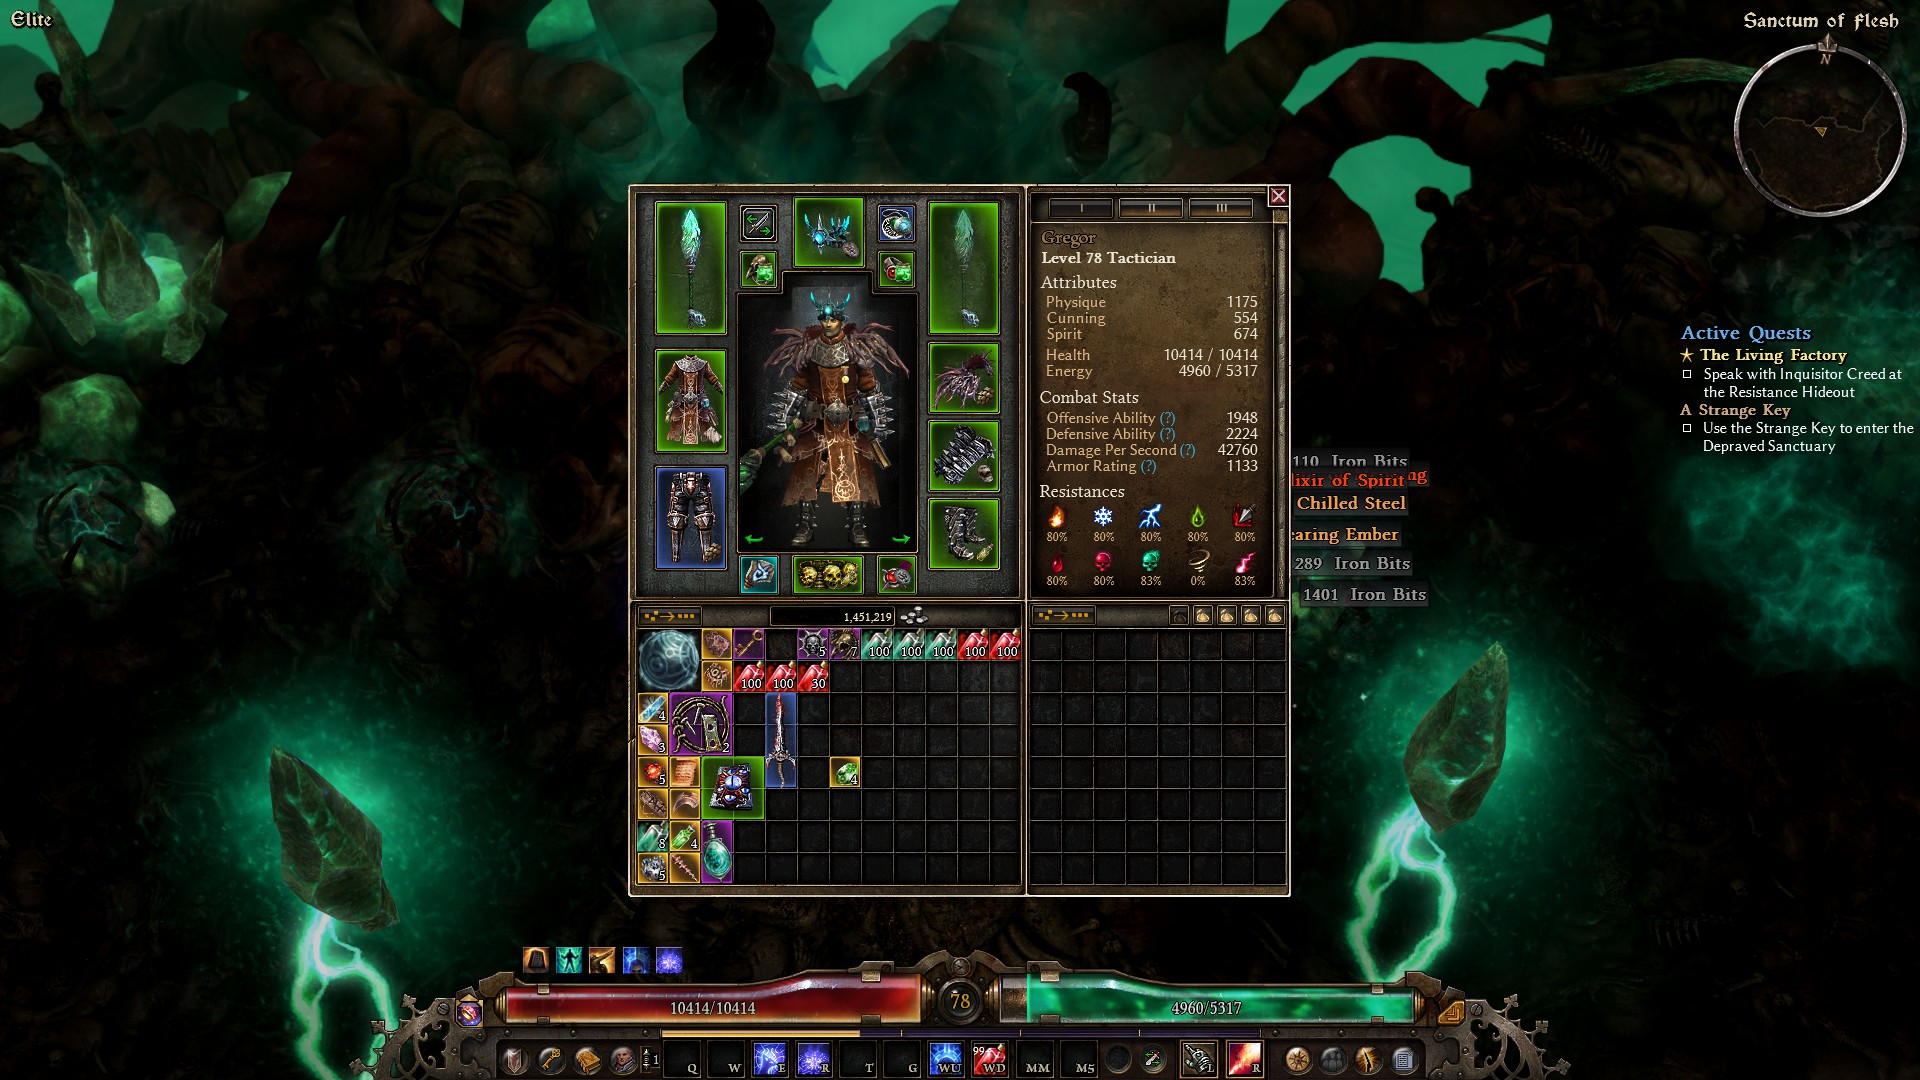
Character Snapshots
Veteran Loghorrean

Veteran Loghorrean: Tactician, Level 44 (GD 1.1.9.0) - Grim Dawn Build Calculator
Level 50
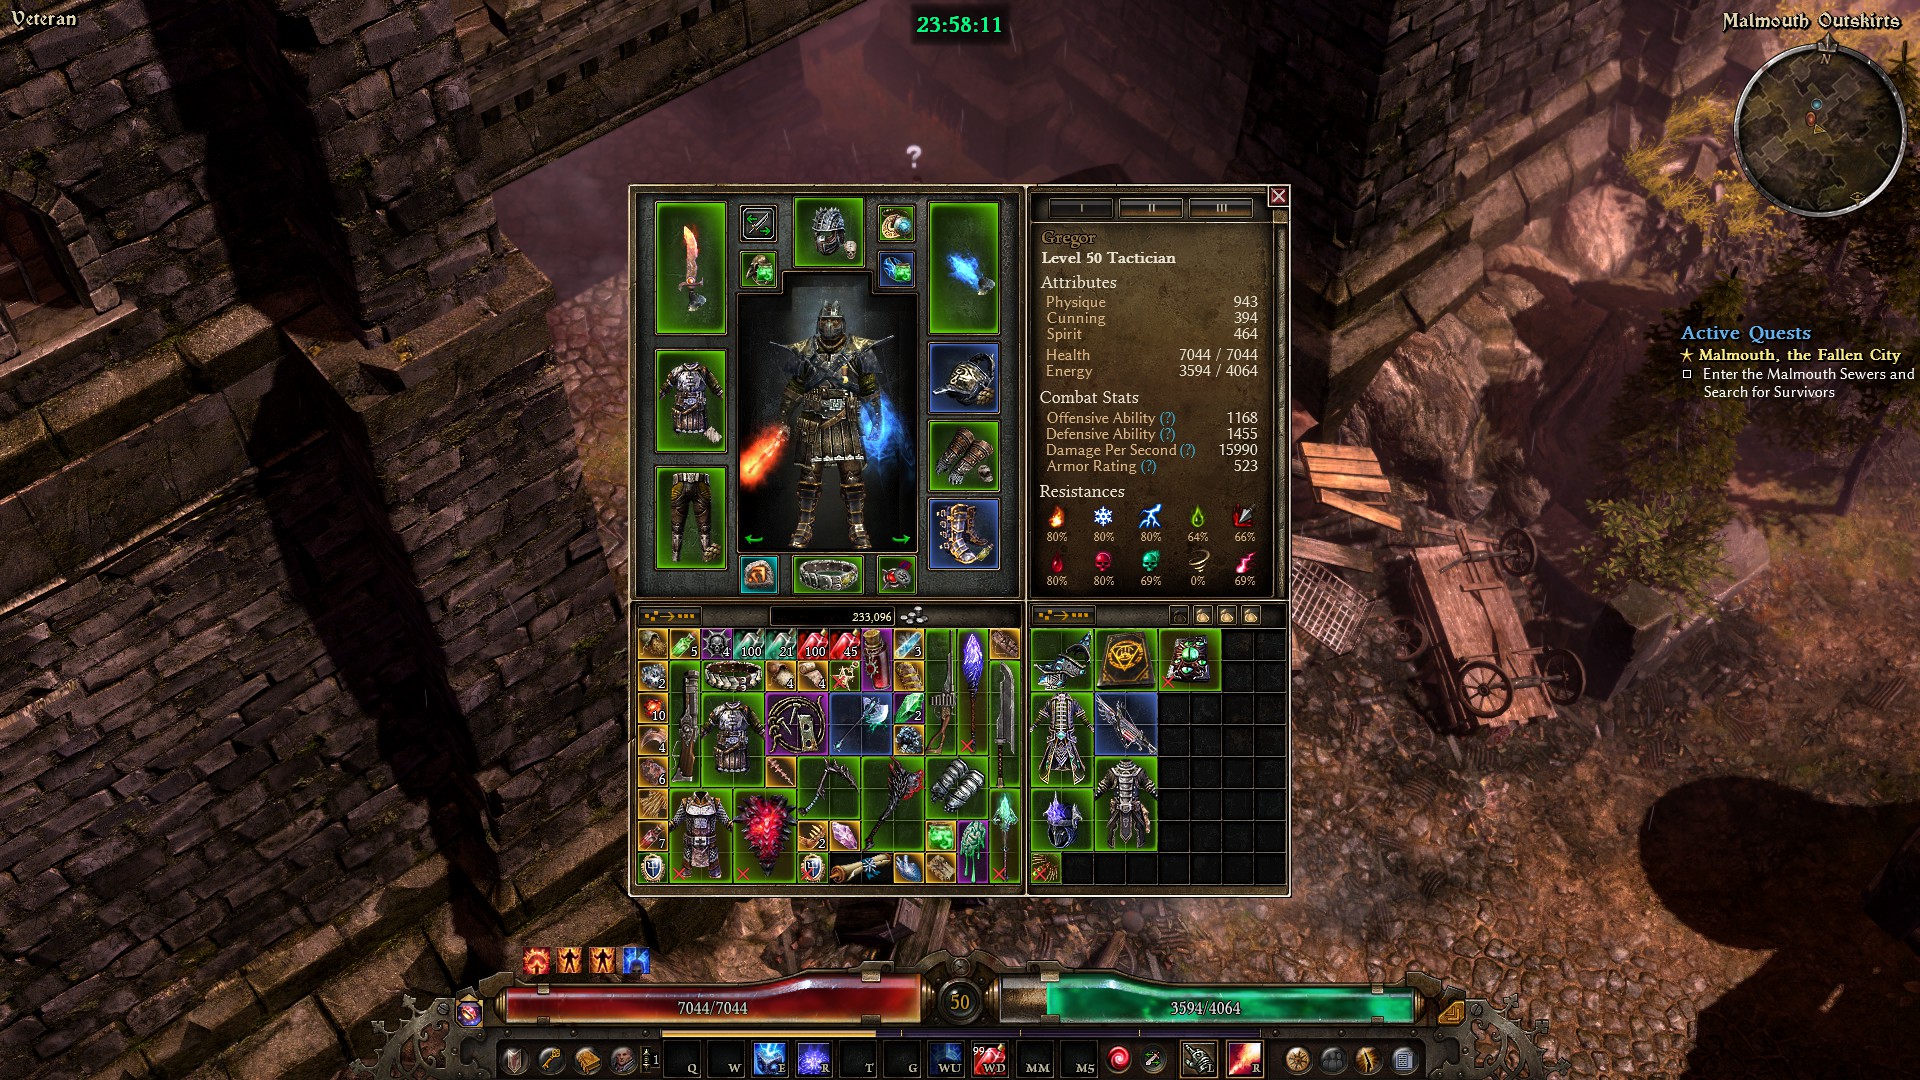
Level 50: Tactician, Level 50 (GD 1.1.9.1) - Grim Dawn Build Calculator
At the foot of Malmouth.
Level 51 to 75
General Overview
Around this point you’re likely going into the expansions - Ashes of Malmouth and Forgotten Gods. There is some nice gear to enhance the Fire/Lightning damage on Flames of Ignaffar in Ugdenbog and when we reach Malmouth, we are going to undergo another significant shift in skills once we pick up the key weapon of the build, hence why for this section skills and equipment are combined and split into 2 separate phases.
Don’t worry, it’s the last major respec/skill shift we will do until the end of the game. While it will feel a little weaker/like a downgrade at first, it should start to improve as we pick up the key skills and devotions and replace gear. This should also finalise a lot of of build’s offense leaving some of the smaller things left to pick up like additional defensive stats or resistances
Skills and Equipment
Phase 1 - Gloomwald, Ugdenbog and Mourndale
-
While passing through Ugdenbog, killing Janaxia a few times to pick up an Ugdenbog Flamestrife isn’t a bad idea. It should be a significant damage increase and provides some Aether resistance to help with the upcoming Aetherials in Malmouth.
-
Enslaved Wraith can be a good off-hand to pick up as well alongside a Flamestrife. Especially if you get one with some Fire/Lightning damage and cast speed.
-
Grabbing an Ugdenbog Waistguard for the +1 to Inquisitor and conversion from the ghost Crabs can help at this stage of the game but be sure you swap it out when you make the build shift in Malmouth detailed below.
Phase 2 - Malmouth
-
Once you reach Malmouth, you want to pick up a Fleshwarped Core as soon as you can, preferably with an Aether damage prefix like Warped, Aetherfire, Essence Drinker’s or Magestorm and some casting speed either from some of the prefixes or a suffix like of Celerity.
-
These can drop from the Aetherial Sentinels that act as towers/forward bases for the Aetherials. If you don’t manage to find one, after completing the “Liberate the Liberators” sidequest a bit further in, a shop owned by Hyram opens up that sells scavenged materials/weapons including the very one you seek.
-
Once you have the weapon, you immediately want to make the following skill point, devotion and equipment changes:
-
If you are currently using an Ugdenbog Waistguard, find a new belt immediately.
-
Remove all points in Aura of Censure and Intensify. We are no longer going to be an Elemental damage dealer moving forward. Until we can convert the Lightning damage on Intensify through Chosen Robes, it’s of little use to us as well.
-
Max out the Soldier mastery bar if not done already and put 1 point into Menhir’s Bulwark. Rebind it to Scales of Ulcama.
-
Put a point into Word of Arms. Free bonuses for 2-handed.
-
I also recommend going to a Blacksmith and crafting a Wrathstone or Purified Salt and attaching it to your weapon for a further general/specialised damage boost and some resistances if you opted for the Salt.
-
While not something you can do immediately, I recommend you begin work on the Kraken constellation in place of your current incomplete devotion or next one in line and continue where you left off afterwards. For me, I was working on Panther → Solemn Watcher as noted below, so now I’m going to do Kraken → Panther → Solemn Watcher instead.
-
Aetherials as one can expect resist the Aether damage we are now going to deal. We can help counter this by finding sources of +% increased damage to Aetherials/Aether Corruptions. Good places to look for it at this stage are a Purified Salt, Runestone, Potent Aether Dust sold by the Black Legion at Honoured and the ‘of Insanity’ suffix if you get lucky on your weapon. For Elite and Ultimate, i heavily recommend using a couple of these.
-
The above is the bare minimum. This is what my character looked like before the shift: Tactician, Level 51 (GD 1.1.9.1) - Grim Dawn Build Calculator.
And this is what my character looked like afterwards: Tactician, Level 51 (GD 1.1.9.1) - Grim Dawn Build Calculator.
Some things I want to note on the character post-shift:
-
The Fleshwarped Core I’m using isn’t ideal so I’ll find a better one once I can equip a higher level version at Level 55 and have the seller from the side quest unlocked.
-
Replacing the Fervor relic is also a good idea at this stage and what I will be working towards. Juggernaut is gonna be my target which can be found and crafted with the following:
Juggernaut Materials
-
The blueprint for Juggernaut is occasionally sold by Hyram. Check in often or reset his inventory by checking 2 other general goods vendors around the world, then him and repeat.
-
2 Tainted Brain Matter. Dropped from Aetherial and Aether Corruption Heroes/Bosses such as Warden Krieg.
-
Sanctuary. The blueprint can occasionally be sold from Hyram.
-
Mistborn Talisman. The blueprint to craft it can drop from Voldrak, the Destroyer at Smuggler’s Pass or Balegor, the Swamp King in East Marsh.
-
Calamity. Can be crafted at a Blacksmith.
-
Oleron’s Blood. The blueprint to craft it is sold by the Black Legion faction quartermaster at Respected.
-
Reinforced Shell. Can be crafted at a Blacksmith.
-
Spined Carapace. The blueprint to craft it is sold by Homestead’s faction quartermaster at Respected.
-
The +% Elemental gear will also steadily be replaced by +% Aether gear as I find it.
-
Finally, be wary when making the change from Elemental to Aether. For me, it was a downgrade in damage and survivability over the Ugdenbog Flamestrife at first. However, as you pick up Death Sentence, max Flames of Ignaffar, take Kraken in devotion and pick up a solid weapon/some Aether damage gear (including weapon/armour augments), things should begin to normalise again. If you want to wait around 5-10 levels (~Level 55-60 and 32 devotion points are a good spot) and stick with a Flamestrife, you can do.
Skill-wise going forward:
-
Replace Storm Box of Elgoloth with 1 point in Word of Pain, 1 point in Word of Agony and the rest in Death Sentence including the devotion bind to Arcane Bomb. It will weaken entire crowds to our Aether damage.
-
Max the base Flames of Ignaffar skill node as well and Menhir’s Bulwark afterwards.
-
You’re likely going into or have been in Elite for a while at this point. Building resistances is going to be more important going forward, thus I recommend trying to get 40-60% minimum on all of them. To help with this, Steel Resolve can add another 10% Aether and Chaos resistance when pushed from 6/10 to 10/10, Scars of Battle adds 32% Bleeding resistance and 25% armour absorption allowing us to replace a Scaled Hide with another resistance boosting component. Decorated Soldier is the least useful providing 20% Elemental resistance. If you feel you’re struggling at all, do not be afraid if you need to drop some more points into some of these.
-
Otherwise, put a point into Field Command and max Squad Tactics for more damage. Then max Field Command after for the increased Offensive/Defensive Ability and Armour.
Equipment-wise, you want to start searching for +% Aether damage, casting speed and resistance equipment. Some other notable equipment you can think about during the mid levels are:
-
Chosen Robes. Once you have gotten a hold of a pair of these, you can begin putting points back into Intensify at your own leisure for some more damage on Flames of Ignaffar.
-
Coven Lethal Waistguard. Provides an easy +1 to Inquisitor and can be bought at Respected so easy to access if you do their side quests.
-
Fettan Mask. Specifically the Level 75 version found in Elite. It provides a +1 to all skills and some good resistances. Extremely powerful. Don’t mistake it for the Level 50 version found in Normal as it does not have +1 to all skills.
-
Upgrading any current Monster Inrequents. The Fleshwarped Core in particular has versions at 70 and 82 before the final one at 94. Same goes for your Chosen Robe/Loghorrean’s Corruption at 75/84 to up your amount of armour.
At Level 75, your skills should look something like this: Tactician, Level 100 (GD 1.1.9.1) - Grim Dawn Build Calculator. Or if you have a Chosen Robes equipped like this: Tactician, Level 100 (GD 1.1.9.1) - Grim Dawn Build Calculator.
Devotion
Next, we’re working towards Light of Empyrion and cleaning up the rest of our route for more damage, Offensive Ability, critical damage and resistances.
-
Fill out the Panther followed by Solemn Watcher. Remove the Crossroads Primordial node and Crane.
-
Fill out the Sailor’s Guide. By this point, you should also have Kraken filled out as part of the shift to 2-handed Aether detailed above.
-
Light of Empyrion should now be open. Fill it out to the end. Bind it to Field Command or Word of Renewal if you don’t have anything else available.
-
Complete the Vulture next.
-
Spear of the Heavens should be open. Put your last 4 points into it.
Character Snapshots
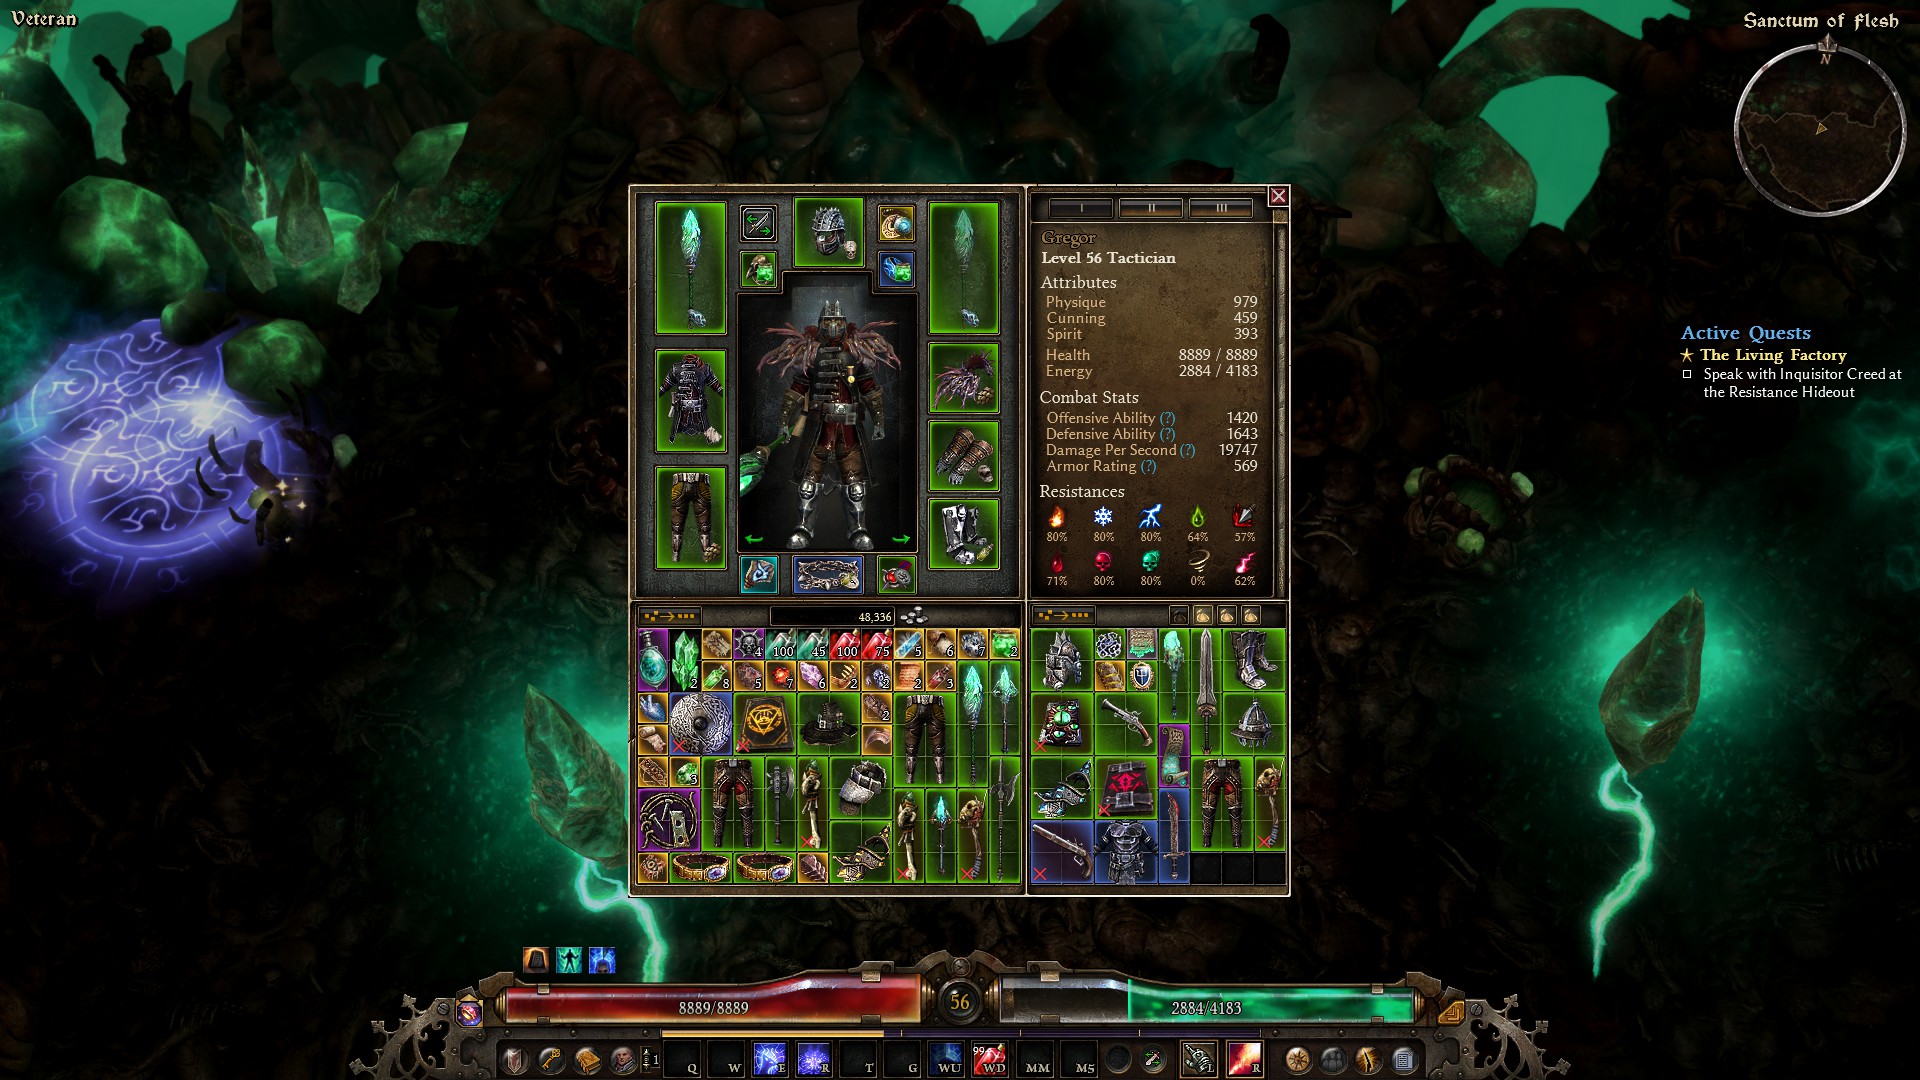
Elite Amalgamation

Elite Amalgamation: Tactician, Level 67 (GD 1.1.9.1) - Grim Dawn Build Calculator

Level 76 to 100
General Overview
It’s time to wrap up loose ends on skills and start working towards the final set of equipment we will use. You will already be familiar with a lot of it by this point so it’s not much extra. By Level 90 or 94, you’ll ideally want to have most of the factions at Honoured/Revered for the appropriate weapon/accessories for them alongside a wide selection of armour augments to use for resistances.
Skills
-
Bring Scars of Battle up to 8/8 and Steel Resolve up to 10/10 with any skill bonuses from equipment you have next. Whether you needed to put any points in either one earlier or not, we will need the resistance and armour absorption boost for Ultimate.
-
Drop a point into Decorated Soldier, Fighting Spirit, Menhir’s Will, Deadly Aim, Vigor and Arcane Empowerment. It’s finally time to pick up these 1 point wonders now that we have a couple +1s to Soldier/Inquisitor and almost everything else important is taken care of.
-
Bring Infernal Purge up to 12/12. It is one of the most important parts of Flame’s of Ignaffar’s damage output but has gone uninvested for so long because it is dependent on Offensive Ability for it’s power which for a large section of levelling we didn’t have any meaty bonuses for.
-
Bring Military Conditioning up to 10/10 for some additional health and physique.
-
Take points out of Endless Flame until it is 12/12 and put them in Word of Renewal until it is at 12/12.
-
Finally, it is time to bring Storm Box back. Put a point into it and Lightning Tether. If you don’t have points spare then bring Squad Tactics down to 12/12. Bind the Box to Arcane Bomb. The main reason we are bringing it back at long last as noted below is as part of the Aetherbolt Pendant though there are some other minor benefits to it as well.
With all that said, your skills at Level 100 should look like this: Tactician, Level 100 (GD 1.1.9.1) - Grim Dawn Build Calculator. Don’t worry if you are missing a couple of skill points, they are likely from quests or from clearing the Shattered Realm up to a certain point. If you don’t have them, then just leave Word of Renewal at 12/12 and Field Command at 12/12.
Equipment
This is the template we will work towards as presented at the beginning of the guide. I’ll go through every piece individually as well as every component and where it is found. Before I get into the full list, I want to go over what stats to look for on random gear affixes and some other tips.
Stats to prioritise are:
-
Casting speed on your weapon and armguards.
-
A chunk of Acid, Pierce, Bleeding, Vitality and Chaos resistance. Amounts can vary and be swapped around with your armour augments. Try to get all of your resistances about 20-30% above the maximum.
-
Offensive Ability and Defensive Ability. Ideally you want to try and get up to 2700 on both minimum by the end. +% Aether damage is also nice.
Preferably, you want as many gear pieces to have a relevant resistance and some Offensive/Defensive Ability spread out over a couple.
Other things to note:
-
Try to get your ideal Loghorrean’s Corruption, Solael-sect Legguards and Chosen Robes as soon as you can. They are random drops on top of rolling random affixes. You don’t want to be relying on getting a specific resistance or affix on these at the end.
-
Equipment items bought from a faction quartermaster can have their stats re-rolled within their ranges every session (a session being starting a game from the main menu until you hit exit to main menu/quit game). So, it’s not a bad idea to try go for high stats on some of these, but don’t get overzealous.
-
Keep a couple of Tonic of Reshaping handy when you need to shift your Physique and Spirit around. These can be obtained by clearing “Lost Father” given by Amala Torven and “The Feast” given by Scorv Egdenor on every difficulty.
-
Movement augments are down to what you can get a hold of and personal taste. I like Charge-style runes for this kind of character so sided with the Cult of Solael on Ultimate and completed “The Word of Rahn” for the Rune of Rahn’s Might.
-
Finally, do not try to copy my personal set up exactly. Trying to get the same affixes will be incredibly hard to do nor are they the best ones all around. I also recommend shifting your armour augments around accordingly to what resistances you end up grabbing as you can see comparing the template to my final setup. Seriously, learning how to manage resistances is going to make you a better player if you move on to making your own characters at some point.
Weapon. Fleshwarped Core. Can drop from the Aetherial Sentinels in Malmouth or occasionally sold by Hyram. Try to get one with a Warped, Aetherfire, Essence Drinker’s, Magestorm prefix and of Celerity, of Insanity, of Shattered Reality suffix. Of the Aether, of Celestial Wrath, of the Abomination are ok for suffixes as well though not as preferable as the ones I listed. Of Wildfire deserves special mention for offering +4 to Flames of Ignaffar, damage to convert into Aether, crit damage and % casting speed as well, exceptionally potent.
- Component: Wrathstone. Can be crafted at a Blacksmith.
- Augment: Potent Bysmiel’s Shroud. Bought from the Cult of Bysmiel faction quartermaster at Revered.
Headgear: Fettan Mask. Found by the Maw of Enaht close to the Korvan Sands. Hug the right wall and there should be some shrubs you can run through to reach it.
- Component: Runestone. Can be crafted once the blueprint is learnt. The blueprint is sold by the Rovers faction quartermaster at Respected.
Shoulderguards: Loghorrean’s Corruption. Can drop from a guarded Chest after killing the Loghorrean, Voice of Ch’thon.
- Antivenom Salve. Can be crafted at a Blacksmith.
Chestguard: Chosen Robes. Can drop from Korvaak Human casters including Heroes and the Bosses Sister Crimson, Brother Segarius and Astros the Sunherald.
- Chains of Oleron. Drops at random. Some bounties that reward components might also award one.
Armguards: Redeemer Handguards. Can be sold by general equipment vendors or crafted at a Smithy with the “Enchanted Heavy Gloves” option at a high enough level. Alternatively, if you happen to find the blueprint, Emberguard Gauntlets also make for some strong gloves to craft but be aware that the blueprint can be found anywhere at ~Level 90 or higher and that the gloves are substantially more pricey to craft.
- Restless Remains. Can be crafted once the blueprint is learnt. The blueprint is sold by the Rovers faction quartermaster at Respected.
Belt: Coven Lethal Girdle. Crafted from a blueprint bought from the Coven of Ugdenbog faction quartermaster at Honoured.
- Antivenom Salve. Can be crafted at a Blacksmith.
Legguards: Solael-sect Legguards. Can drop from the Guardian of Solael as part of the Hidden Path secret questline.
- Scaled Hide. Can be crafted at a Blacksmith.
Boots: Elite Harvest Greaves. Sold by the Homestead faction quartermaster at Revered.
- Antivenom Salve. Can be crafted at a Blacksmith.
Rings: Solael Warped Seal. Sold by the Cult of Solael faction quartermaster at Revered.
- Mark of Illusion. Drops at random. Some bounties that reward components might also award one.
- Irrah’s Soulfire. Bought from the Cult of Solael faction quartermaster at Revered.
Amulet: Aetherbolt Pendant. Crafted from a blueprint bought from the Malmouth Resistance at Revered.
- Arcane Lens. Drops at random. Some bounties that reward components might also award one.
- Irrah’s Soulfire. Bought from the Cult of Solael faction quartermaster at Revered.
Medal: Wendigo Tainted Mark. Bought from Barrowholm at Honoured.
- Arcane Spark. Can be crafted once the blueprint is learnt. The blueprint is sold by the Black Legion faction quartermaster at Respected.
Relic: Juggernaut.
- Craftable with the following:
-
2 Tainted Brain Matter. Dropped from Aetherial and Aether Corruption Heroes/Bosses such as Warden Krieg.
-
Sanctuary. Can be crafted at a Blacksmith once the blueprint is learnt. The blueprint can occasionally be sold from Hyram in the Steelcap District.
-
Mistborn Talisman. Can be crafted from a Blacksmith once the blueprint is learnt. The blueprint can drop from Voldrak, the Destroyer at Smuggler’s Pass or Balegor, the Swamp King in East Marsh.
-
Calamity. Can be crafted at a Blacksmith.
-
Oleron’s Blood. Can be crafted once the blueprint is learnt. The blueprint is sold by the Black Legion faction quartermaster at Respected.
-
Reinforced Shell. Can be crafted at a Blacksmith.
-
Spined Carapace. Can be crafted once the blueprint is learnt. The blueprint is sold by Homestead’s
faction quartermaster at Respected.
-
Character Snapshots

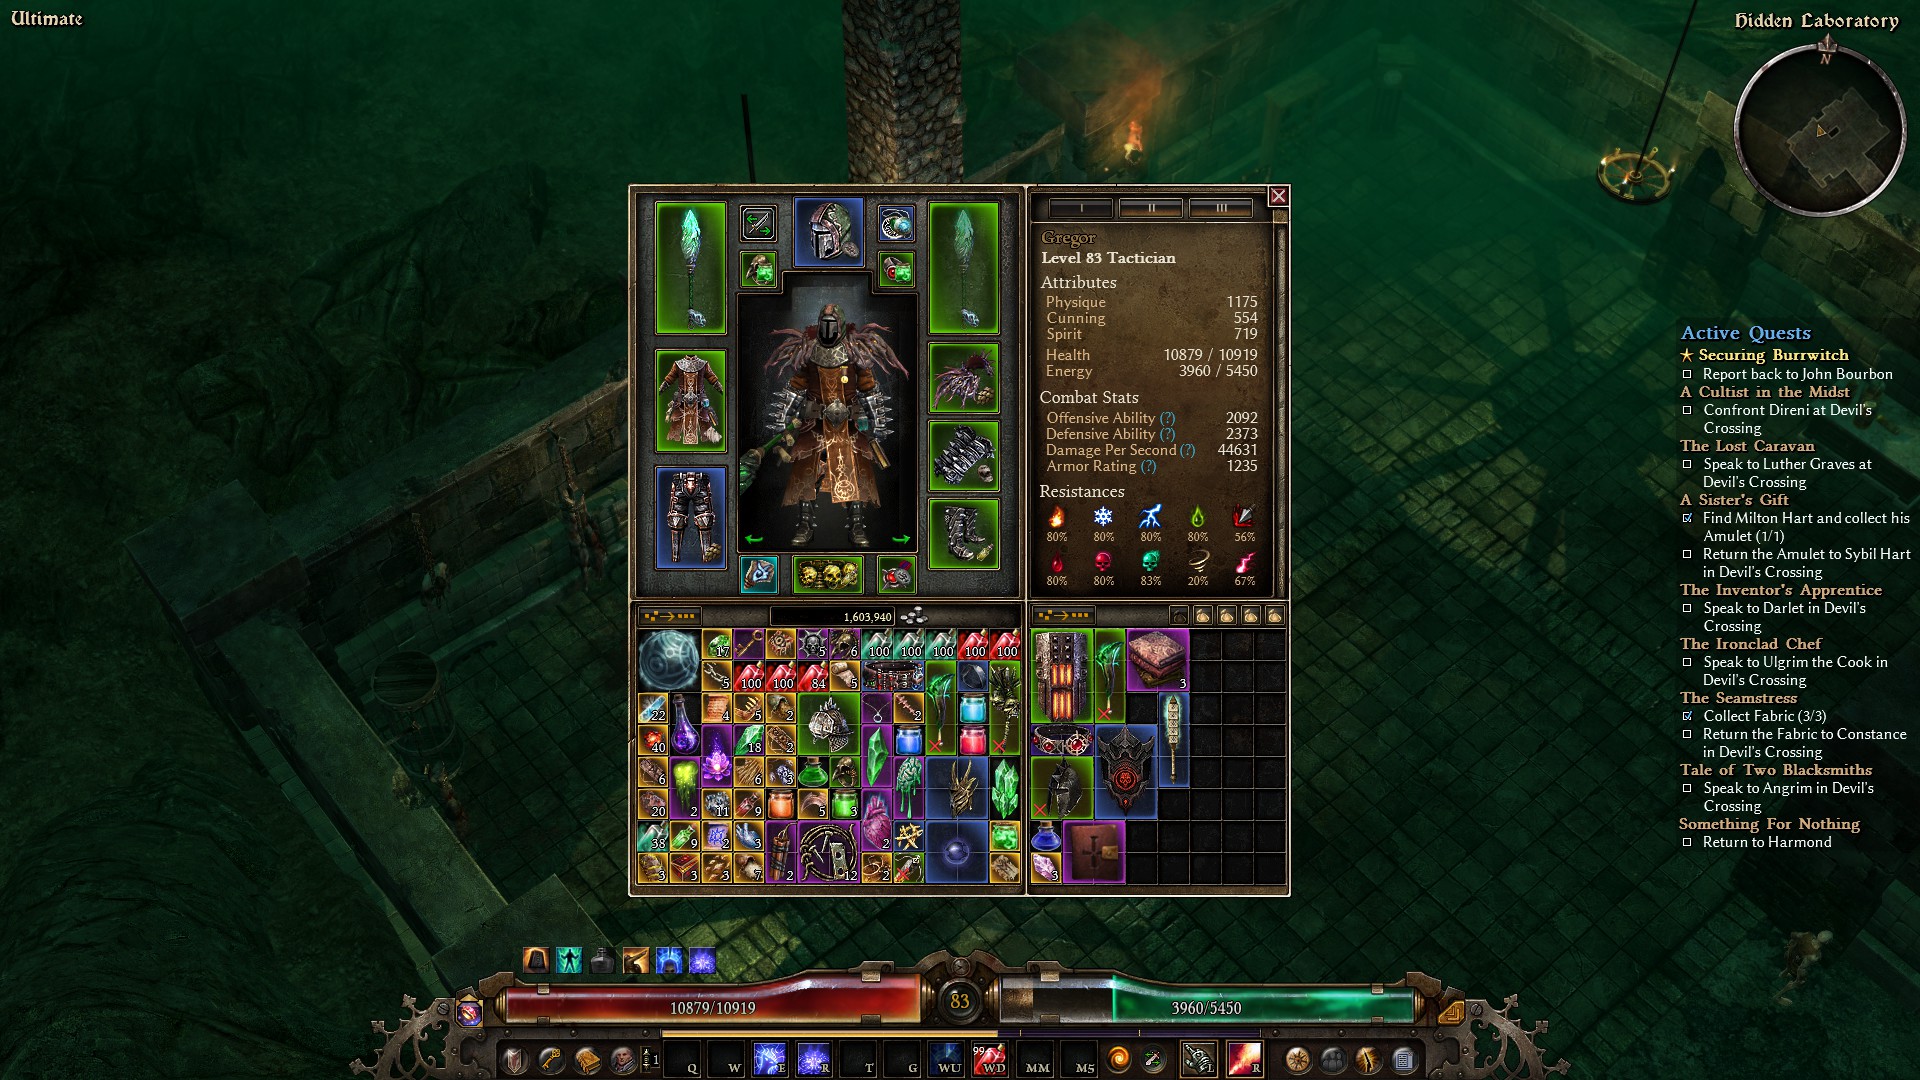
Ultimate Amalgamation
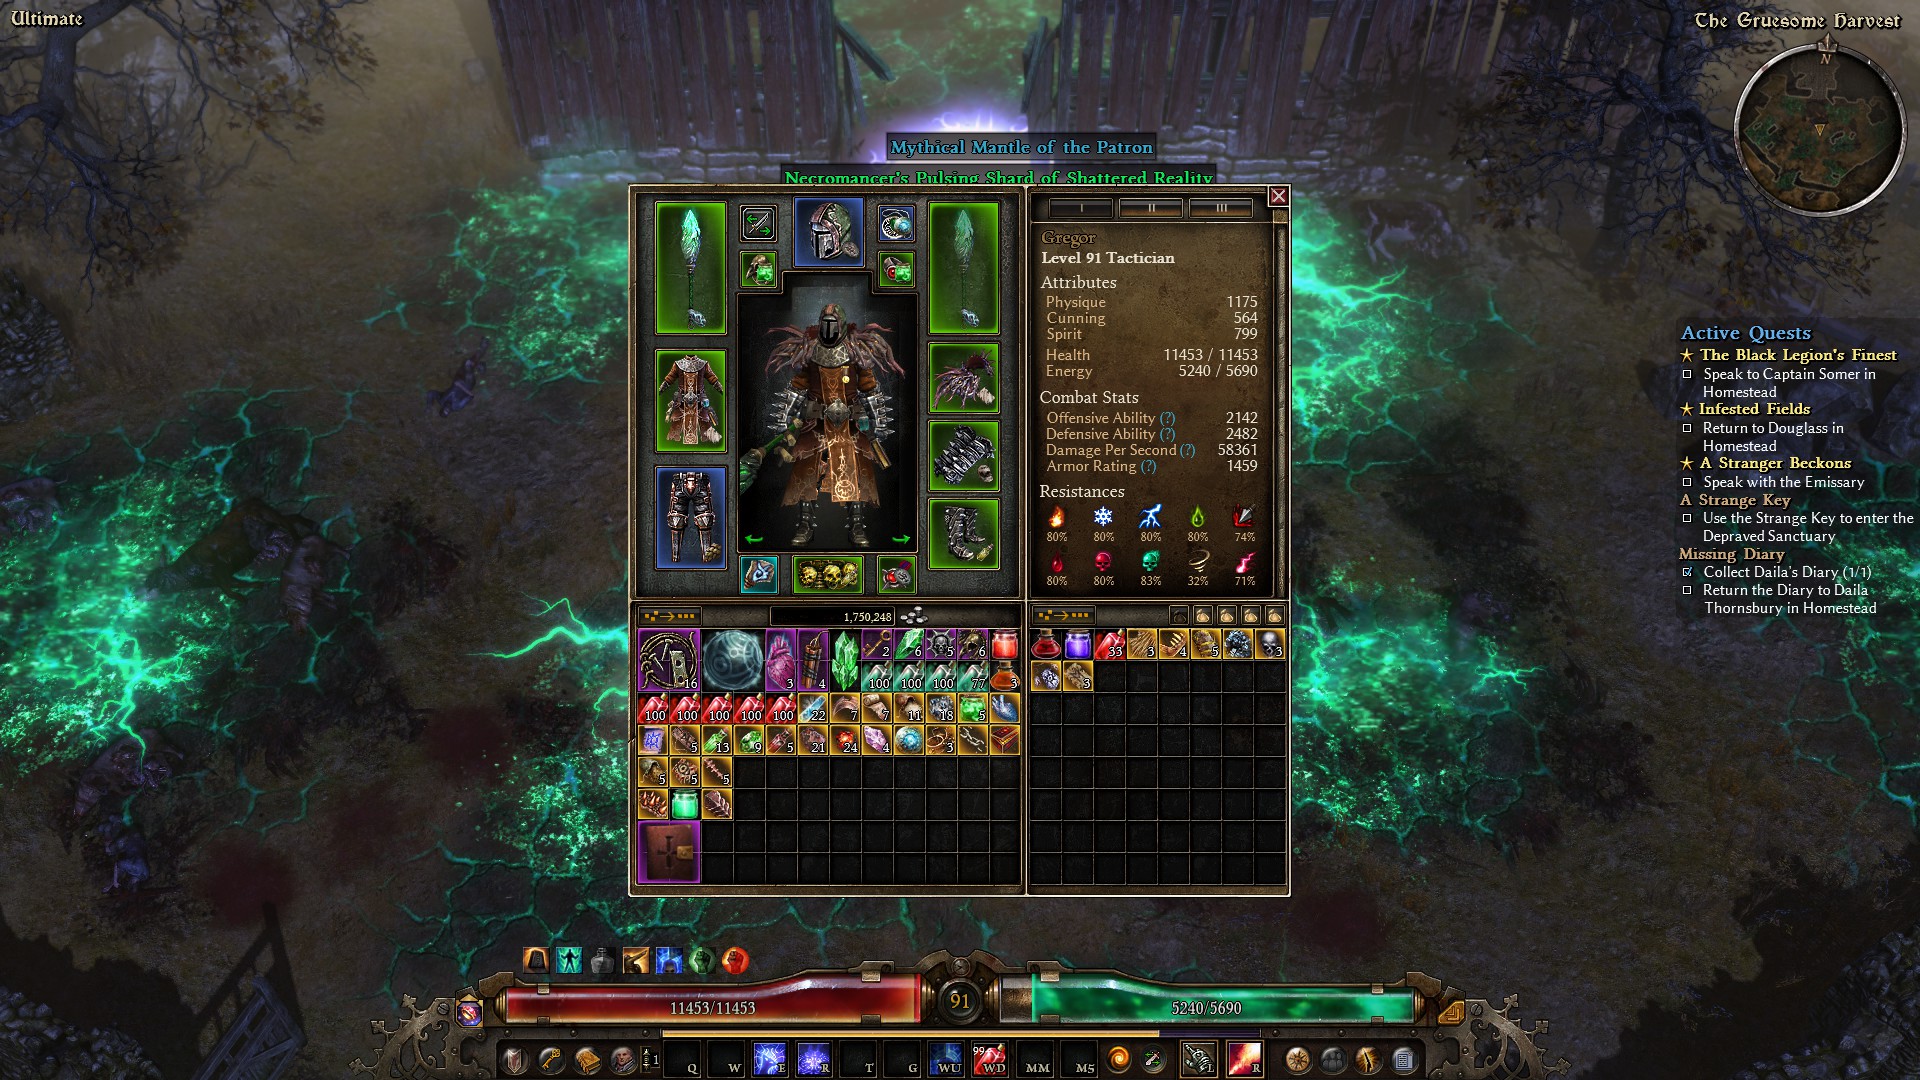
Ultimate Amalgamation: Tactician, Level 91 (GD 1.1.9.1) - Grim Dawn Build Calculator
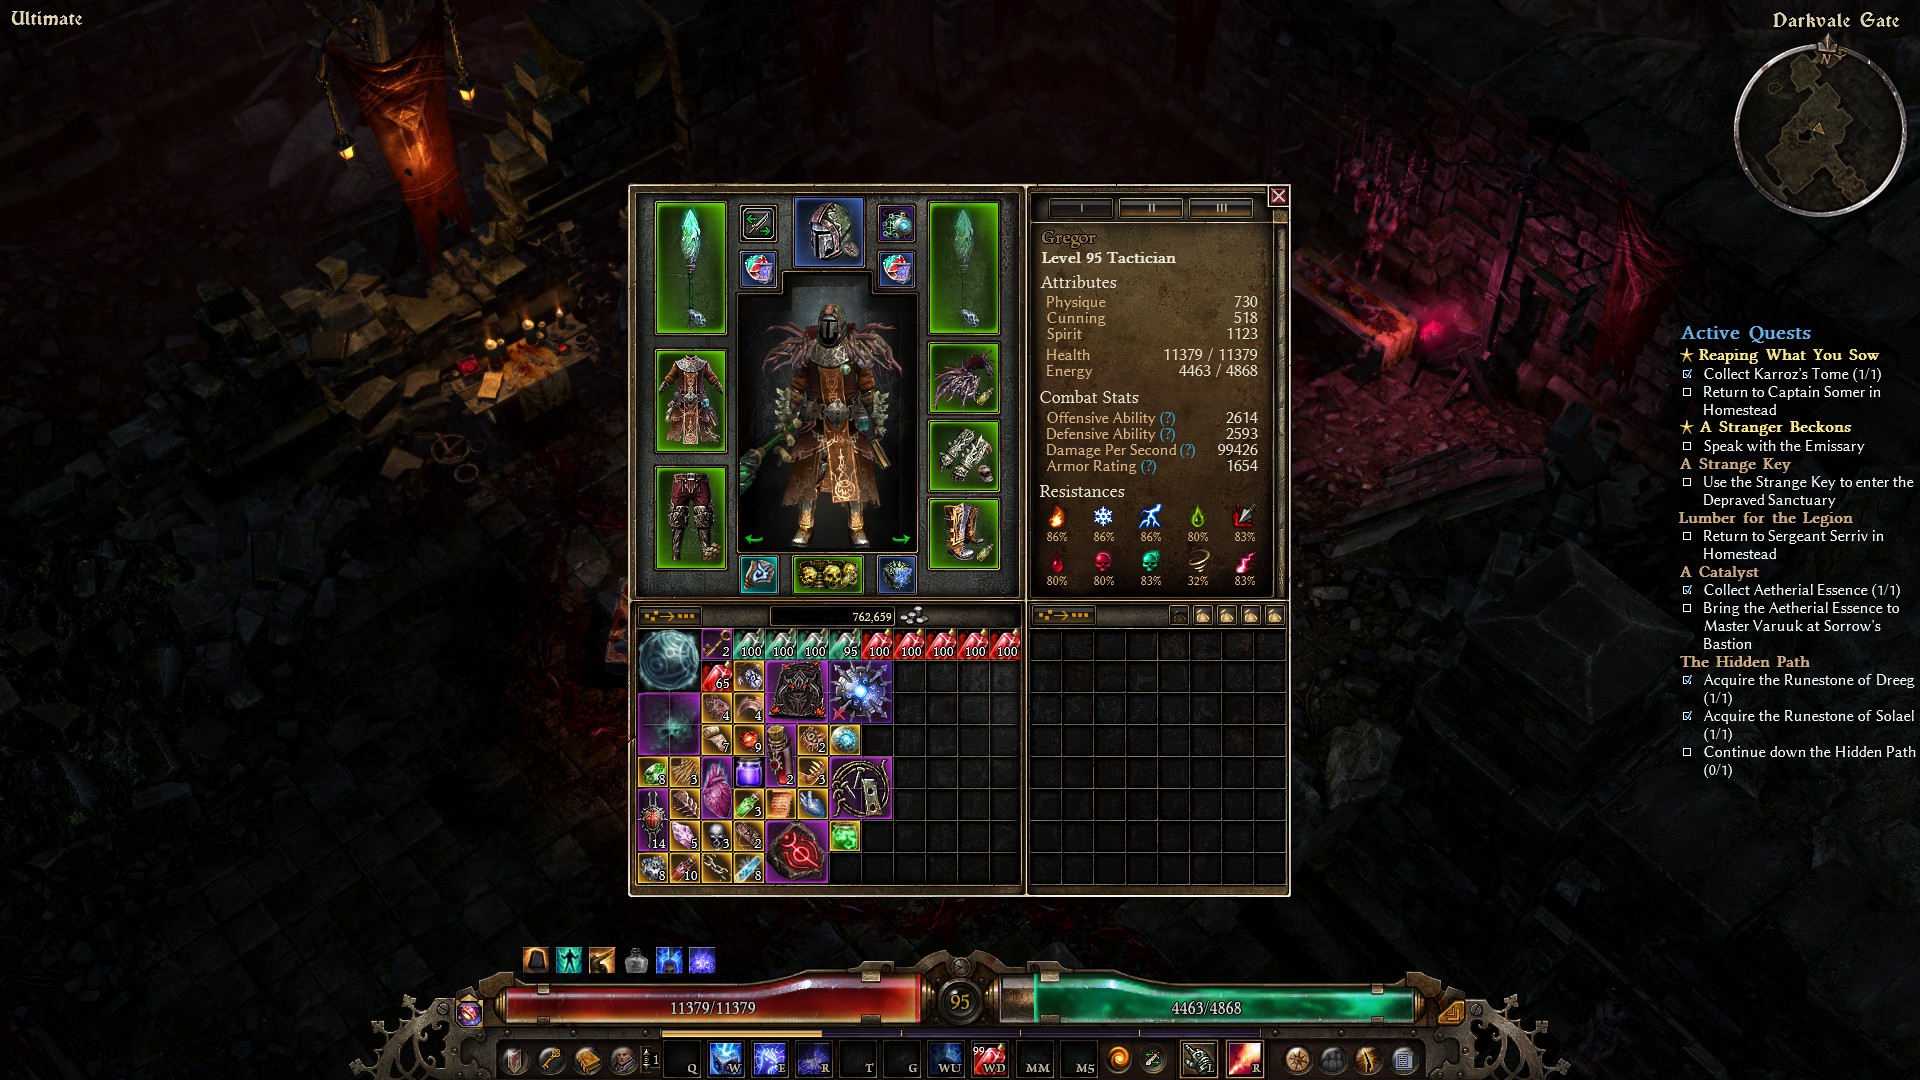
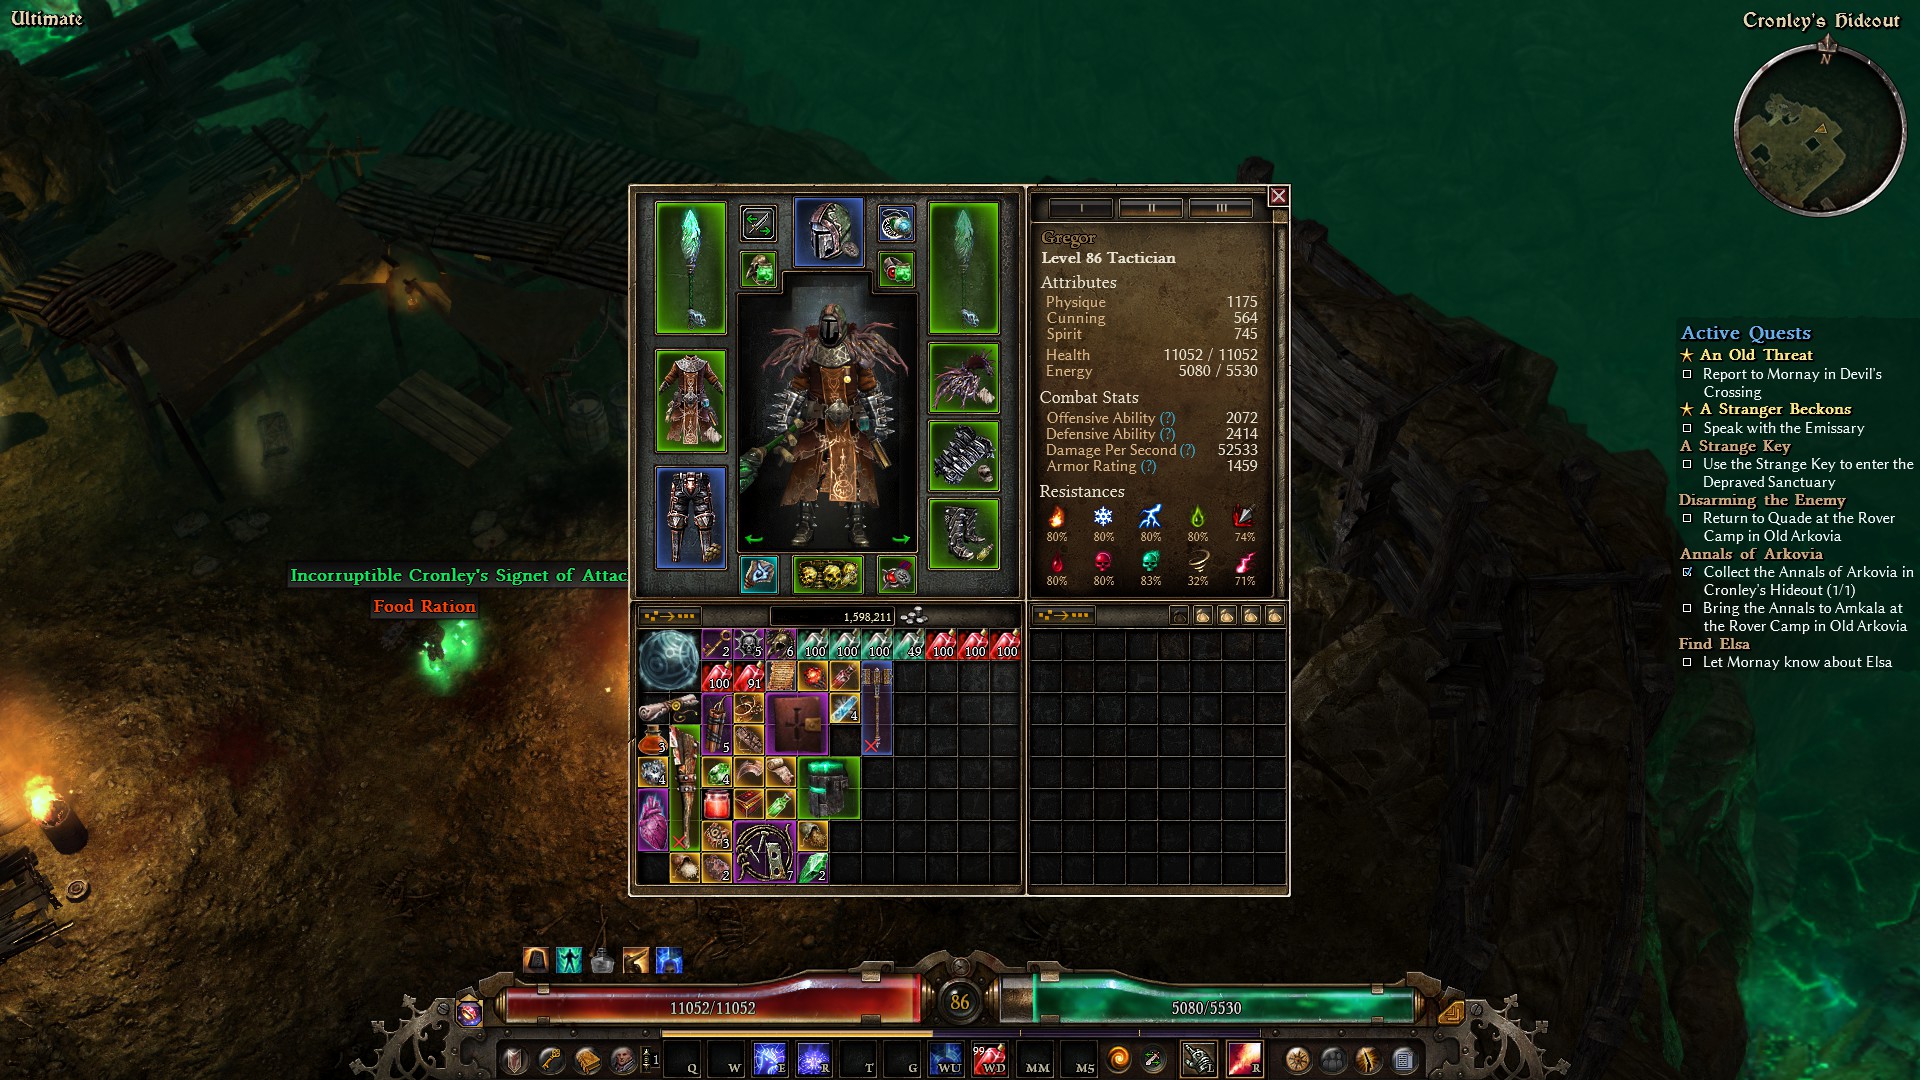
Ultimate Loghorrean
Ultimate Loghorrean: Tactician, Level 98 (GD 1.1.9.1) - Grim Dawn Build Calculator
Achievements
The final setup should allow you to begin farming Legendaries from Monster Totems, Roguelike dungeons or Nemeses so you can work on gathering stronger gear pieces. It’s also possible to start farming Lokarr for his set on subsequent characters as well.
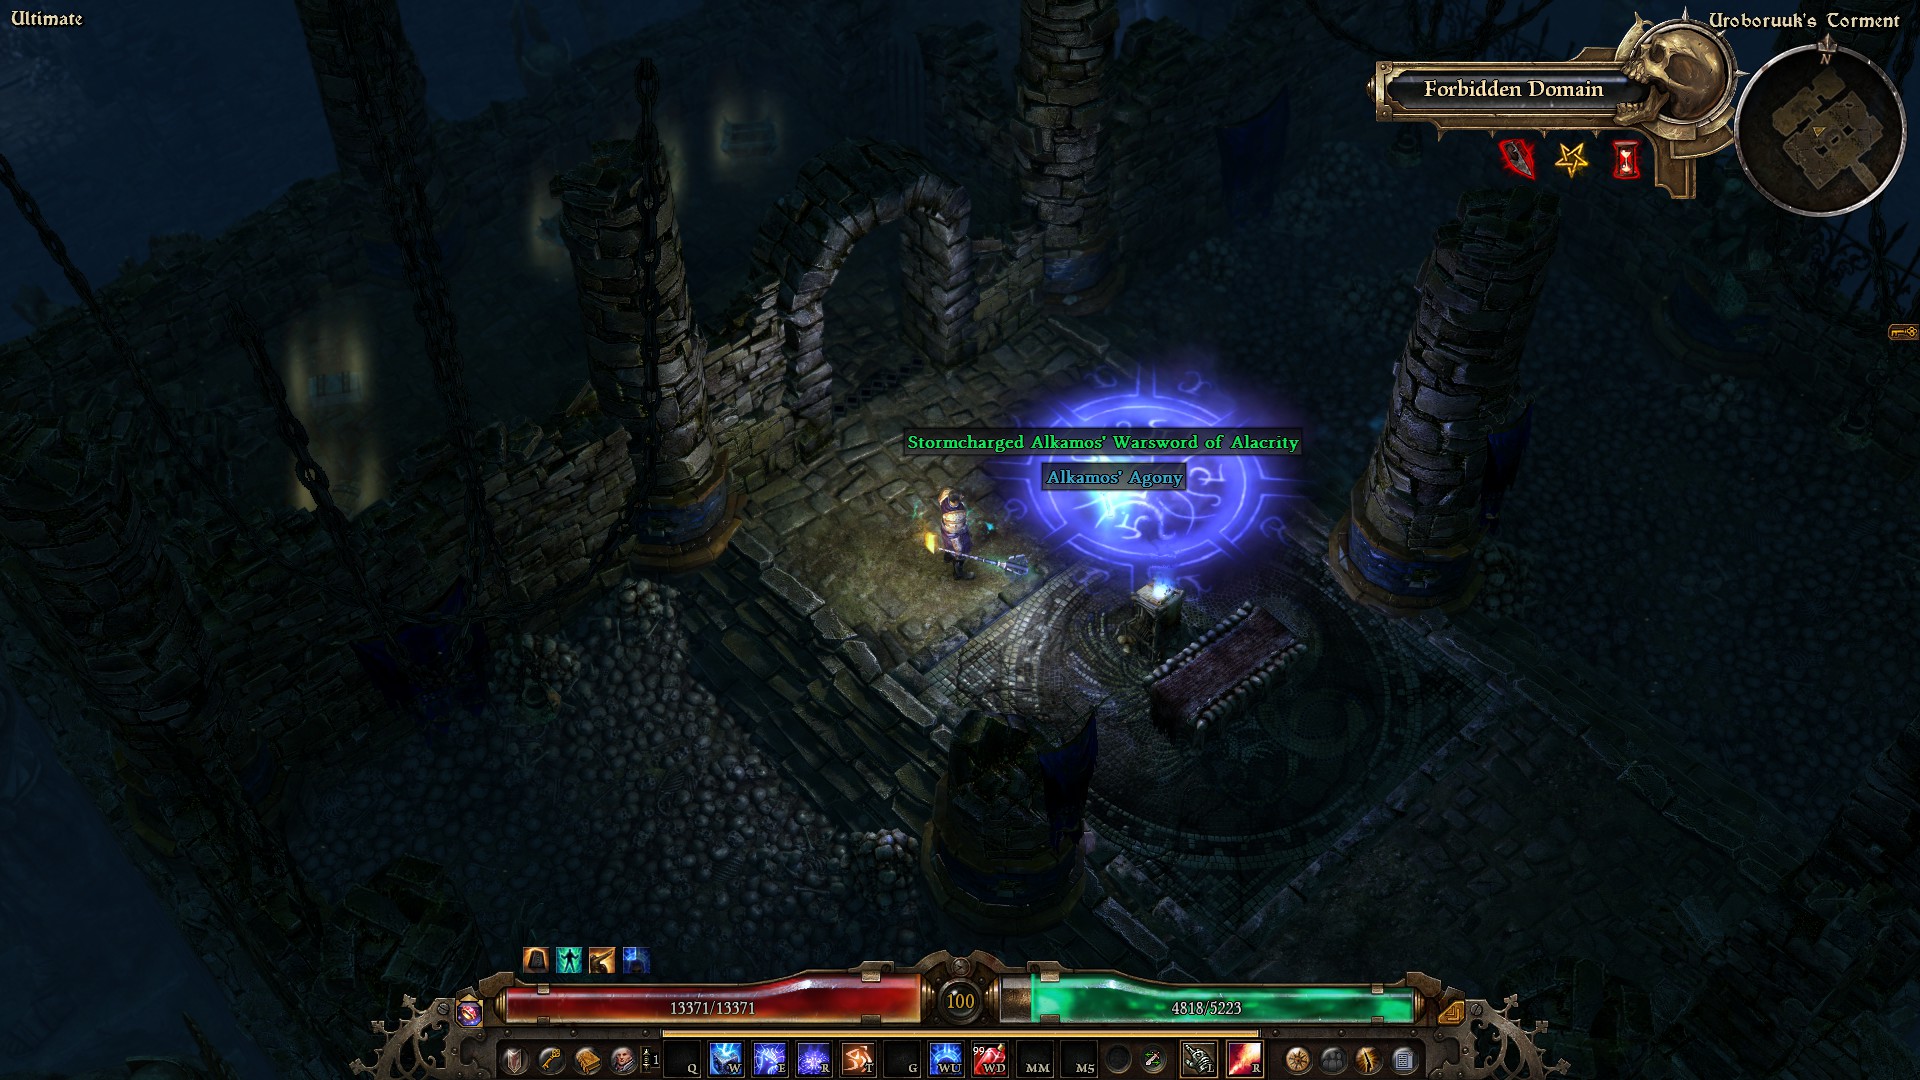
For example, here are some screenshots of me completing some of the above:


What Next?
So you have the character complete, you’ve ready to start farming but don’t know what items to look out for. This is where I’ll cover some of them.
As a warning moving forward, Flames of Ignaffar is not a skill that widely supports Aether damage compared to Fire, Chaos or Elemental damage as examples so some of the equipment we would want to pursue for optimal performance is significantly more rare than the average Legendary requiring some luck or repeat crafts to obtain.
Prime Damage Increases
To begin with, lets cover items that are significant increases to your damage output. These come in the form of damage conversion, additional skill ranks to Flames of Ignaffar or resist reduction:
Conduit of Runic Whispers (Conduit of Runic Whispers - Items - Grim Dawn Item Database)
With the following prefix: (Unique prefix - Item prefixes - Grim Dawn Item Database)
-
The ideal amulet with the specific prefix I have linked to for the massive damage bonus to Flames of Ignaffar.
-
The blueprint to craft the amulet is a random drop but can occasionally be sold by the vendor on the last floor of the Tomb of the Heretic.
-
Keep in mind when you are crafting these that it is not guaranteed to have the Aether Flames of Ignaffar prefix as it randomly pulls from a pool. An added chunk of Pierce, Acid, Aether, Chaos and Vitality resistance will also be added to the item. So you may have to craft multiple to get what you’re looking for. This is the first half of what the above warning was alluding to.
-
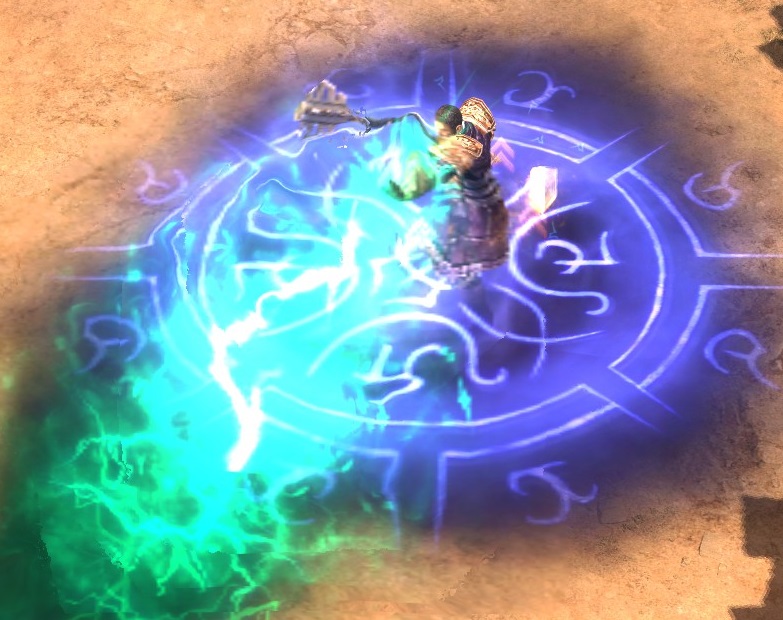
It also looks really nice:
Mythical Band of the Eternal Haunt (Mythical Band of the Eternal Haunt - Items - Grim Dawn Item Database)
- Increases our Aether damage dealt with the extra -10% Aether resistance on the proc and adds some more casting speed.
Ring of Tawrot (Ring of Tawrot - Items - Grim Dawn Item Database)
- Paired with a Band of the Eternal Haunt, these are the ideal pair of rings to pick up and use together. In Tawrot’s case, it adds casting speed, a powerful damage proc and partially converts Scales of Ulcama’s Vitality damage for more health recovery. All around juicy.
Alternative Rings
The Magelord (The Magelord - Item sets - Grim Dawn Item Database)
-
Previously what I used in 1.1.9.1 for partial Lightning conversion on Flames of Ignaffar with Intensify. The bonuses to Inquisitor Seal mean it can be hardcapped for some more defense (though we can also afford to trade it in for more damage) and the Aether Smash proc isn’t half bad either but won’t hold a candle to Tawrot. Now, I’d only use these if you cannot get your hands on a Ring of Tawrot as they are quite rare and take some time to farm in the Tomb of the Heretic.
-
Alternatively, Any other general Aether damage ring with an assortment of resistances and good stats like Offensive/Defensive Ability or cast speed can be used e.g. Mythical Screams of the Aether has some of these as well. You should know what to look for at this point.
Bane (Bane - Items - Grim Dawn Item Database)
-
Bane is my end relic of choice despite being Fire/Elemental-based. There is no Aether relic for Inquisitors or Soldiers so we either have to choose between a relic with a +1 to our masteries or a relic without but with some +% Aether damage and frankly, the +1 is far more valuable here. Doubly so if you get lucky and get a completion bonus of +1 to Flames of Ignaffar.
-
Every stat except the +% Elemental damage is helpful to us and the Elemental Bane bolt gets partially converted to Aether, more so with the Magelord rings.
Badge of Mastery (Badge of Mastery - Items - Grim Dawn Item Database)
-
Remember the Conduit? Remember how it rolls from a pool? Badge of Mastery is similar. Whenever a Badge is crafted, it picks one skill out of a pool of 54 and assigns a +3 skill bonus to it and does the same again and assigns a +2 skill bonus to it - these can stack together for a +5 bonus but the chances of getting both skills as one can imagine is pretty low. This is the second half of the warning.
-
The reason I listed it is that Aether Flames of Ignaffar having very little for item support benefits from the skill bonuses as reaching a total +10 to it is important. We can manage +3 on our Loghorrean’s Corruption and +1 on our headgear, relic, belt and amulet totalling +7. Thus we need a +3 skill bonus to finish us off.
-
Alternatively, as mentioned above with Bane. The relic can roll an additional +1 to Flames of Ignaffar as part of the completion bonus meaning only a +2 skill bonus to Flames of Ignaffar on our medal can complete us. In which case, the Wendigo Tainted Mark or Mythical Arcanum Sigil can provide the rest.
Bonemonger’s Hood (Bonemonger's Hood - Items - Grim Dawn Item Database)
- As we replace the our Aetherbolt Pendant for the Conduit, we take a damage hit by losing the -10% Aether resistance that Storm Box previous provided. This is where Bonemonger’s Hood comes in giving it back but on Inquisitor Seal instead.
Defensive Increases
Now I want to go over a couple of equipment pieces that will bolster our defenses here and there.
Bonemonger’s Chestguard (Bonemonger's Chestguard - Items - Grim Dawn Item Database)
- Similarly to how Chosen Robes provides some Physical resistance, the Bonemonger Chest does so it’s not entirely lost when we swap them out. The Inquisitor Seal bonus is also appreciated and alongside the bonuses on the Magelord rings and up to +4 to all skills in Inquisitor allows us to hardcap it at 22/12.
Mythical Leggings of Arcane Currents (Mythical Leggings of Arcane Currents - Items - Grim Dawn Item Database)
Mythical Timewarped Walkers (Mythical Timewarped Walkers - Items - Grim Dawn Item Database)
- Both of these are grouped together for the same reason - physical resistance. The wide berth of damage resistances and crowd control resistances (freeze/slow) are also valued.
Components
Finally, i want to go over some of the high-level craftable components that I make use of.
Seal of Annihilation (Seal of Annihilation - Items - Grim Dawn Item Database)
- Compared to Arcane Lens, a slight increase in skill energy reduction is a big help as some of our equipment loses the energy regen on it. The casting speed and Spirit helps and the Annihilation proc when it triggers gives a boost of Offensive/Defensive Ability.
Ugdenbog Leather (Ugdenbog Leather - Items - Grim Dawn Item Database)
- For all intents and purposes a direct upgrade to the Antivenom Salve adding on some Defensive Ability and Bleeding resistance to the original Acid resistance.
Runebound Topaz (Runebound Topaz - Items - Grim Dawn Item Database)
- A heap of Defensive Ability and some health and additional stun resistance.
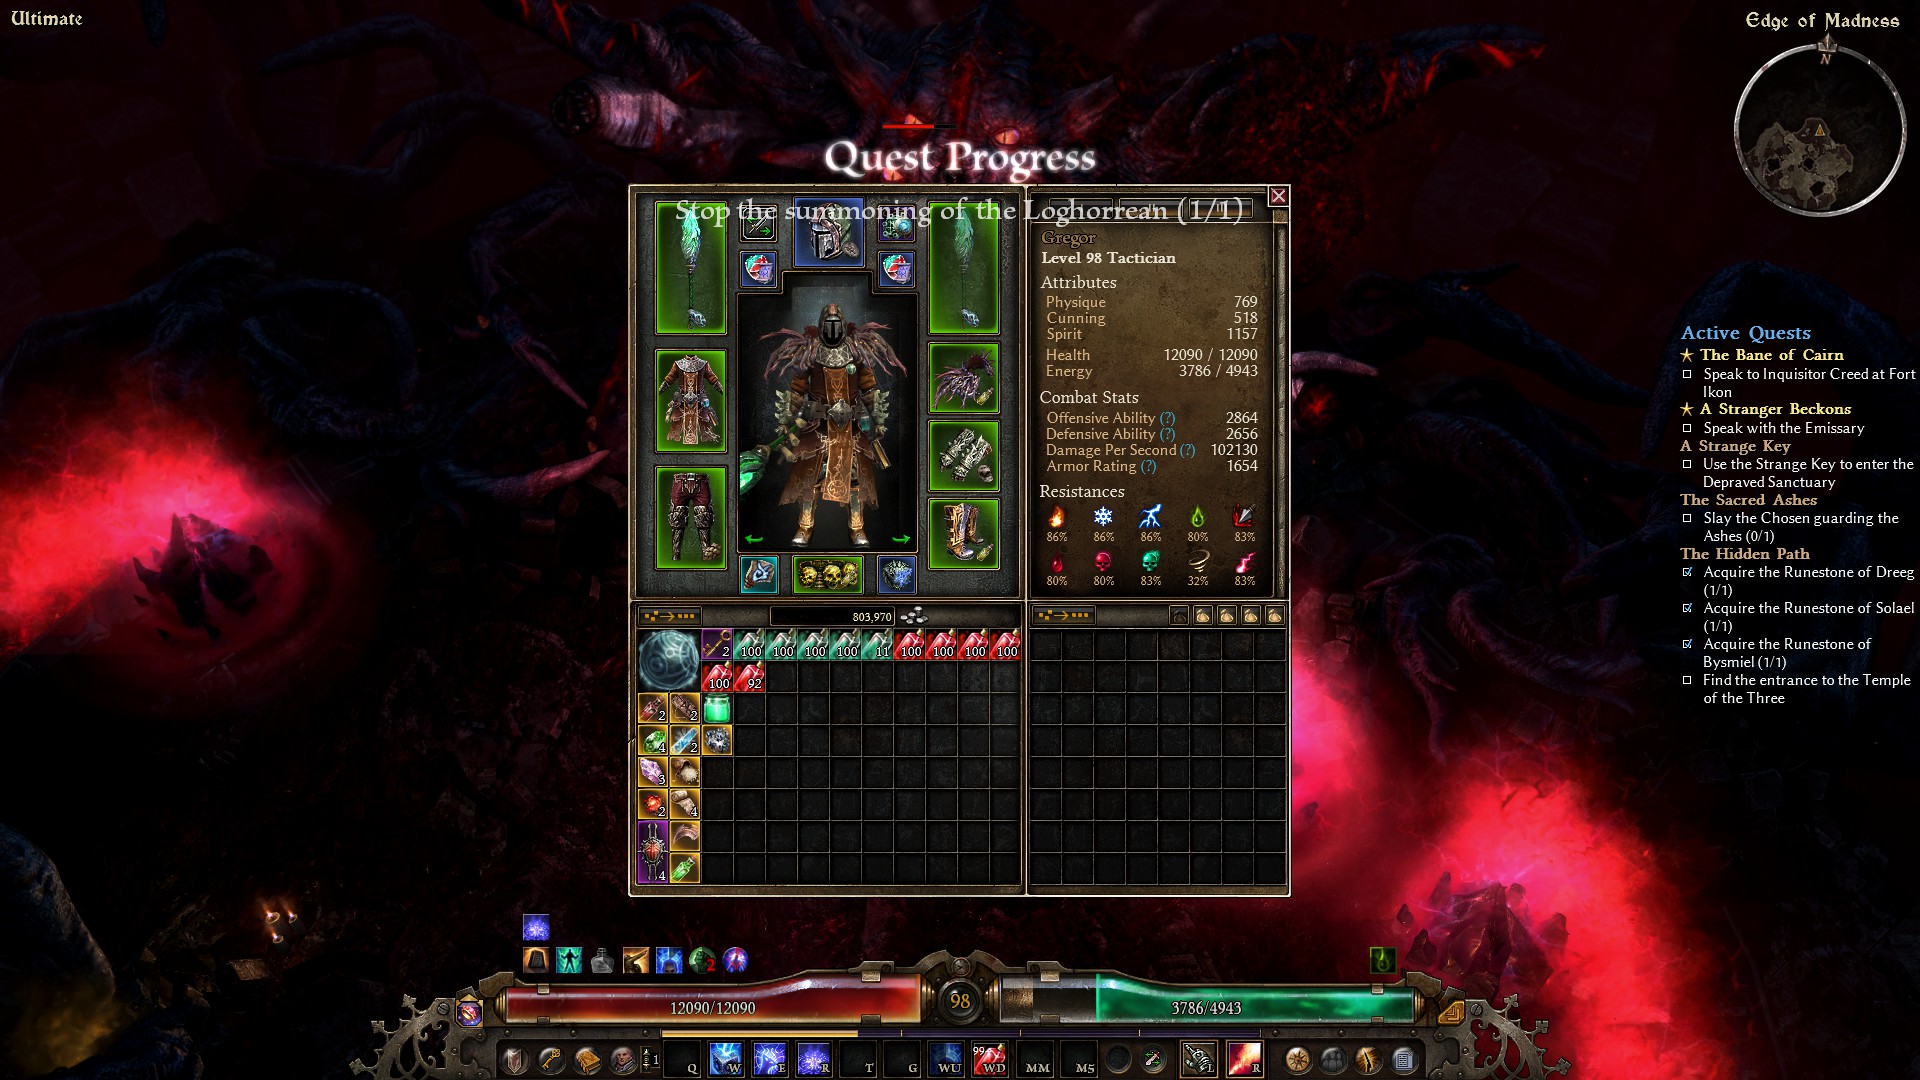
My Character
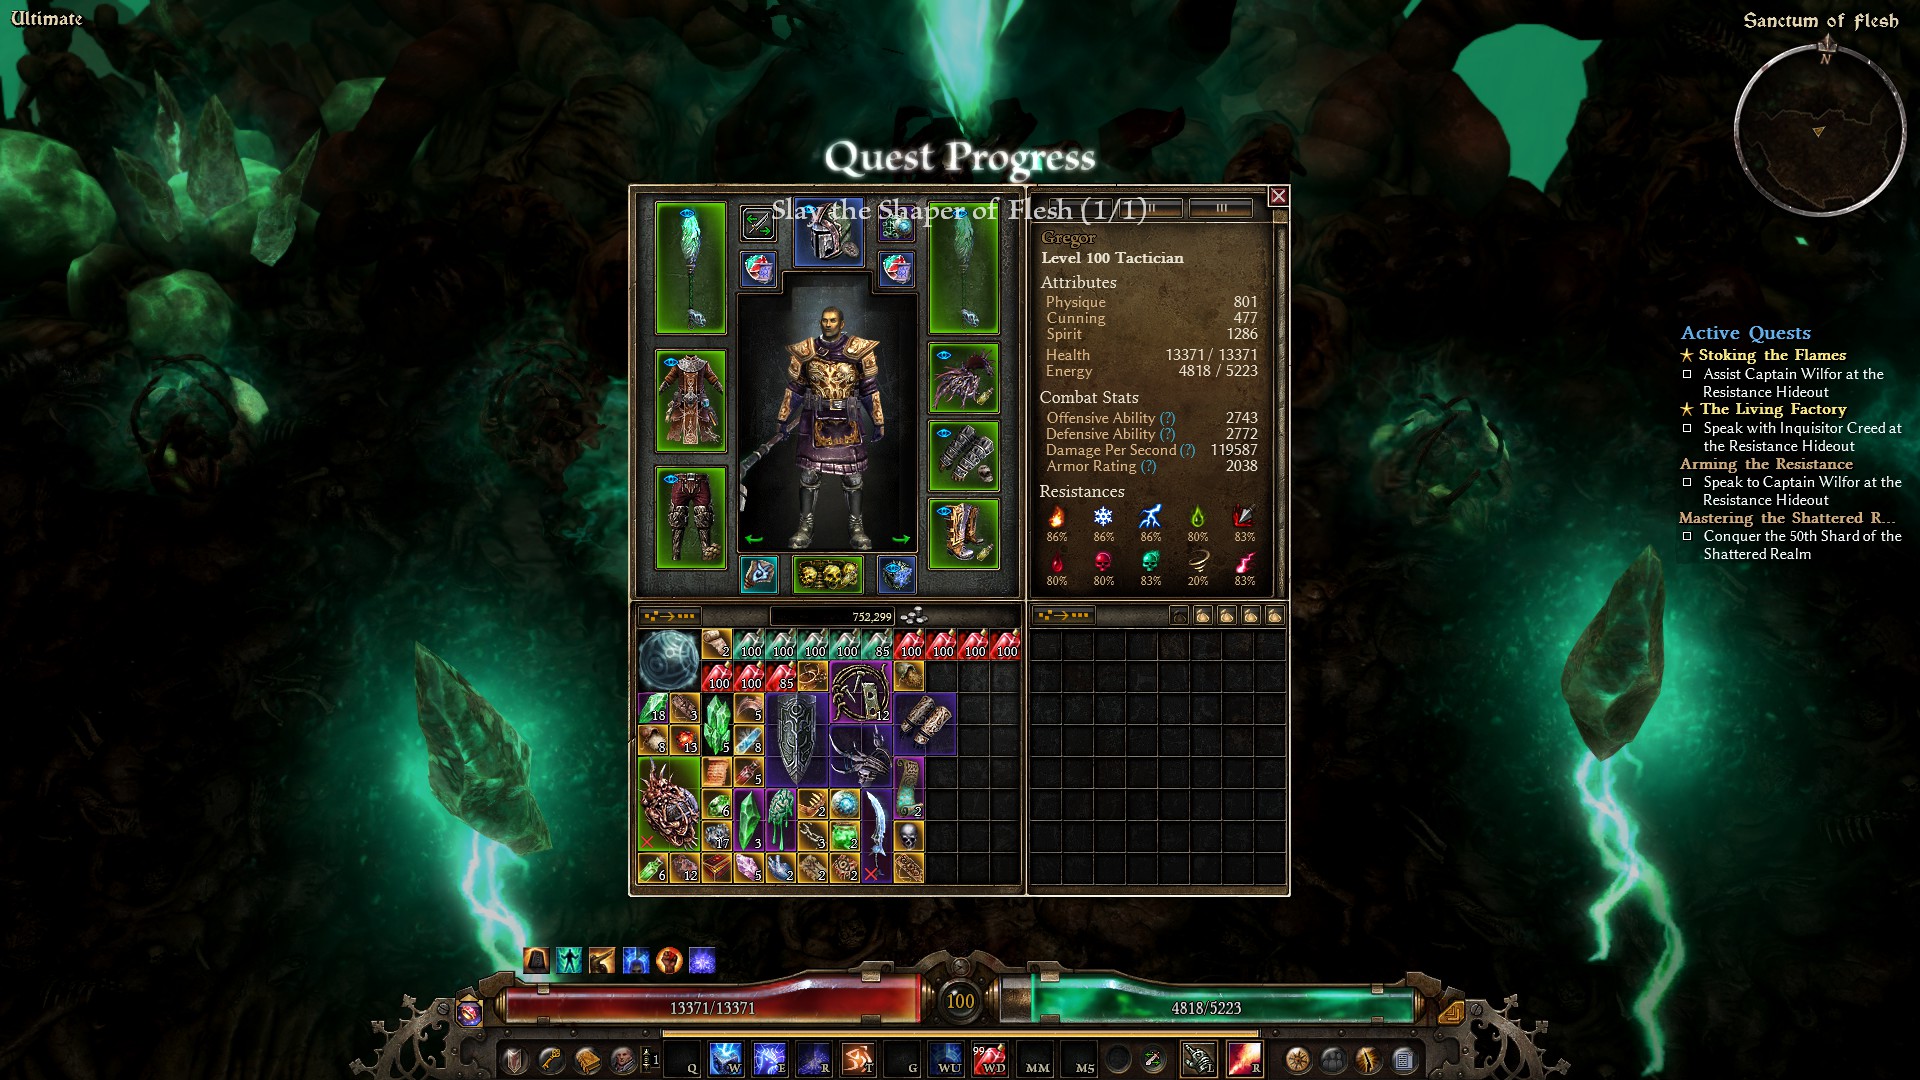
Finally in closing, I want to show my character after I have upgraded them with the above equipment and a little more to fill in the holes I didn’t go over.
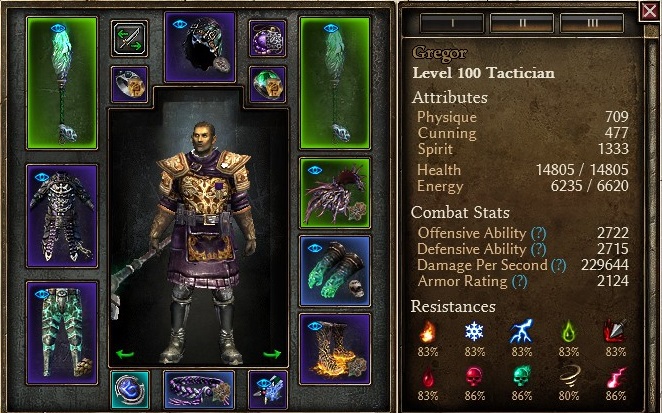
Stats shown is with all passives, Word of Renewal and Inquisitor Seal active. Sheet DPS is Flames of Ignaffar.
-
All crafts were done at Arngrim as any additional Smithing bonus he offers (armour, pierce resistance, physique) are all useful.
-
I recommend trying to get some Offensive or Defensive Ability on your Fleshwarped Core or Loghorrean’s Corruption to again try and push for that minimum 2700 in both.
-
For clarity’s sake, my Loghorrean shoulders don’t show the suffix through grimtools because it has been removed from the drop pool several updates back just like how “of Spellweaving” can no longer drop.
These are the shoulders in-game:
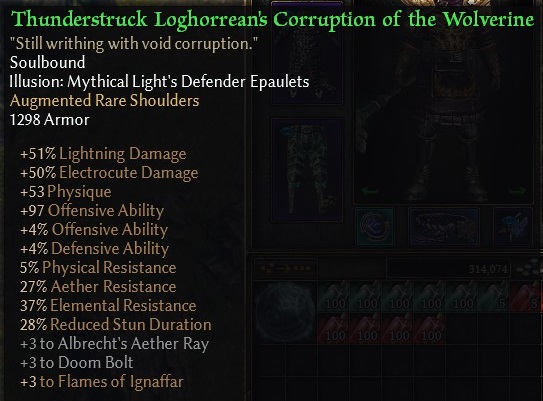
- Note as well that I swapped out one of my Irrah’s Soulfire accessory augments for an Arcane Heart Powder. These are interchangeable depending on how much Offensive or Defensive Ability you need.
This setup is what I would estimate is ideal or as close to perfect as you can more or less get without the ability to test it and make tweaks.
Final Word
Since early March, 2 things related to Grim Dawn have been on my mind. The first was v1.1.9.1 and the changes it brought (some of which I’m finally excited to get into in the coming weeks/months) and the second is this guide. Due to real life things, I didn’t have a ton of time to spend on it until mid April and what time I have had has been scattered so it has been a project in the making and one I did not want to abandon.
I have to give thanks to the following members of the forums for looking over and criticising builds I hand them, answering questions or helping newcomers by putting guides of their own out - Nery, Stupid_Dragon, Maya, thepowerofmediocrity, ulvar1, RektByProtoss, Monceaux, sp00ky and AlkamosHater.
Special thanks to Dammitt for creating valuable resources in the item database, build calculator and world map that I’ll have used several times in the guide to better illustrate specific pointers.
Have any questions or don’t understand what to do somewhere? Feel free to comment below or direct message me over the forums or elsewhere and ask. As always, I appreciate hearing from everyone that tries to follow the guide how it goes.
I am especially keen on hearing if the levelling guide is easy to follow or if there’s an area you feel could do with some improvement.

 .
.