Build Intro:
So I basically wanted an ‘upgrade’ of my Ultimate Harcore Tactician- The Harmacist build by throwing in some Legendaries, and then suddenly realized that I could make it a dual set build that combines both The Augur & Darkblaze Garb sets together.

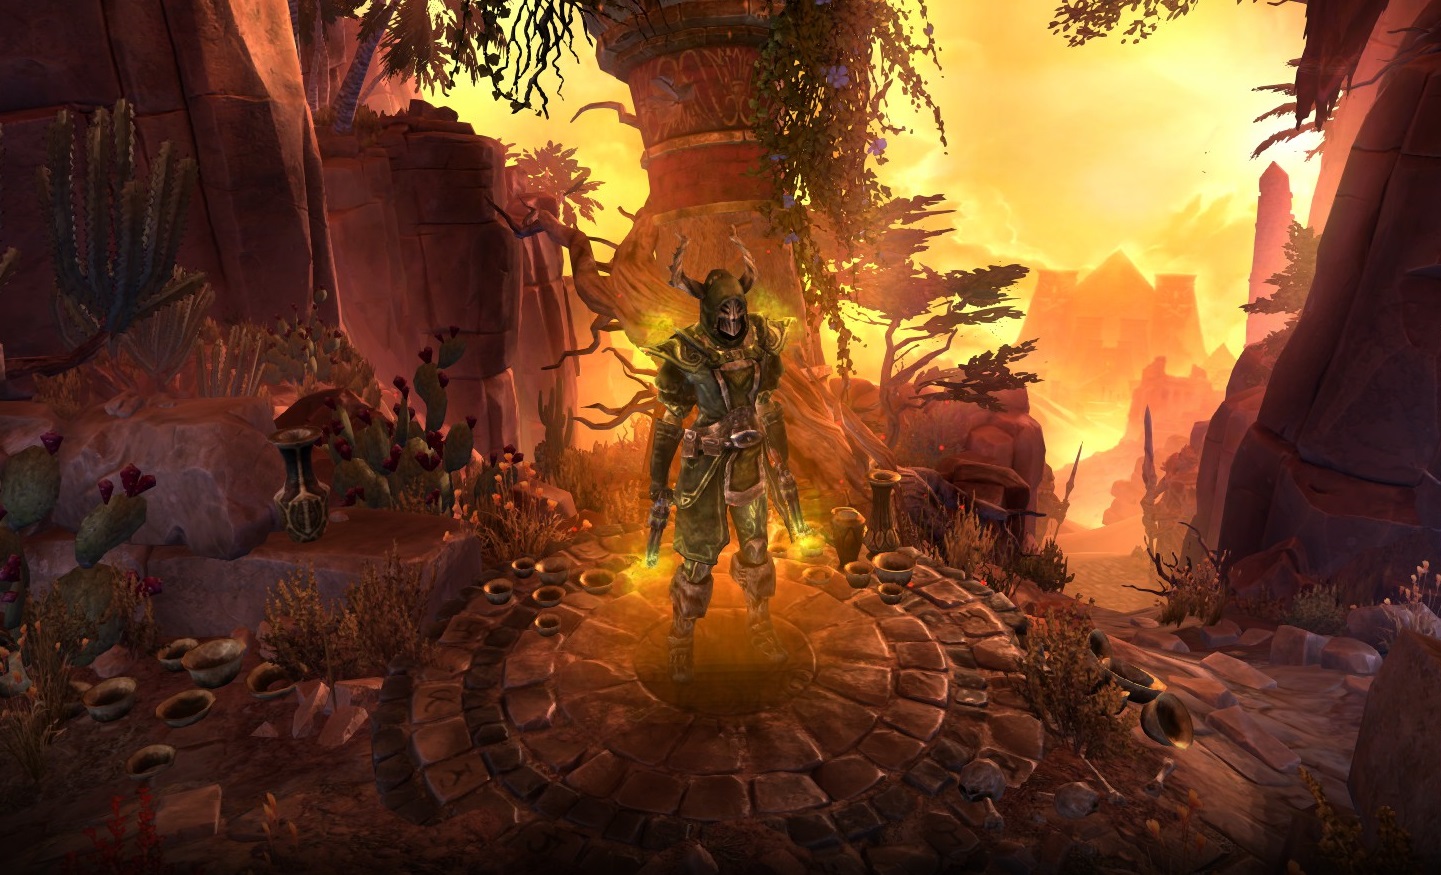
Image Source: https://mariodabro.artstation.com/projects/v12Dod
Pros & Cons
PROS
- Good crowd control damage
- Above average single target damage
- Very durable ranged unit with a high health pool ; Can even become an off-tank in some situations
- Good maneuverability around the battlefield
- Performs well on the frontlines as a support healer (Or pocket healer for melee characters)
CONS
- Sacrifices some damage for high survivability
- Attack speed is on the low-ish side for a dual gunner
- Can be annoying to ensure that at least two skills are always activated off cooldown at all times
Leveling
For leveling, I used this guide as a reference: [1.1.9.3] SSF Dreeg’s Evil Eye Sentinel - leveling and beginner build .
For this Deceiver build, we will rely on Dreeg’s Evil Eye as our main leveling skill. It is vital to max out the entire DEE line, before doing the same for possession. The sooner it can be done, the better, so focus solely on the above early on. Also, remember to craft Dreeg’s Affliction at level 70 to greatly speed up your clearing speed.
Before moving on, here is how I recommend distributing our skill points following each Level Up:
- 2 points into Occultist / 1 point into Inquisitor (Level 2 - 50)
- 1 point into Occultist / 1 point into Inquisitor (Level 51 - 90)
- If you are done with the Occultist tree, then focus completely on the Inquisitor Tree
Next we will focus on the following milestones. Follow the ratios above while allocating points:
- Blood of Dreeg 1 / 16
- Aspect of the Guardian 12 / 12
- Keep increasing the Inquisitor Mastery Bar by 1 per level up
Once done, move on to Milestones 2. Follow the ratios above while allocating points:
- Curse of Frailty 4 / 10
- Vulnerability 8 / 10
- Keep increasing the Inquisitor Mastery Bar by 1 per level up
Lastly, here is the final list of milestones. Follow the ratios above while allocating points:
- Blood of Dreeg 16 / 16
- Keep increasing the Inquisitor Mastery Bar by 1 per level up until it hits level 40
From this point on, we will not be touching the Occultist Tree while leveling to 94. As for the Inquisitor Tree, I like to distribute my points accordingly:
- Word of Renewal 1 / 12
- Vigor 10 / 10
- Steel Resolve 8 / 10
- Inquisitor Seal 12 / 12
The rest of the points can be spent as you please, but I suggest putting some points into Arcane Empowerment and Deadly Aim if you can. Here is a sample of my skill tree looked at level 80+: Deceiver, Level 100 (GD 1.1.9.6) - Grim Dawn Build Calculator
The linked guide gives a lot of good advice for gearing. Here are a few others which I have used:
- Venomlash
- Plaguebearer of Dreeg
- Eldrick’s Backscratcher
- Empowered Vilescorn Bracers
- Daega’s Mantle
- Alchemist’s Mantle
- Empowered Mark of Anguished Lies
- Mythical Mark of the False Gods
And as for devotion choices from level 1 - 94, I used the following pathing. Note that you will need to perform a full devotion point respec once you are able to equip the end game items. The finalized devotion pathing will outlined further on:
1.Green Crossroads
2. Bat
3. Viper
4. Imp
5. Murmur
6. Spider
7. Raven
8. Red Crossroads
9. Yugol
10. Ghoul
11. Abomination
12. Refund red
13. Lizard
14. Jackal
Once you have hit level 94, please continue reading and prepare to respec your skill points.
Build
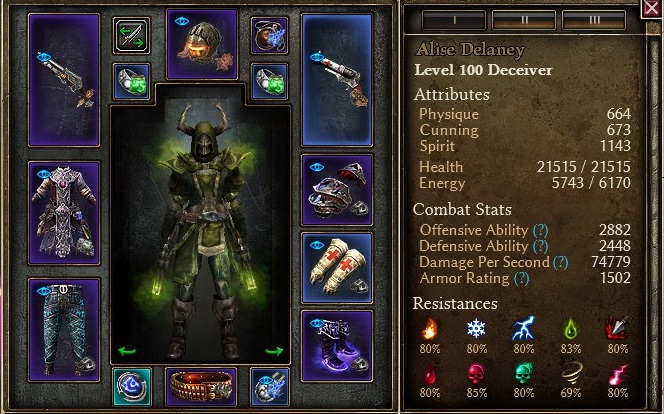
Deceiver, Level 100 (GD 1.1.9.7) - Grim Dawn Build Calculator : Final Build
Attribute points- Physique /43 Cunning /33 Spirit /31
A mechanically simple, yet relatively key press heavy build to play.
The plan is simple- Keep Word of Renewal + Blood of Dreeg up by spamming them while they are off cooldown. Inquisitor Seal + Curse of Frailty are your supplementary skills that should be used in tandem with your main attack skills.
Your main attack skills should be Beronath’s Fury (LMB) and Unleash Chaos (RMB). Unleash Chaos is a great crowd control skill vs mobs that can be used frequently when it is off cooldown.
The most common gameplay loop would be as follows:
- Spam WoR + BoD non-stop at all times.
- Place seals + Curse of Frailty before engagement ; optionally, throw in Solael’s Flame if it is a single target
- Attack with Beronath’s Fury and keep refreshing step 1 skills ; use Unleash Chaos off cooldown vs mobs
- Move / reposition with normal movement or displacement and repeat from step 0
Basically, the playstyle will be very simple so the only tough parts will be teaching your muscle memory to activate multiple skills in sequence, while building up a natural intuition which allows you to approximately gauge how frequently you should refresh / recast your abilities. Both of these should come very naturally in time, but don’t be alarmed if you can’t cycle through your key presses smoothly at first- Just ease yourself into the flow slowly and you should be playing like a natural by the end of act 1 or act 2.
In a coop setting, you should try to follow your melee teammates closely and open seals for them while acting as a ‘healbot’ that can provide healing in bursts. The build has moderate regeneration, life steal, multiple healing abilities and defensive devotions (such as Giant’s Blood + Ghoulish) along with a high health pool, so it can really get into the thick of battle if desired. Just make use of your displacement movement skill if you need some breathing space.
Constellations (Finalized)
- Green Crossroad
- Spider
- Red crossroad
- Jackal
- Solael’s Witchblade (Bind to Beronath’s Fury)
- Quill
- Hydra
- Viper
- Raven
- Abomination (6 nodes, bind Abominable Might to Curse of Frailty)
- Revenant (Bind to Storm Spread)
- Refund Green and Red crossroads
- Eel
- Behemoth (4 Nodes, bind Giant’s Blood to Solael’s Witchfire)
- Ghoul (bind to Possession)
Final Words:
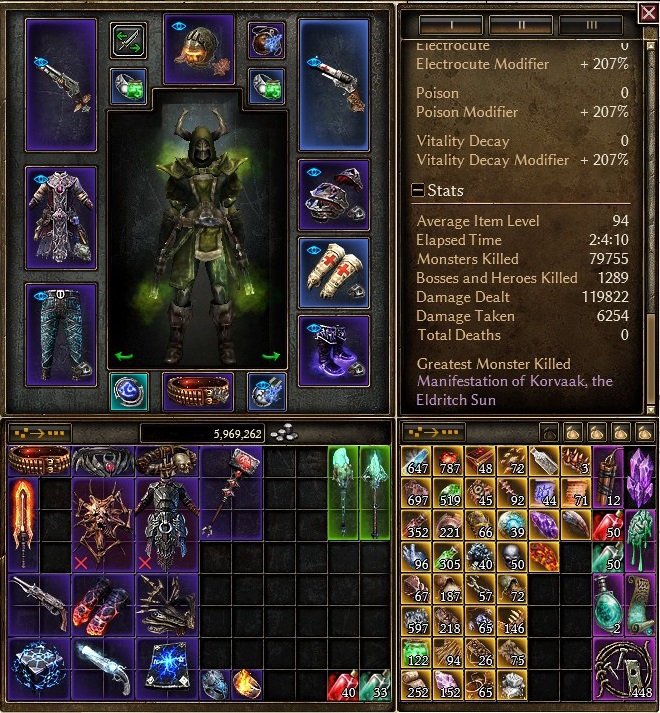
All in all, a fun build that came together pretty well. Might test it on post endgame content in the future, but as far as the campaign is concerned, this is a pretty safe pick. Even with decent piloting, the build’s durability provides a large safety margin as long as the player pays attention and plays defensively while in doubt. As I mentioned, the damage is kind of lacking so kills might take a bit longer than usual- Though that isn’t a huge concern since this build is able to handle a lot of abuse, which allows it to outlast most adversaries. I would still relegate it to an active combat support role, since its potent healing abilities can potentially become a huge asset to the team.