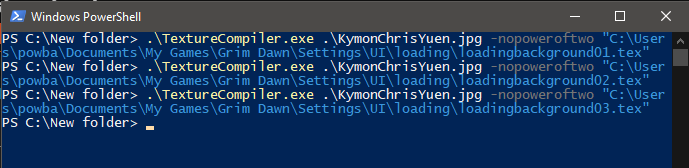
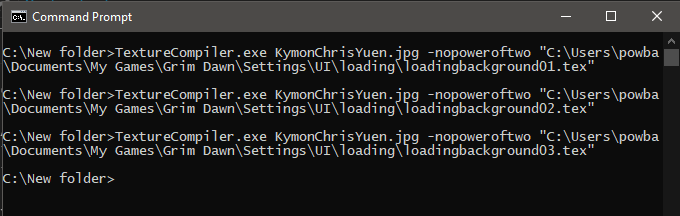
Update: Since the new expansion has a cycle of 3 loading screens, there are also three different tex files for main loading background in the “ui/loading” folder instead of one as before ( loadingbackground01.tex, loadingbackground02.tex, and loadingbackground03.tex as the original Occultist, the Malmouth expansion, and the Forgotten Gods loading screens respectively).
So, the additional step is to add more texture files and rename appropriately in the ui/loading folder.
If you don’t like the rotation and prefer one or two specific backgrounds, then make 2 or 3 copies of the same tex file with different names.
Below is an example of modified loading screens folder with three backgrounds ( Mountain Valley Town, Necropolis Gate, and Winter Teaser 2017):
http://bit.ly/loadingscr
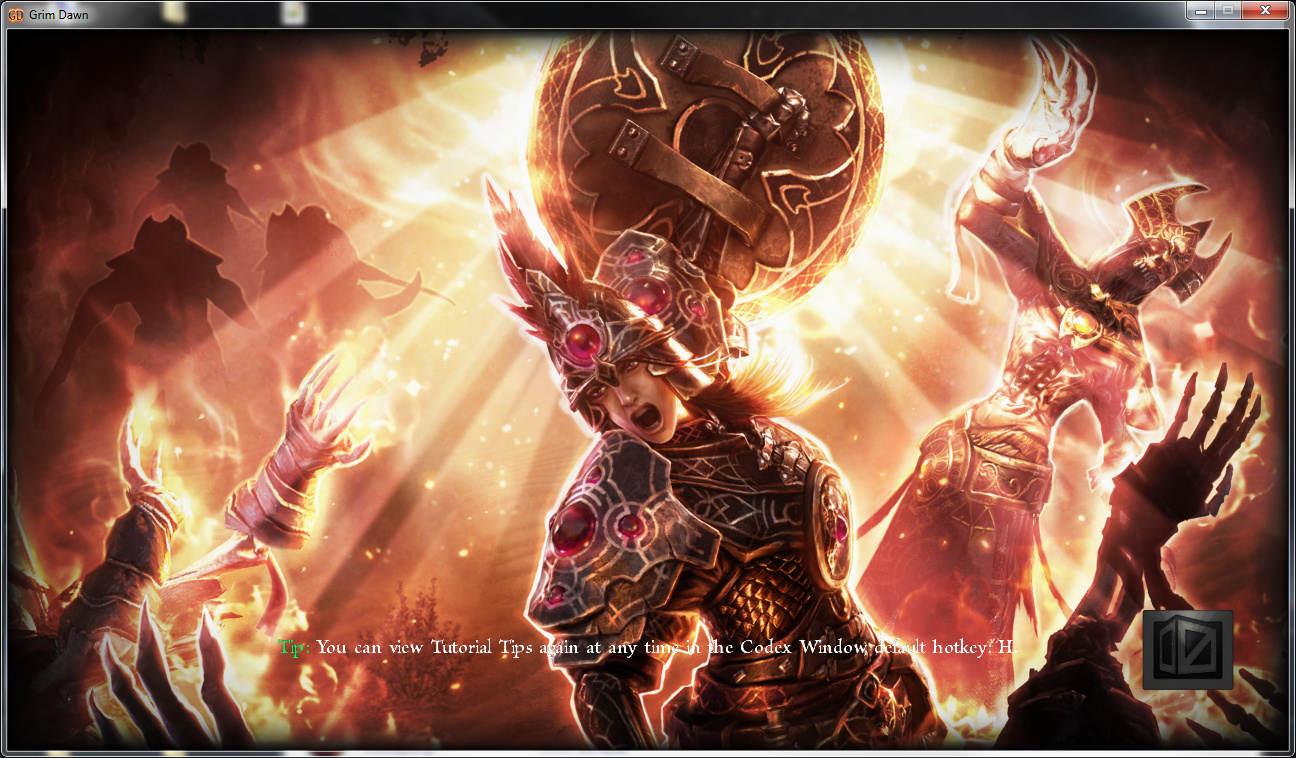
For those who don’t like Byscilla, Matron of Rifts (only Occultist and FG guys):
http://bit.ly/NoMalmouthGirl
For those who don’t like Forgotten Gods guy (only Occultist guy and Malmouth girl):
http://bit.ly/NoFGmuscles
Note:
- copy and paste “ui” folder into “C:\Users\User_name\Documents\My Games\Grim Dawn\Settings”.
- or you can make a new settings file in [GrimDawn Installation Directory] and copy “ui/loading” to the created folder.
- If you want to turn back the original one, please remove the “ui/loading” folder.
Do it yourself guide:
(You can turn your prefer images into custom backgrounds and use them in game)
Update: There’s a better way that @powbam suggested for making a Grim Dawn custom background, refer to this post https://forums.crateentertainment.com/t/custom-loading-screen/43767/14?u=darius
If you don’t want to follow above suggestion, below is the original guide.
Requirements:
- an image file with 1920x1080p resolution (with any extension - we will convert it later. Someone has pointed out that the image doesn’t need to be 1920x1080 res, but I haven’t tried that)
- a tool to convert “.jpg” or whatever image file to “.tga” file (it is needed to make compatible with asset manager)
Suggestion: “paint .net” (free version)https://www.getpaint.net/download.html - “Asset Manager” tool (found in the grim dawn installation directory)
- “Texviewer” tool (found in the grim dawn installation directory)
Steps:
-
Convert the image to “.tga” extension file (some convert tools may not have extension that is compatible with the asset manager). If using paint .net, open the image file with the software and then save as “.tga” file to convert it.
-
Make a new mod file by using asset manager. Open asset manager -> work offline -> Mod -> new -> enter a name -> ok.
The tool will create a folder of the new mod in the “mods” folder (in the installation directory).
e.g. E:\Steam\steamapps\common\Grim Dawn\mods\YourNewModName -
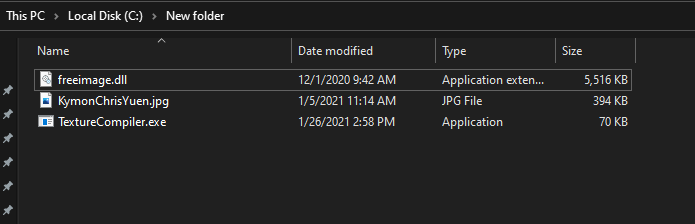
The new mod folder will contain three default subfolders: assets, database, and source. Copy the converted “.tga” file to the subfolder “source”.
-
Open asset manager -> Mod -> Select -> YourNewModName
Choose “Sources” tabs in the lower pane -> double click “YourNewModName/source.” You will see your copied “.tga” file in the right pane. Then right click the “.tga” file and choose “Auto-create Asset”. A new “.tex” file will be created in the subfolder “assets”, but we’re not done yet. -
In asset manager, click Build or F7 to build the new mod (you may get an error message at this step, but it doesn’t matter. Simply close the asset manager program). Another “.tex” file will be created in “resources” subfolder of the mod file(this subfolder is created automatically after we built the mod). We will use the “.tex” file in “resources” folder for our loading screen, not the one in “assets” folder. To confirm the “.tex” file will work, open it with Texviewer tool.
-
Create a new folder “ui/loading” (ui and its subfolder loading).
Copy our “.tex” file to this folder and change its name to “loadingbackground01.tex”. Put “ui/loading” folder into “C:\Users\User_name\Documents\My Games\Grim Dawn\Settings”.
Enjoy!:D:D
Old post:
The links below may not work anymore
From threads here and here, I’ve tried to make some custom loading backgrounds. But I figured out the game only allows one background at a time.
I made some beautiful backgrounds below here, but I don’t own any of these pictures.
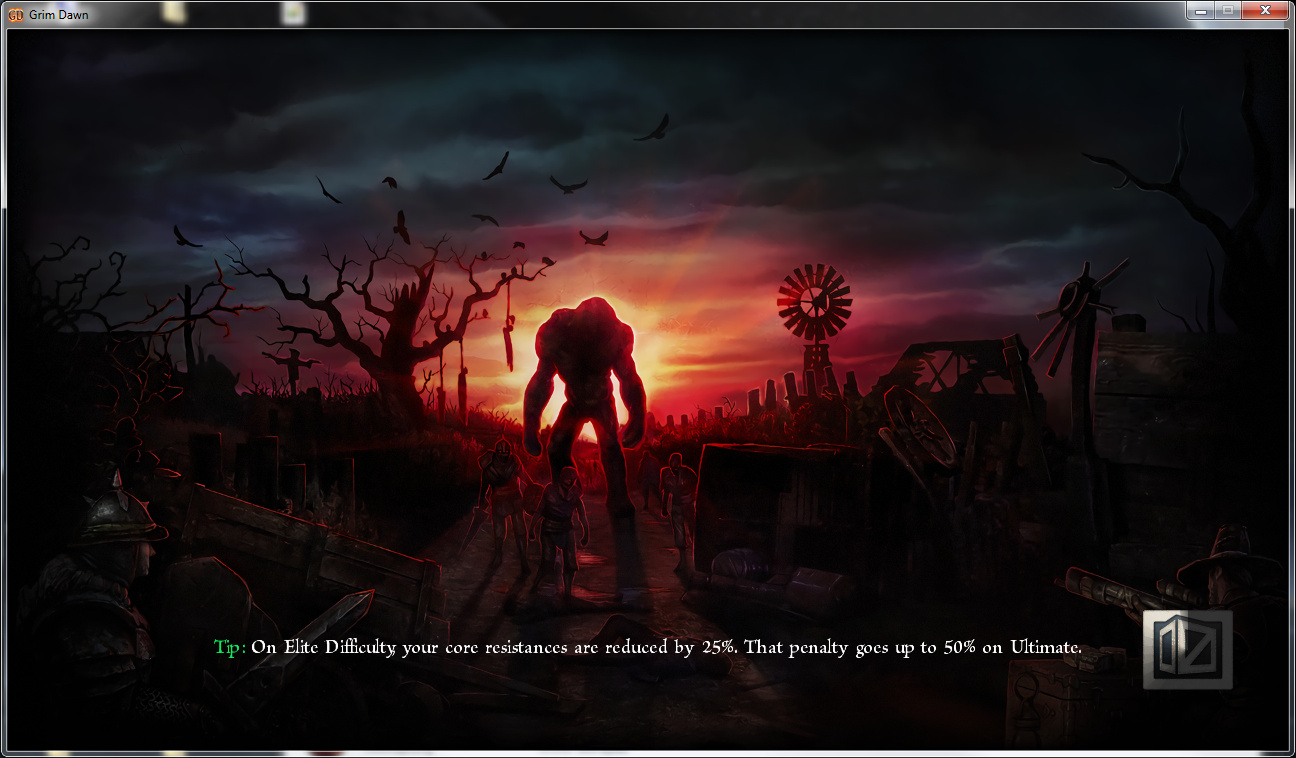
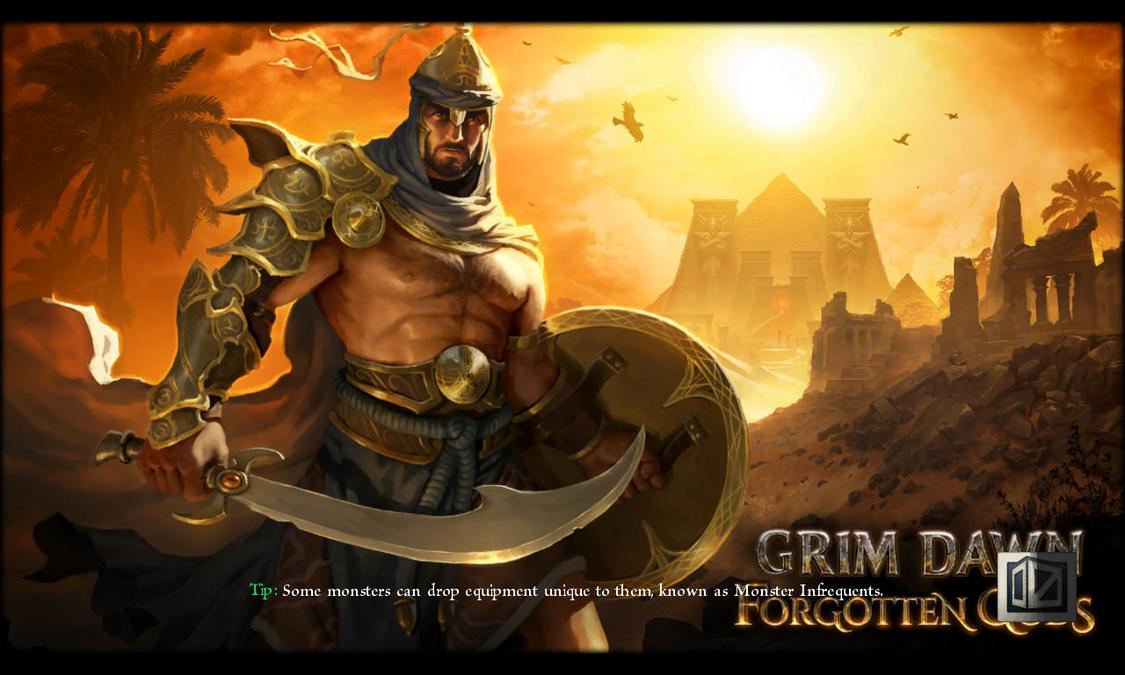
Added a new loading screen from the upcoming expansion wallpaper “Grim Dawn: Forgotten Gods.”
Source: http://www.grimdawn.com/forums/showthread.php?t=68923
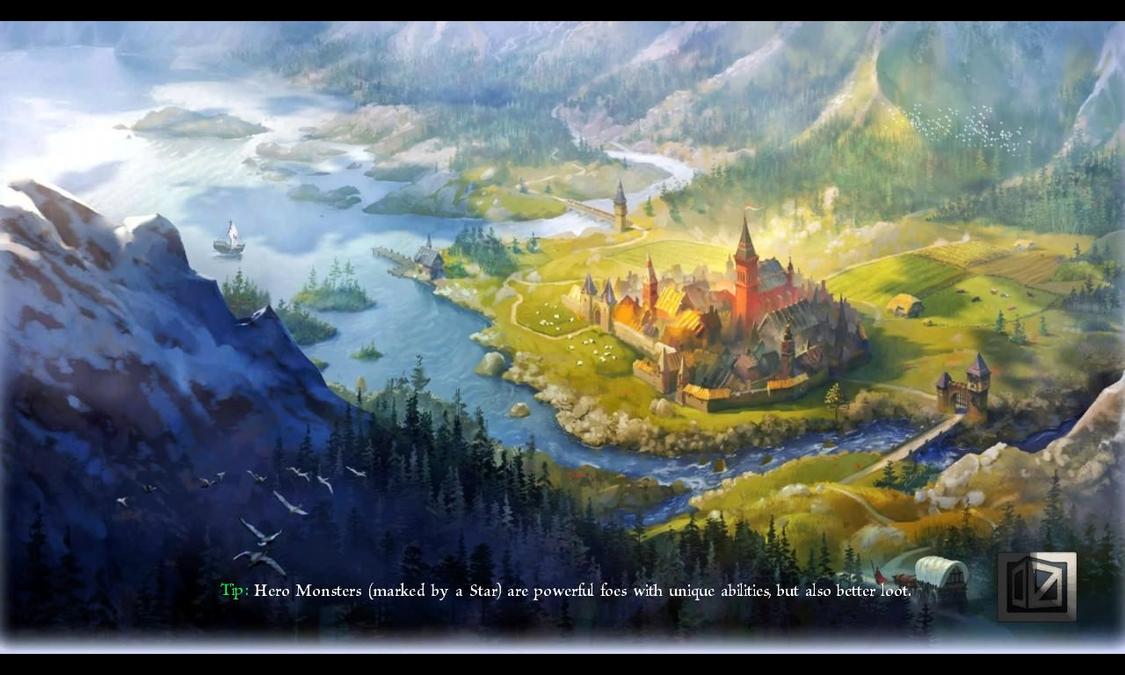
Mountain Valley Town
Soure: https://forums.crateentertainment.com/t/mountain-valley-town/35662
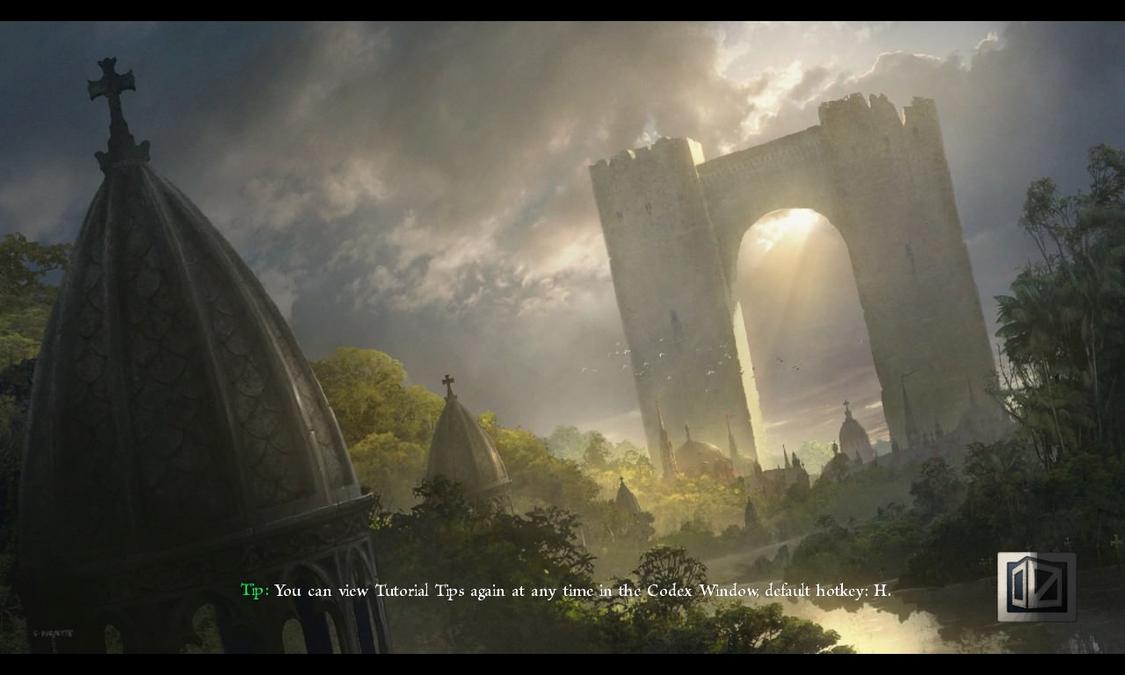
Necropolis Gate
Source:
https://www.artstation.com/artwork/RYk9m
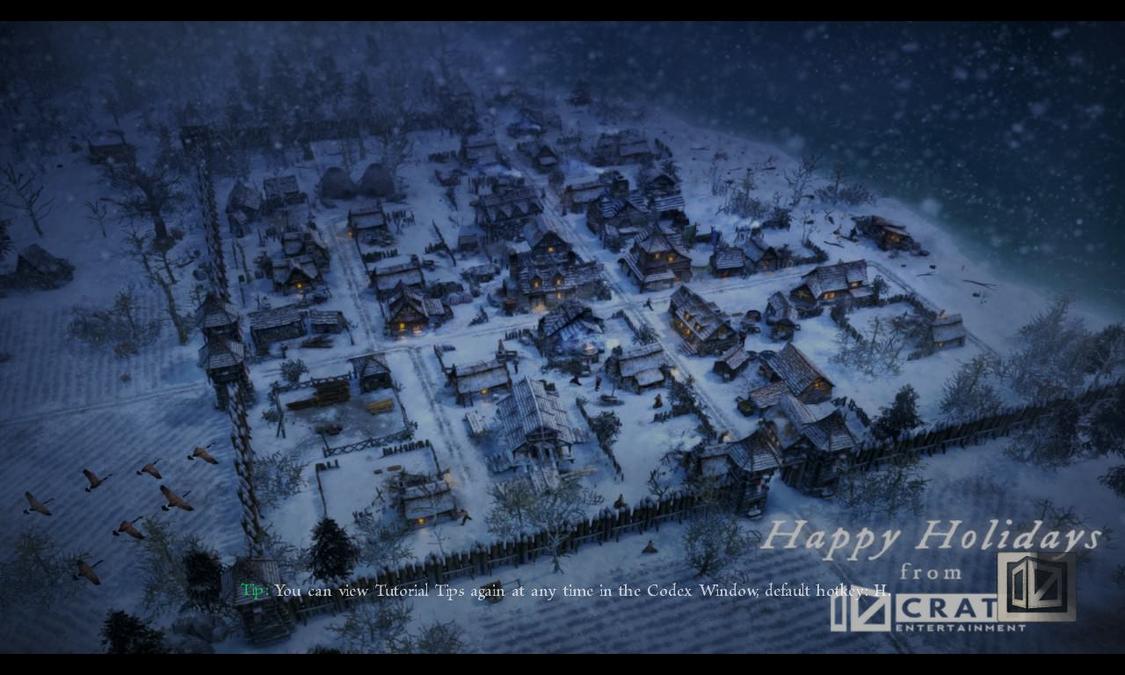
Winter Teaser 2017
Soure: http://www.grimdawn.com/forums/showthread.php?t=66570
Link for custom loading backgrounds:
Mountainvalleytown
Necropolis Gate
Winter Teaser 2017
-> Grim Dawn: Forgotten Gods <-
Note:
- copy and paste “ui” folder into “C:\Users\User_name\Documents\My Games\Grim Dawn\Settings”.
- or make a new settings file in [GrimDawn Installation Directory] and copy “ui/loading” to the created file.
- If you want to turn back the original one, just remove the “ui/loading” file.