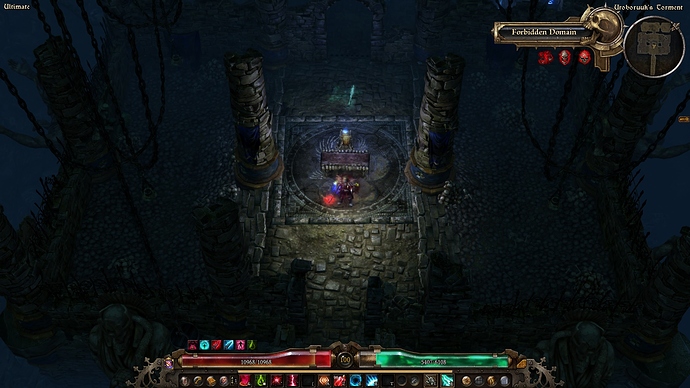
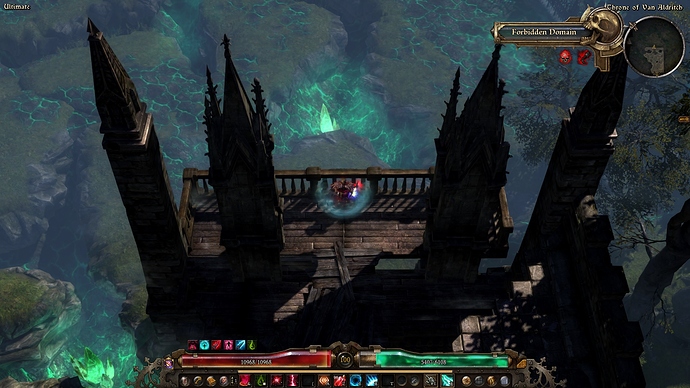
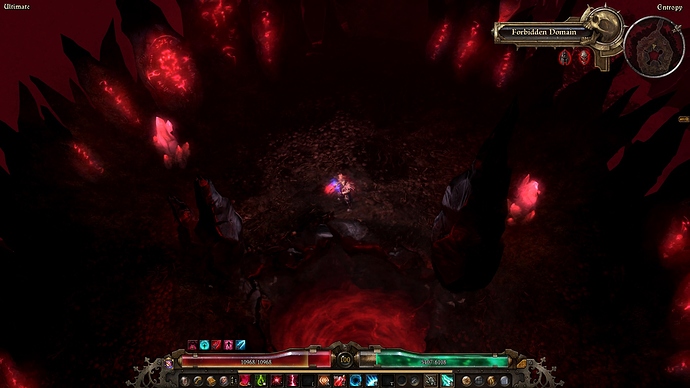
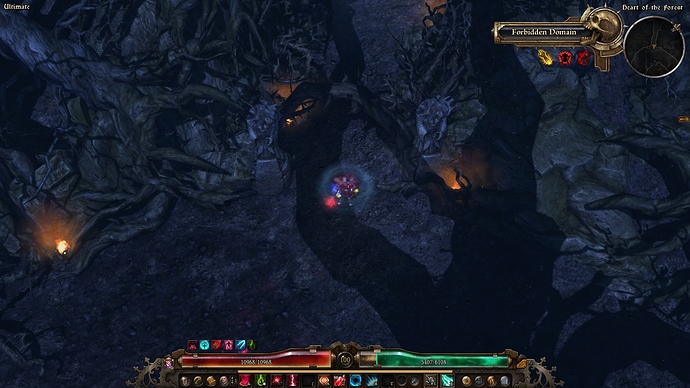
Updated for 1.1.8.1 : minor changes since 1.1.7.2, the build may be very slightly more powerful, no change in gear or skill points were necessary.
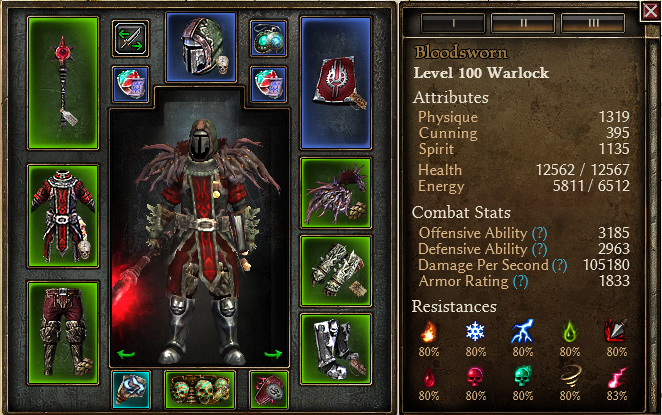
permanent buffs and Hungering Void active
Introduction
Welcome to my new guide, focusing on Albrecht’s Aether Chaos Ray, Doom Bolt and Sigils of Consumption !
It is aimed at beginners and solo self-found players, to help you build a chaos warlock from character creation to a first lv100 setup without any prior gear. Feel free to ask any question in the thread, there is no dumb question !
The build was last updated in 1.1.8.1, as I didn’t feel any major change was necessary as of today (1.1.9.7).
What is the build about
To sum it up quickly : it is a channeling, pure caster made to be tanky enough to stand its ground.
The main skills are Albrecht Aether Ray, a channeling spell with AoE in the form of piercing through targets, and Sigils of Consumption, a ground AoE skill that heals you back, a self-heal/buff, 1-2 debuff(s), and later Doom Bolt for more single-target damage, making the build relatively active.
What makes the build tanky is the damage mitigation provided by Maiven’s Sphere and Possession, and a lot of life leech abilities : Sigils, the Wendigo and Scales devotions, and Aether Ray while levelling.
The build is quite easy to play, keep the Aether Ray running, only interrupting it for debuffs and the other spells. You only need to reposition to line enemies up for the ray or to avoid stacked ground damage or serious physical hits.
Summary
- Build Overview
- Levelling Guide
- Build Explanation
- Performance
- End Game Builds
-
External Resources and Links
Build Overview
-
Affixless Setup (click me)
A very cheap setup to begin farming your gear. The stats are balanced without affixes so that you don’t need to rely on specific ones.
You can hold ctrl + shift to see the skills without bonuses. -
My Own Setup
This is the setup I use to complete locked dungeons and monster totems.
Levelling Guide
Factions
-
Kymon’s Chosen or Death’s Vigil
Doesn’t matter much, but Death’s Vigil sells a blueprint for an early +1 arcanist belt, and Kymon’s bigots are not kind to chthonians. -
The Witch Cults
Solael’s as we use some of their faction gear. We use augments from all three cults so you could choose your favourite cult, as we will be revered with everyone anyway. -
The Outcast and Barrowholm
Friendly for the augments.
Attributes
At least 75% in physique. Put the rest into physique for safety or in spirit if you want some slight extra damage and energy regen.
Skills
A lightly detailed guide on what skill to take and in what order. I added some grimtools links of my own character that I generated from time to time, to show how the skill points are allocated (the devotions may be a little off as I was optimizing them at the time).
Levels 1 to 15
We begin as arcanist with the goal of grabbing Aether Ray as soon as possible.
We will need a few levels before, smack your way to Olexra’s Flash Freeze (OFF) and max it to eliminate mob packs, and at lv5 add Fireblast from the Searing Ember component for heroes and bosses.
Put the other skill points in the mastery bar until rank 32.
Levels 15 to 30
We now have enough skill points, respec from OFF and take your mastery bar to rank 32.
Take Mental Alacrity to at least 5/10 for the cost reduction, and the remaining points in Albrecht’s Aether Ray (AAR) and its transmuter to make it chaos damage.
Until act 2, carefully put points into AAR so that you can sustain its cost, put the rest into the mastery bar. Once you get a few Ectoplasms for the energy regen, you can max AAR and Disintegration. Ectoplasm can be farmed from the ghosts in a cave right before the first Rovers camp.
Levels 30 to 60
Let’s focus on the occultist side. Until you get a Bloodsword Scepter, get to rank 15 in the mastery bar and take Blood of Dreeg for the occasional heal if you need it (you probably don’t in normal since you vaporize everything).
Once you get that scepter, max the Sigils of Consumption for more damage and healing, then progress down the mastery bar until max rank for Possession. On the way there, put one point into Destruction to use the scepter’s skill bonuses and a few points into Aspect of the Guardian to cap your poison resistance, it will help in Ugdenbog.
Around level 30-40 you should reach Homestead, get a Pulsing Shard from the Amalgamation to heal from your Aether Ray, this will be your main healing source while levelling.
If you need more offensive ability or aether resistance, cap Overload.
Skill allocation at level 40
Skill allocation at level 51
Skill allocation at level 59
Levels 60 to 100
The core of the build is complete, spend your points where you need them :
Damage : Destruction, Inner Focus, Fabric of Reality, Doom Bolt, Overload
Defence : Maiven’s Sphere, Aspect of the Guardian, Destruction (more leech)
Items
When gearing, I advise prioritizing healthy resistances and relevant skill bonuses before anything else. My goal is getting 60% to all resistances (that are not physical or crowd control) when entering elite, and 80% for ultimate. As a rule of thumb, at least 25 OA and DA, and 100 hp per level is the bare minimum I aim for.
Caster gear is advised as you need energy regen to sustain AAR.
Here are some useful items to get while levelling :
-
Bone Talisman (Relic, act 2, quest related)
Acquired by not giving back the talisman to the rovers. The granted buff helps with damage and energy sustain. -
Symbol of Solael (Component)
Resistance Reduction and energy absorption, it’s a must. It drops randomly but you should get one before act 3. -
Fleshwarped Casque (Helmet, act 3)
Large amount of offensive ability, very strong since AAR has a lot of critical damage. Provides a large amount of resistances as well. -
Pulsing Shard (Off-hand, act 3)
Dropped by the Amalgamation. Boosts AAR and enables you to leech off it, very useful for surviving.
I recommend getting one with casting speed. -
Bloodsword Scepter (Scepter, act 4)
Dropped by Bloodsworn cultists or sold by the secret vendor in the Blood Grove. It provides a very large damage boost to your Sigils, as well as vitality to chaos conversion, boosting a lot your leech thus your survival. Aim for a roll with casting speed. -
Bloodsworn Vestments (Chestpiece, act 4)
Caster gear with fire to chaos conversion to optimize AAR a little. Also helps getting a healthy amount of hp. -
Loghorrean’s Corruption (Shoulders, act 4)
Great stats, boosts AAR and Doom Bolt. -
Rylok Mark (Medal, act 6*)
More damage for the Sigils. It is dropped by ryloks in act 6 but they can also spawn from chthonics monster totems in the base game. -
Haunt (Relic, crafted)
Mainly for the +1 to arcanist. The blueprint is a random drop but is sometimes sold by the vendor in Steelcap District (act 6). Exit to the main menu and reload until he sells it.
The granted debuff skill isn’t really useful, though if you fight nemesis and don’t have a better relic (like Agrivix’ Malice), the life leech RR is very good (nemesis have 85% life leech resistance) and the fumble is some additional defence that do affect nemesis. Otherwise it’s not necessary. -
Fettan Mask (Helmet, ultimate act 7)
Found in a secret area near the Korvan Sands rift.
Devotions
The devotions are balanced offensively and defensively : we get as much resistance reduction as we can, grab Dying God for the massive dps boost, and get more life leech to complement the sigils.
Bindings :
Your first active devotion will be Flame Torrent, put it on AAR at it’s certainly your only skill at the time.
Once you acquire Eldritch Fire, put in on AAR and Flame Torrent will go on the Sigils. If you don’t have a Bloodsworn Scepter to make use of this skill yet, put one point into occultist’s bloody pox to bind it, as it’s a formidable proccer amongst mob packs.
Then comes Hungering Void, which goes on Solael’s Flame.
Finally Wendigo’s Mark will be on Doom Bolt, take it if you didn’t yet.
Check the grimtools links on top of the thread to see more clearly how the devotions are eventually bound.
Devotion points allocation to reach the final tree :
- (+) Crossroads Chaos
- (+) Fiend
- (+) Crossroads Order
- (+) Lotus
- (-) Crossroads Order
- (+) Viper
- (+) Solael’s Witchblade
- (-) Crossroads Chaos
- (+) Eel
- (+) Panther
- (+) Solemn Watcher
- (+) Crossroads Primordial
- (+) Jackal
- (+) Dying God
- (+) Lion
- (+) Scales
- (-) Lion
- (+) Wendigo
- (+) 3 points Obelisk (DA node)
Energy Management
A small addendum about energy management, the key to sustain AAR especially in the early levels.
When you pick up AAR around lv15, don’t max it directly. Always use caster gear, cap Mental Alacrity, and in act2 put ectoplasm on your jewelry and helmet, then you’ll have enough energy regen to sustain maxed AAR + Disintegration. The Scales devotion will provide a massive amount of energy leech, at this point you won’t need ectoplasm on the helmet and medal, use those slots to fix your resistances.
As you level you will find component upgrades for ectoplasm :
-
Mark of Illusion (rings)
Comparable amount of regen, and a good amount of Defensive Ability. Random drop. -
Focusing Prism (amulet)
Cost reduction, craftable with a blueprint sold by Devil’s Crossing. -
Arcane Lens (amulet)
Cost reduction and defensive ability, random drop.
Build Explanation
Active Skills
-
Albrecht Aether Ray
The main damage dealer, it scales with casting speed. -
Sigil of Consumption
Good AoE damage that also heals a lot. Each sigil deals its damage once per second, it doesn’t scale with casting speed. -
Doom Bolt
Strong single target nuke. -
Solael’s Flame
More resistance reduction. -
Blood of Dreeg + Aspect of the Guardian
Mostly taken for Aspect of the Guardian, a large amount of resistances, especially the valuable physical one. -
Mirror of Ereoctes
A 3s invincibility skill, great panic button. -
Nullification
The second defensive tool of an arcanist. Useful to strip any deadly debuff or DoT off you, or to negate an enemy’s elemental damage. Or both, with good positioning. Definitely worth a few points.
Devotions
Offensive Devotions :
-
Hungering Void (Dying God)
Massive damage boost. The health cost is actually small and easily outhealed by all the life leech we have. It is very easy to proc so put it on whatever, even a debuff ticking once a second like Solael’s Flame works perfectly for a single target. -
Eldritch Fire (Solael’s Witchblade)
Large amount of resistance reduction that results in a large damage gain, especially against resistant enemies like chthonians. We want it applied very quickly and consistently, so it should be bound to AAR. -
Flame Torrent (Fiend)
Extra AoE damage. I put it on the Sigils for more AoE on my AoE.
Defensive Devotions :
-
Wendigo’s Mark (Wendigo)
A single target debuff. Ticks once a second and you leech off this damage.
I bind it to Doom Bolt as its long cooldown and double hit on the main target nearly ensures the proc, and the nearby targets also have to good chance to be affected. -
Tip the Scales (Scales of Ulcama)
An incredible devotion that affects a single enemy that attacks us. We get more life leech, some energy leech to sustain AAR, and resistance reduction.
Bind it to any permanent aura to constantly keep it proccing. -
3 points Obelisk
A small investment for a huge amount of defensive ability and armour.
Performance
The build allows you to farm rogue-like dungeons and totems to acquire gear. Better gear is needed for the Tomb of the Heretic, Morgoneth is really difficulty.
It has not been tested in Crucible or Shattered Realm nor against Lokarr as I advise having higher quality gear to attempt that.
End Game Builds
- Black Flame builds by Willnoword (end game continuation of the guide)
- Melee warlocks by Eard and Crab_Turtle_2112
External Resources and Links
-
Resources
-
Tools and Mods
-
Grimtools
Very useful tool, you can plan a build, upload and share yours, check the important quests and shrines you have missed on a character, and much more. -
Rainbow Filter Mod
Cosmetic mod to display the stats and rarity with varied colours. Very useful, especially to distinguishes Monster Infrequents when you’re a beginner. -
Grim Internals Mod
Provides an array of on-screen information, and quality of life features.
-
-
My other Guides
-
Other Beginner Guides
